THE VAN PROJECT - Kitchen (Part 2)
This is the ninth post in a series that serves as the primary documentation of how I purchased and converted a 2008 Dodge Sprinter Van to a full-time living space.
Fridge
I chose the Dometic CFX35 for my van fridge. After a bout of frantic measuring, I was convinced that the fridge would fit in the empty space in front of the bedside cabinetry.
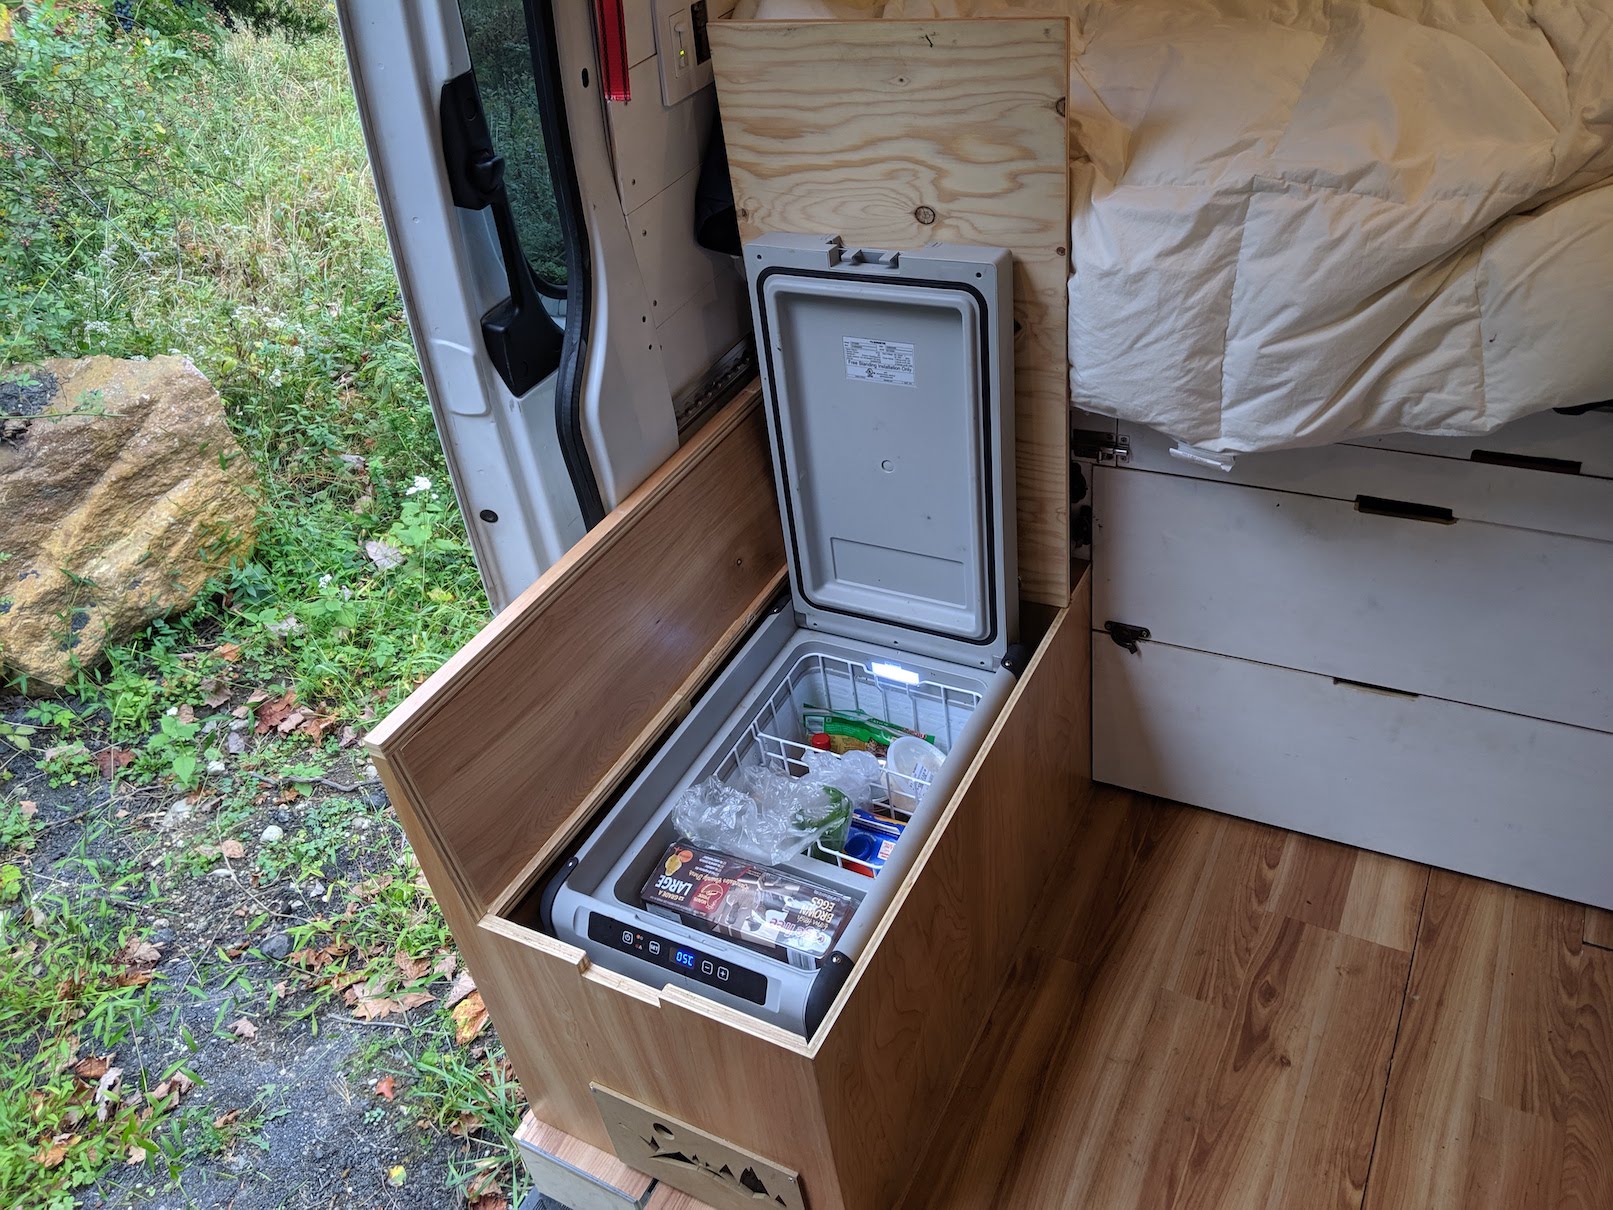 The fridge in the finished bench housing
Wiring up and turning on the fridge was as easy as 1-2-3. However, I soon realized three things. First, the fridge was unanchored save for its electrical connection. Two, sitting on the fridge wasn’t terribly comfortable thanks to the odd shape of the wall behind it particularly including the wood block used to support the pullout bed. Three, the fridge’s rugged outdoor aesthetic didn’t match at all with the clean white / wood palette for the rest of the van. I resolved to use the last pieces of wood I had to build a triple-function fridge box, bench, and bed support.
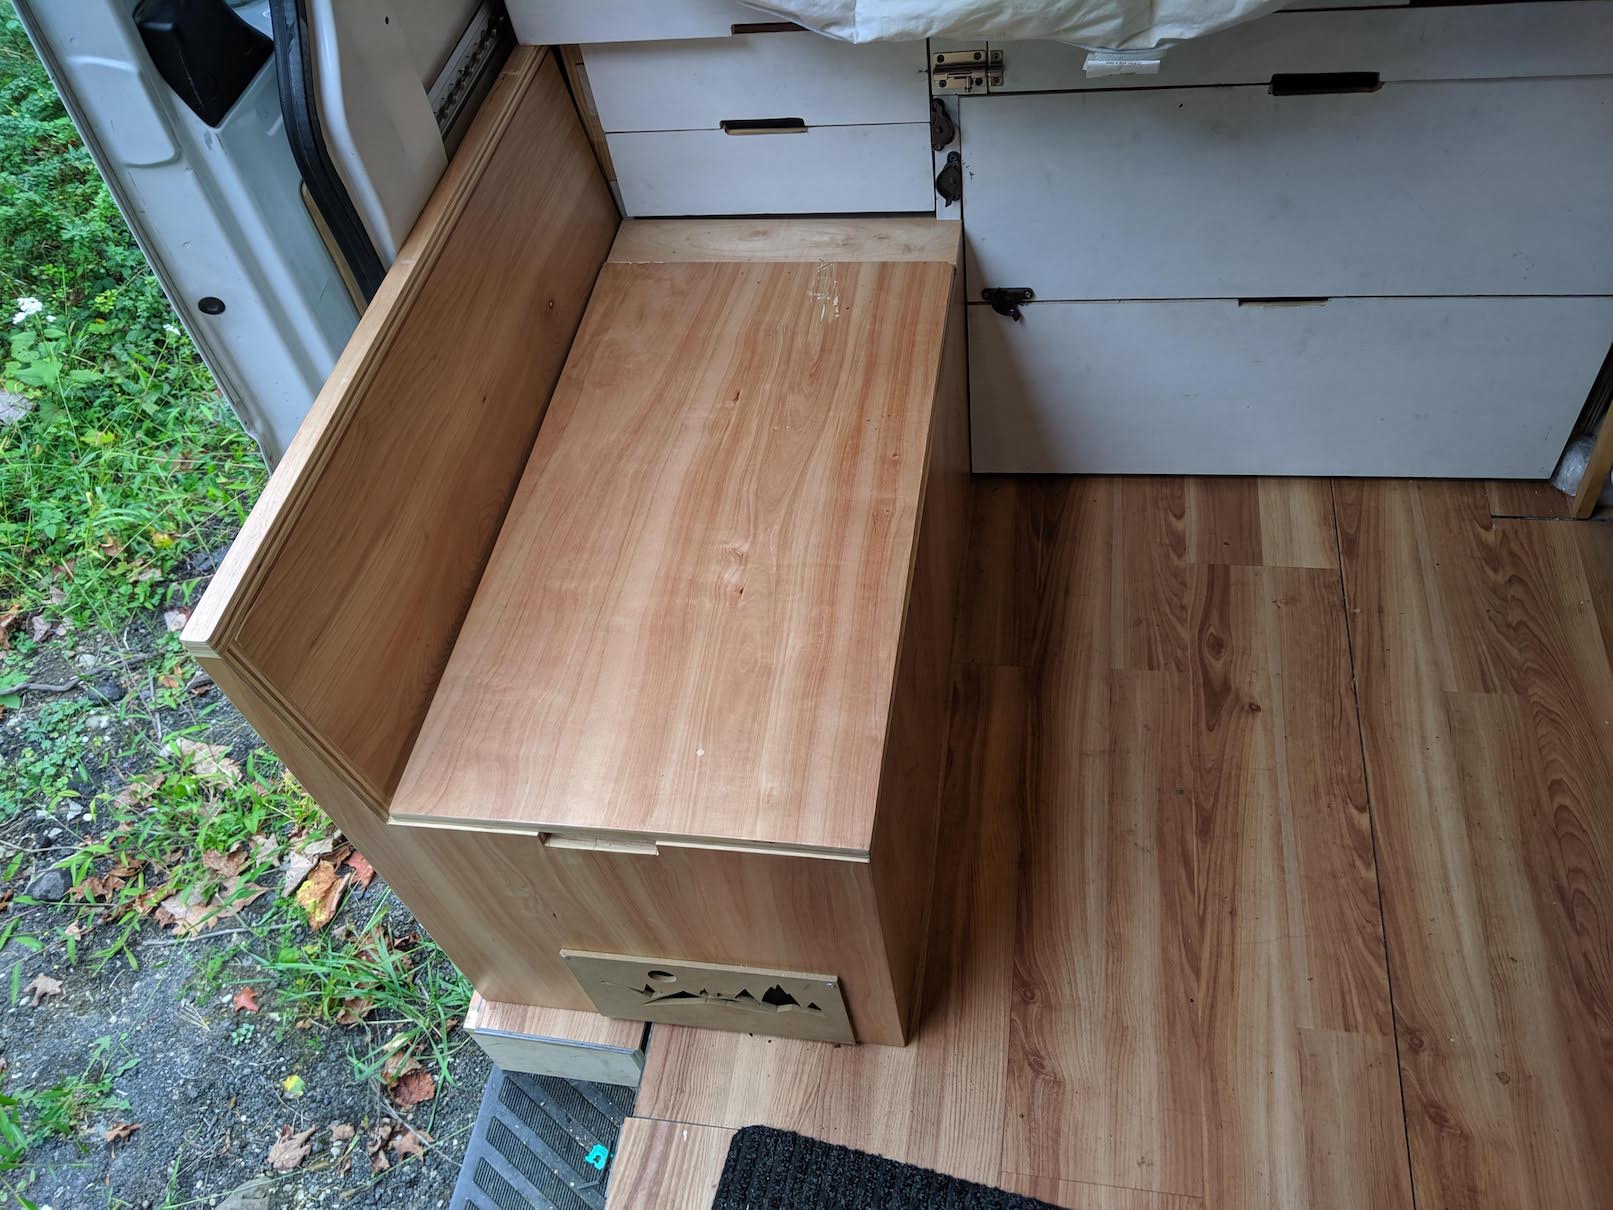
Fridge Bench Construction
At this point in the process I was feeling up for a new challenge. I resolved to venture past the world of square or 45 degree corners into arbitrarily angled cuts. Thanks to the helpful staff in the shop I quickly learned how to cut angles on the table saw and was able to put together a beautiful five degree angled backrest (and bed rest) to the fridge bench. The rest of the box is relatively standard construction with mitered joints, a 3/4” cabinet lid, sanding, and polyurethane finish. I also spent a few extra minutes cutting out the Patagonia range into a stained piece of MDF to provide the fridge some extra ventilation.
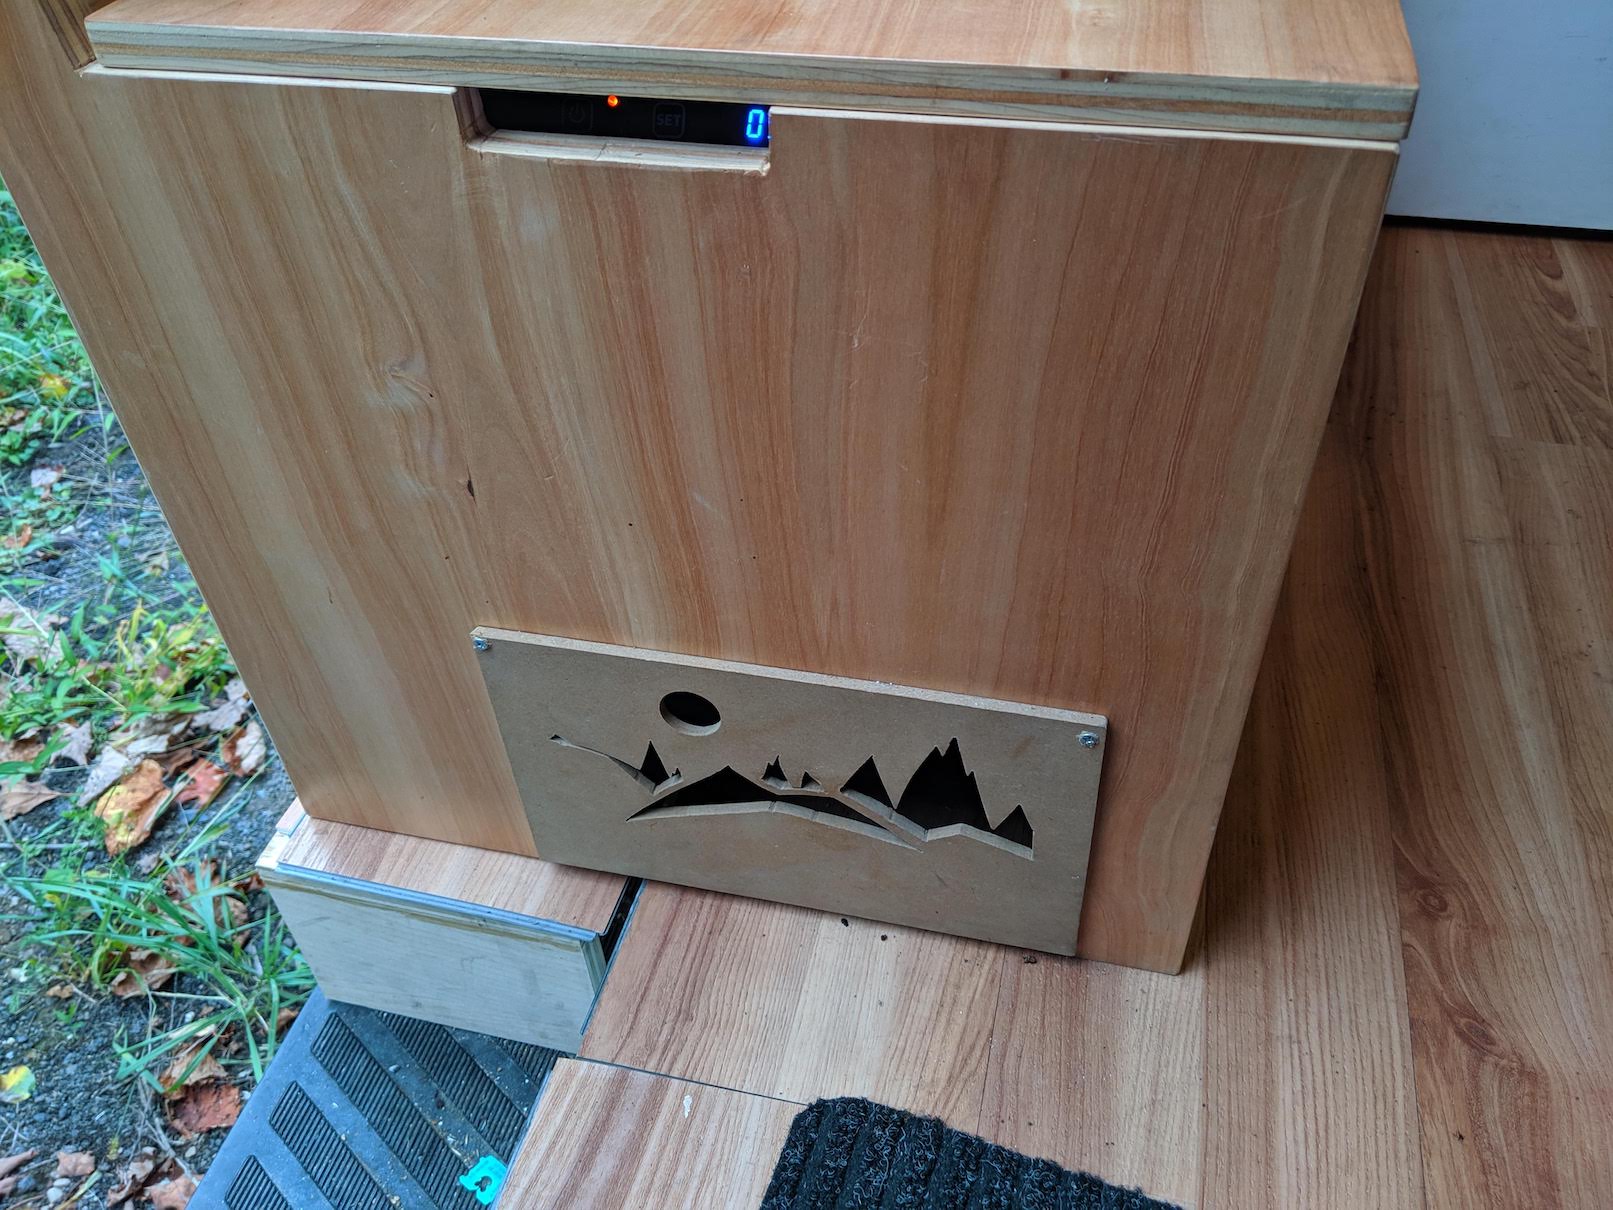 Closeup of the fridge vent
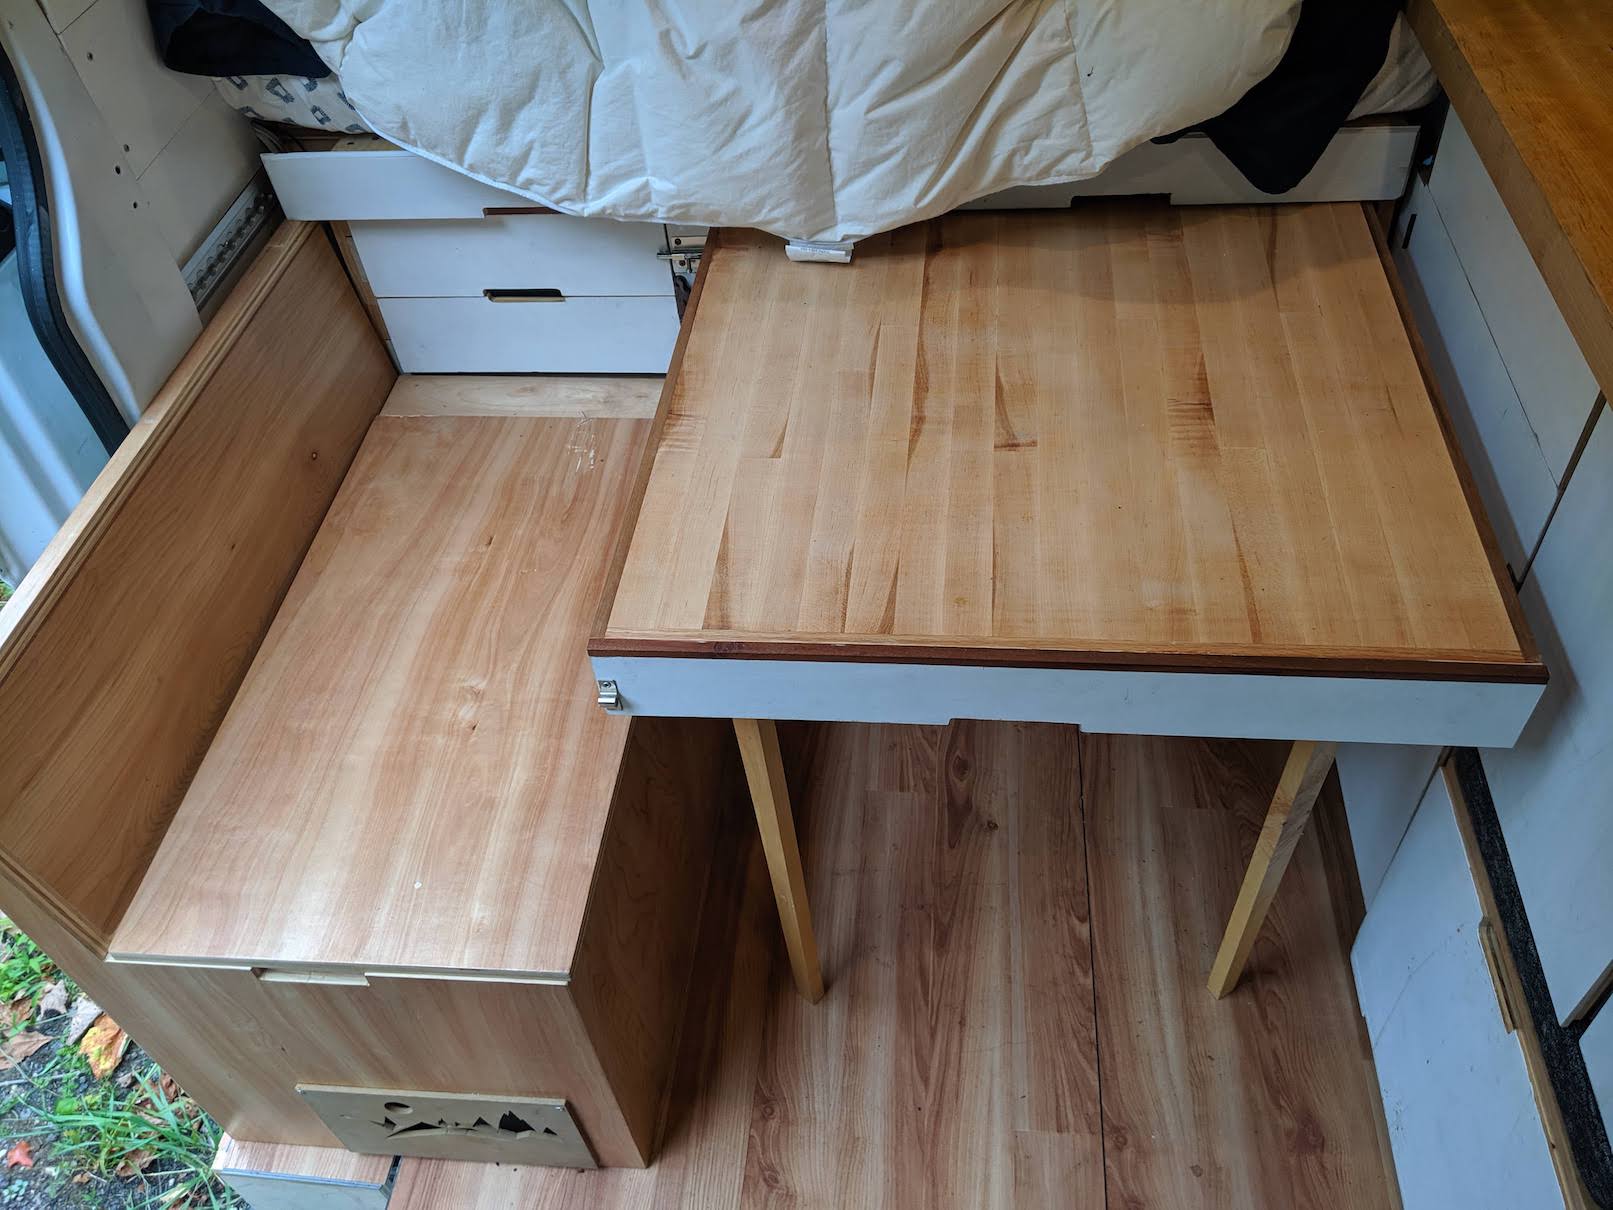 With the pullout table
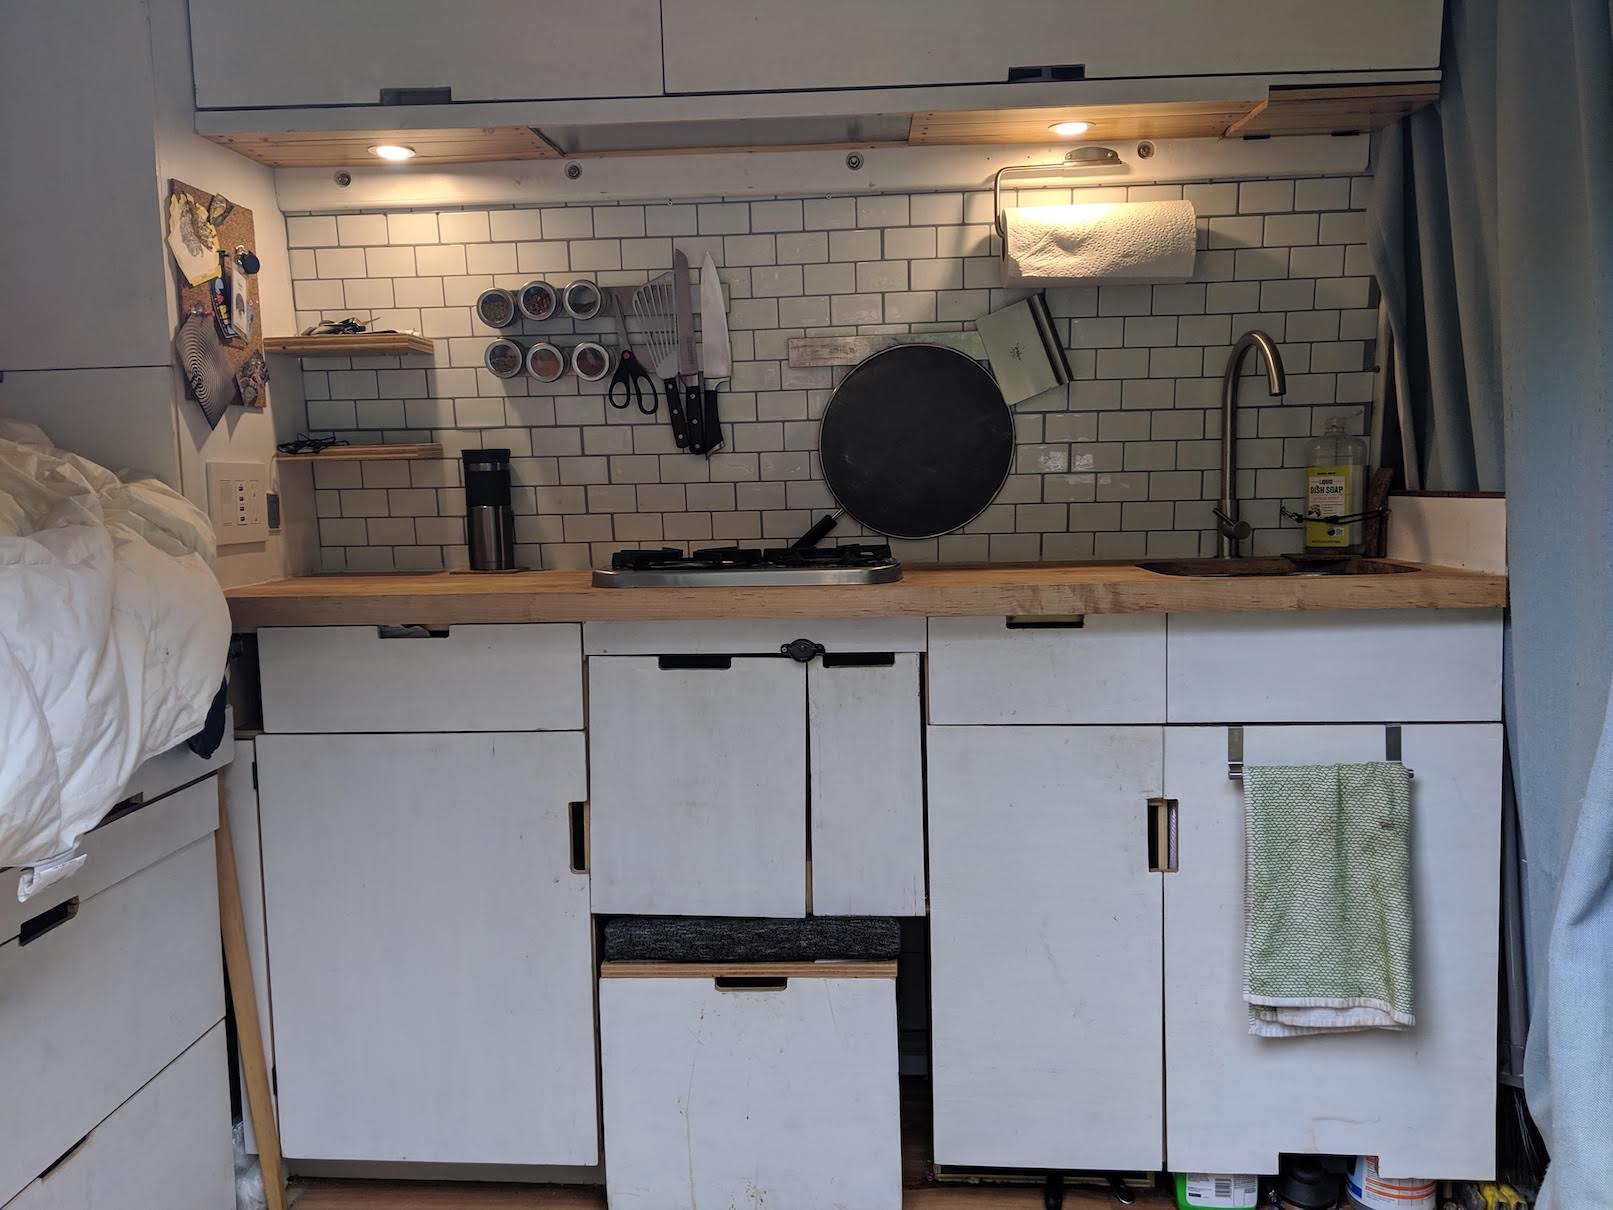
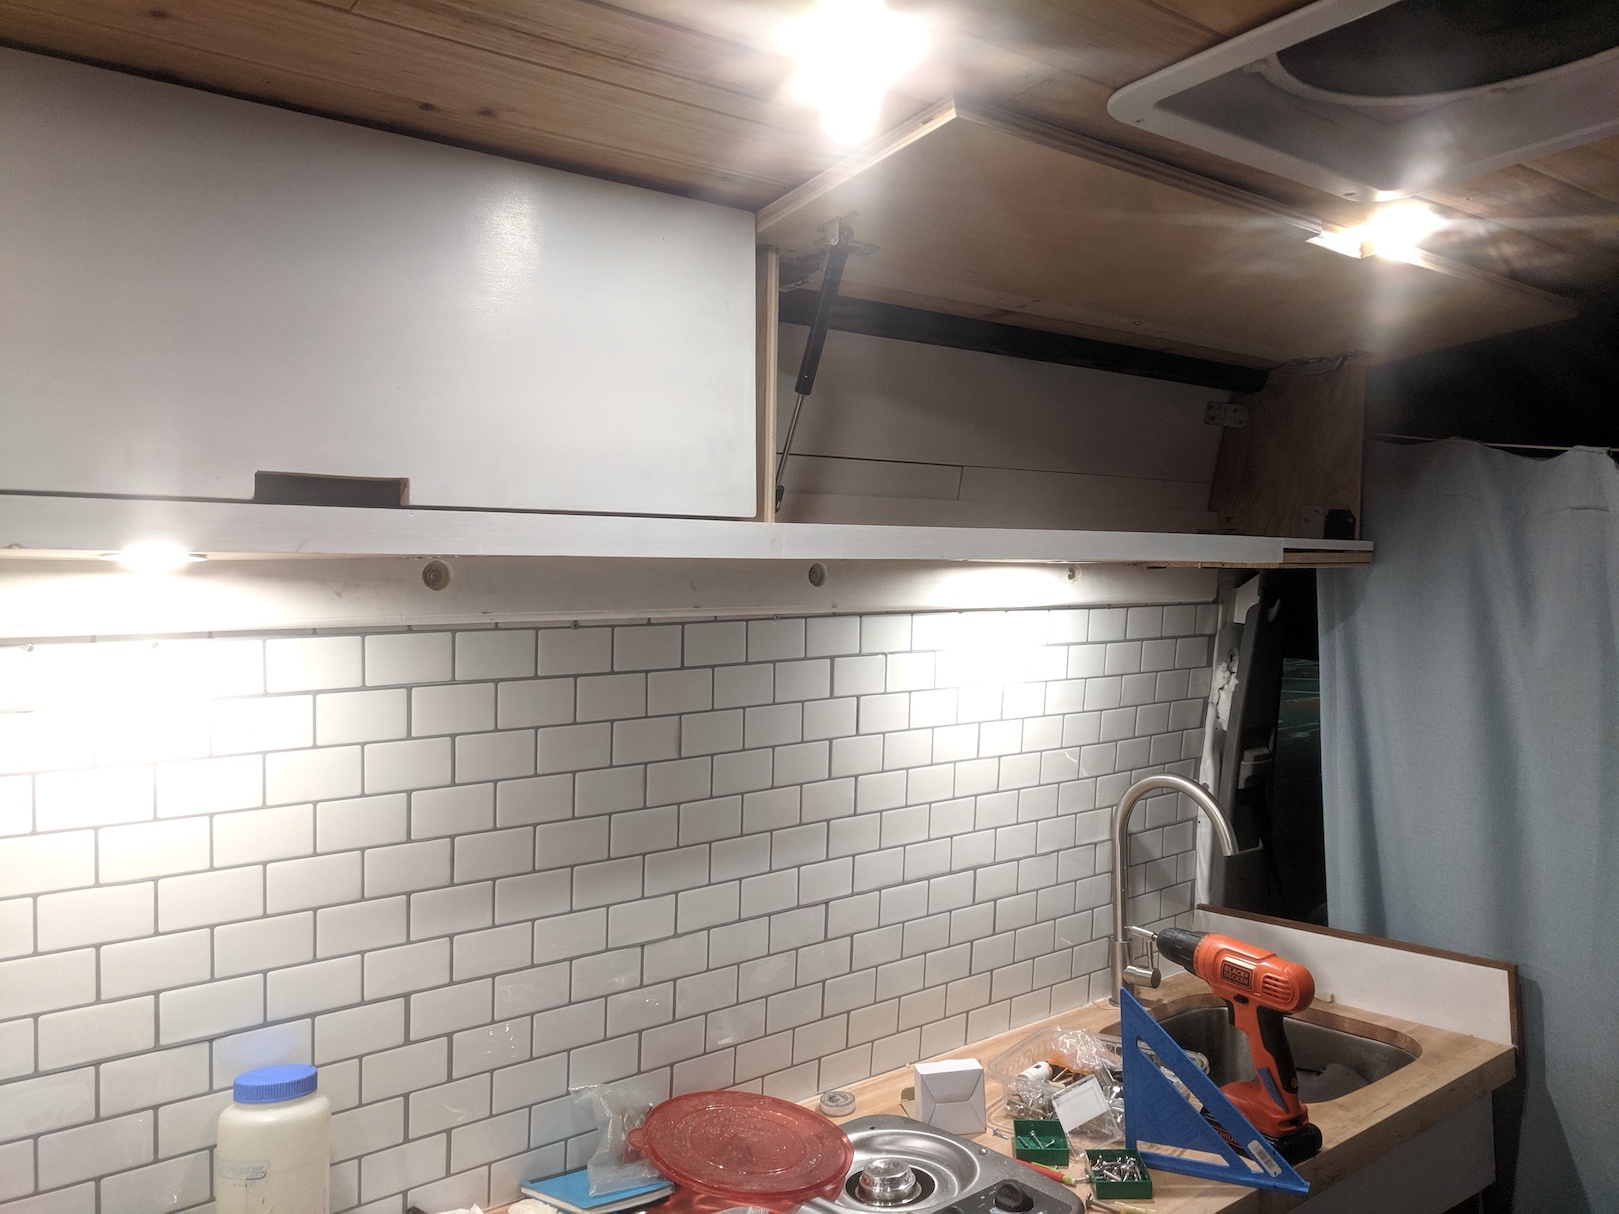
Overhead Cabinetry
The last major carpentry project was to design and build overhead cabinets above the kitchen counter, both for storage and as a place to install additional lighting for the kitchen area.
I chose a depth and height of 10” square in order to provide enough headroom when standing at the counter and divided the overhead cabinets into two sections. The overhead cabinet is essentially framed by a single 3/4” board at the back with 1/2” plywood sides and another 3/4” stud lining the top to add stability and a location for the cabinet doors to bolt onto. The doors are connected with regular hinges and additionally supported with gas struts so that they can stay open without needing to support the door with an extra arm.
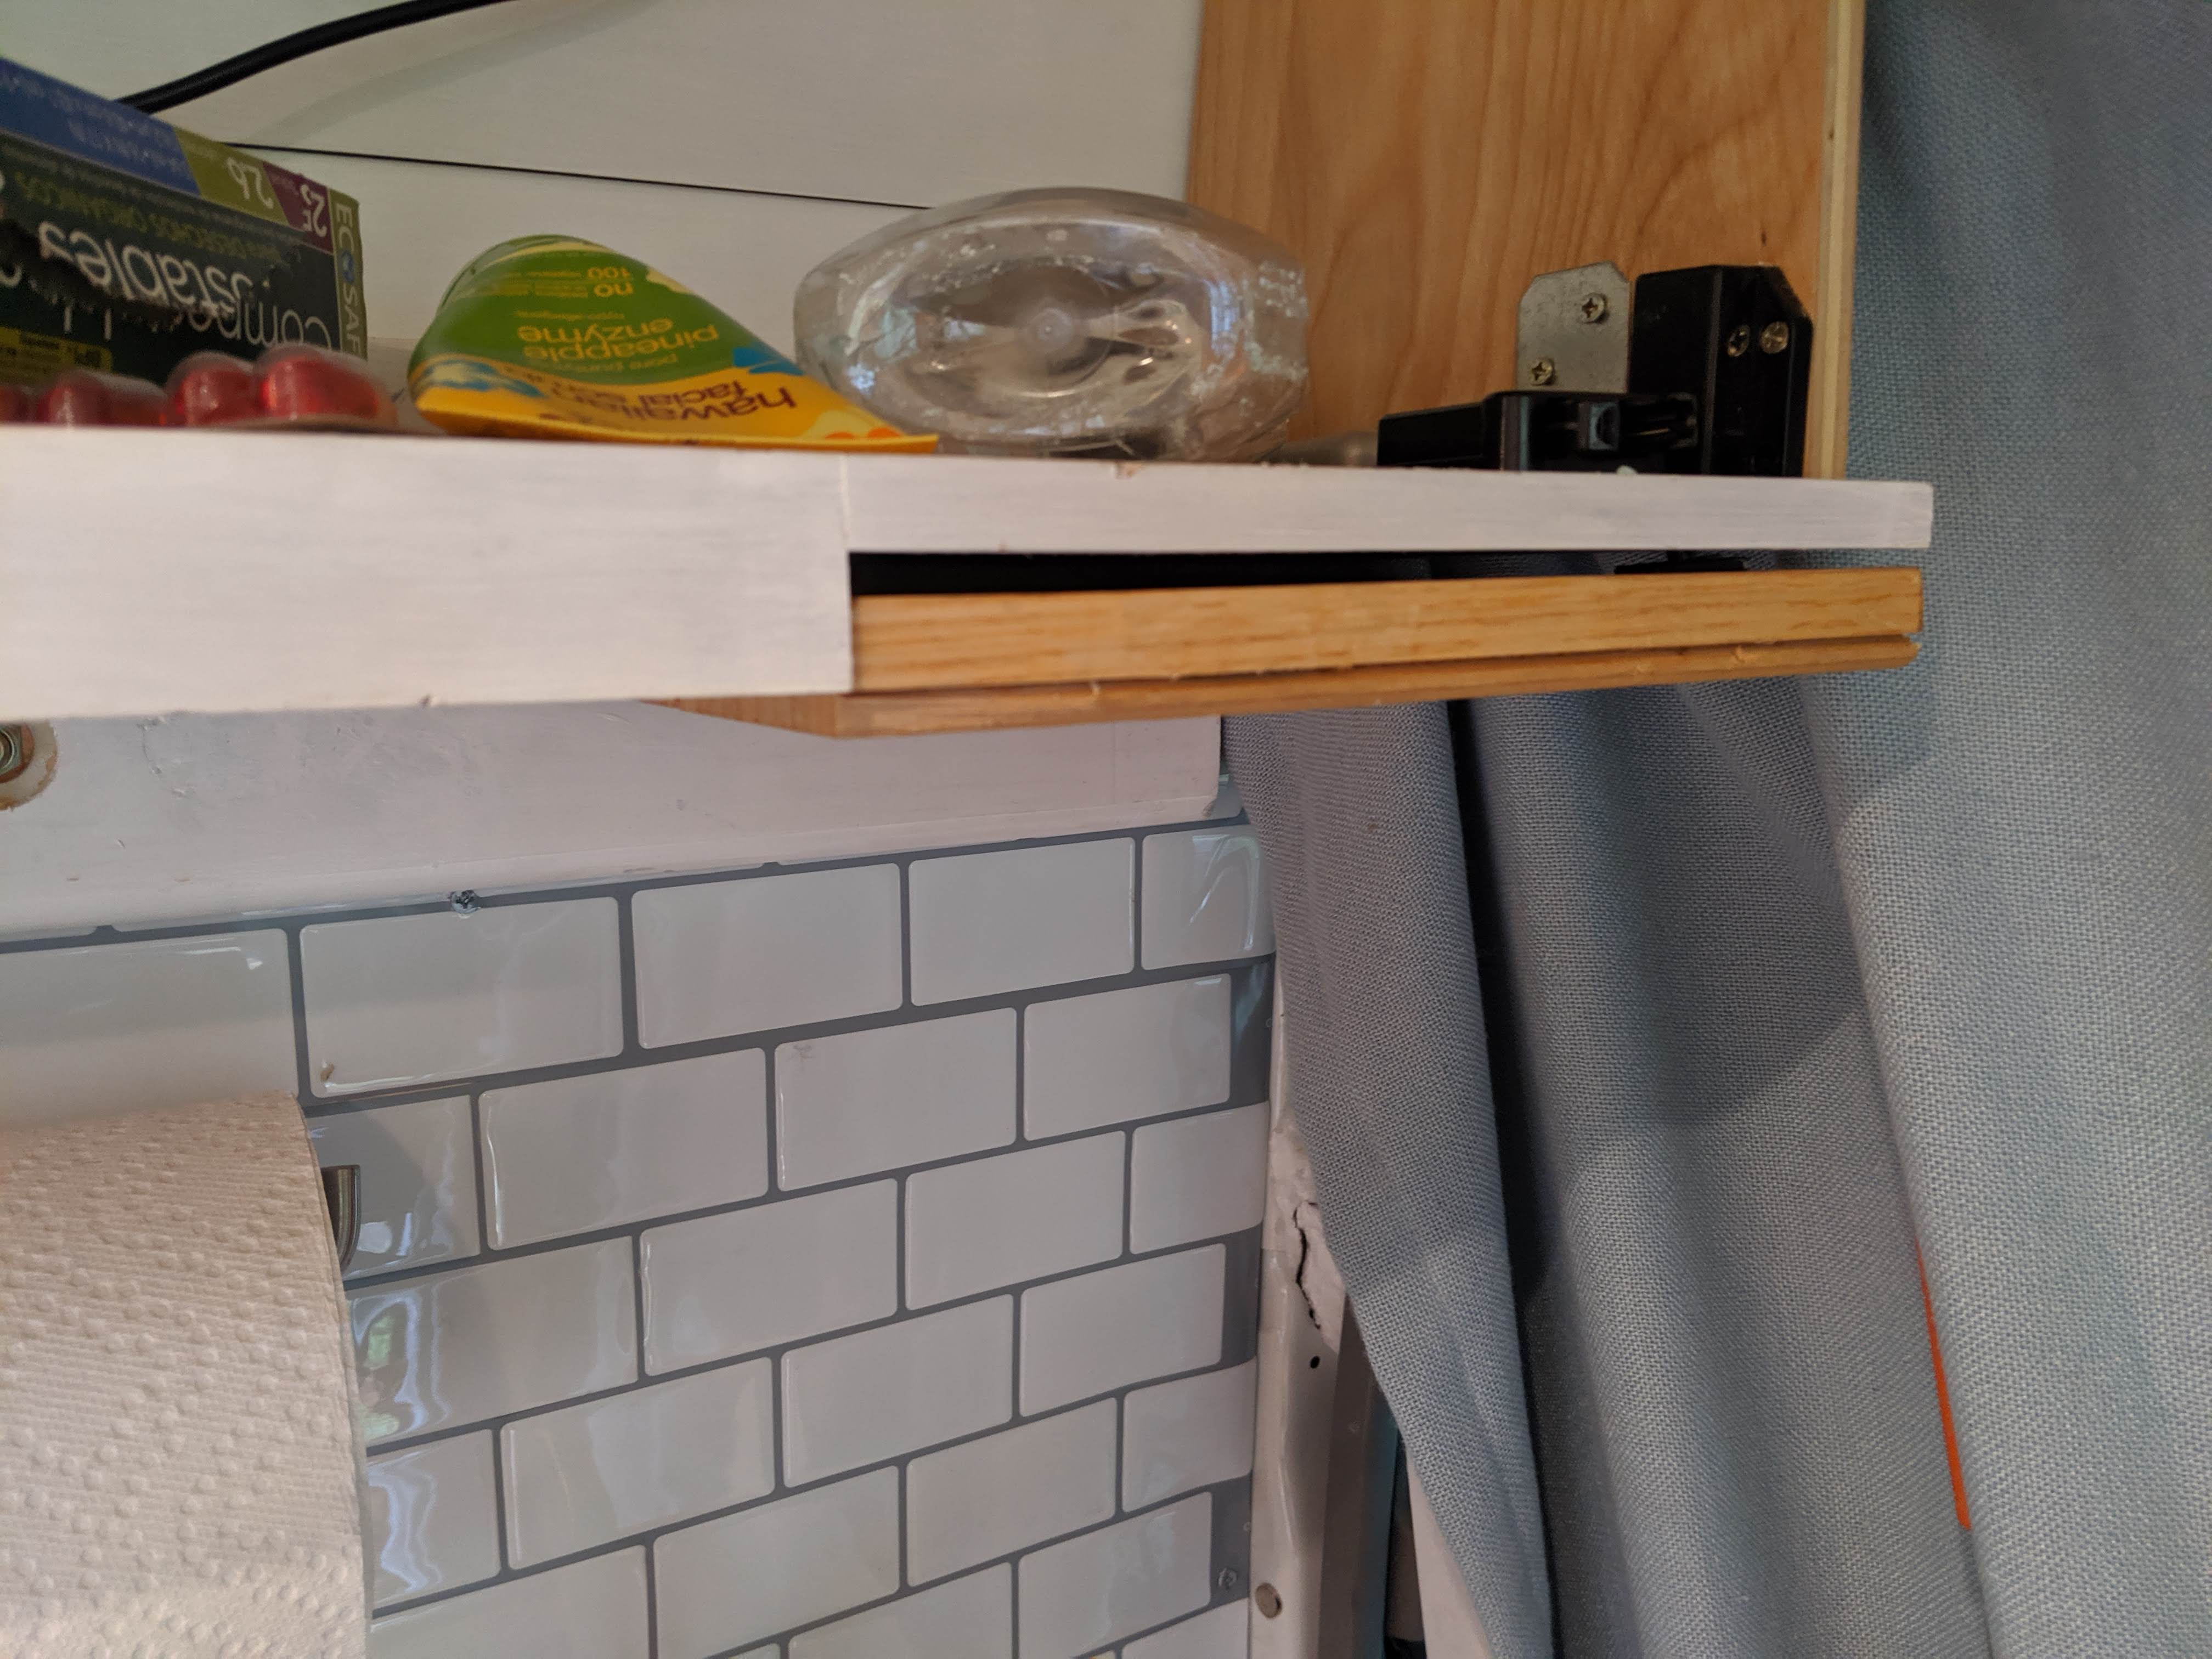
The bottom of the cabinet is a bit more interesting. I used a multilayer system in order to make room for the lights and wires underneath - while the top layer is a standard piece of 1/2” birch ply, underneath lie a series of 1/2” strips in between which there is space to run wires for the lights. The bottom layer is composed of a mix of leftover cedar paneling from the roof and a piece of aluminum sheet metal positioned above the stove as a grease catch.
The cabinet is bolted to the upper L track as well as secured with pocket holes to the bedside cabinet.
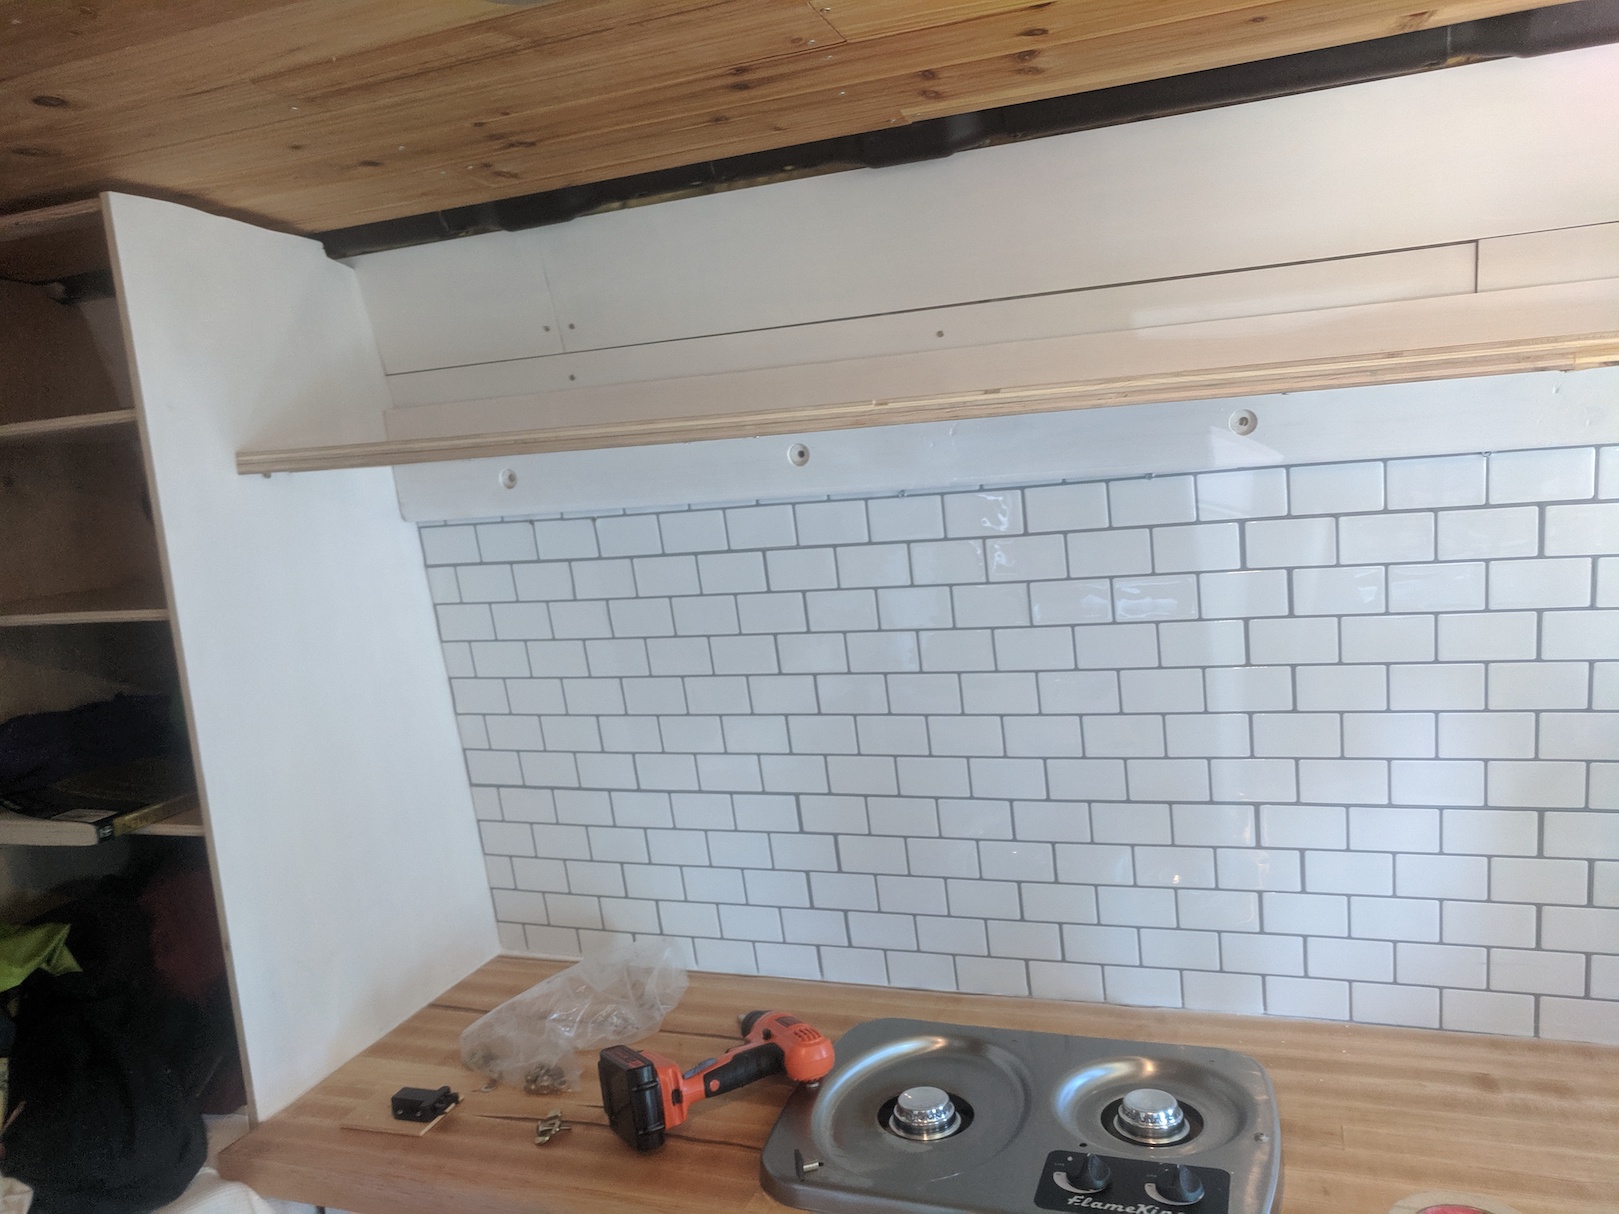 Test fitting the rear + bottom pieces of the cabinet
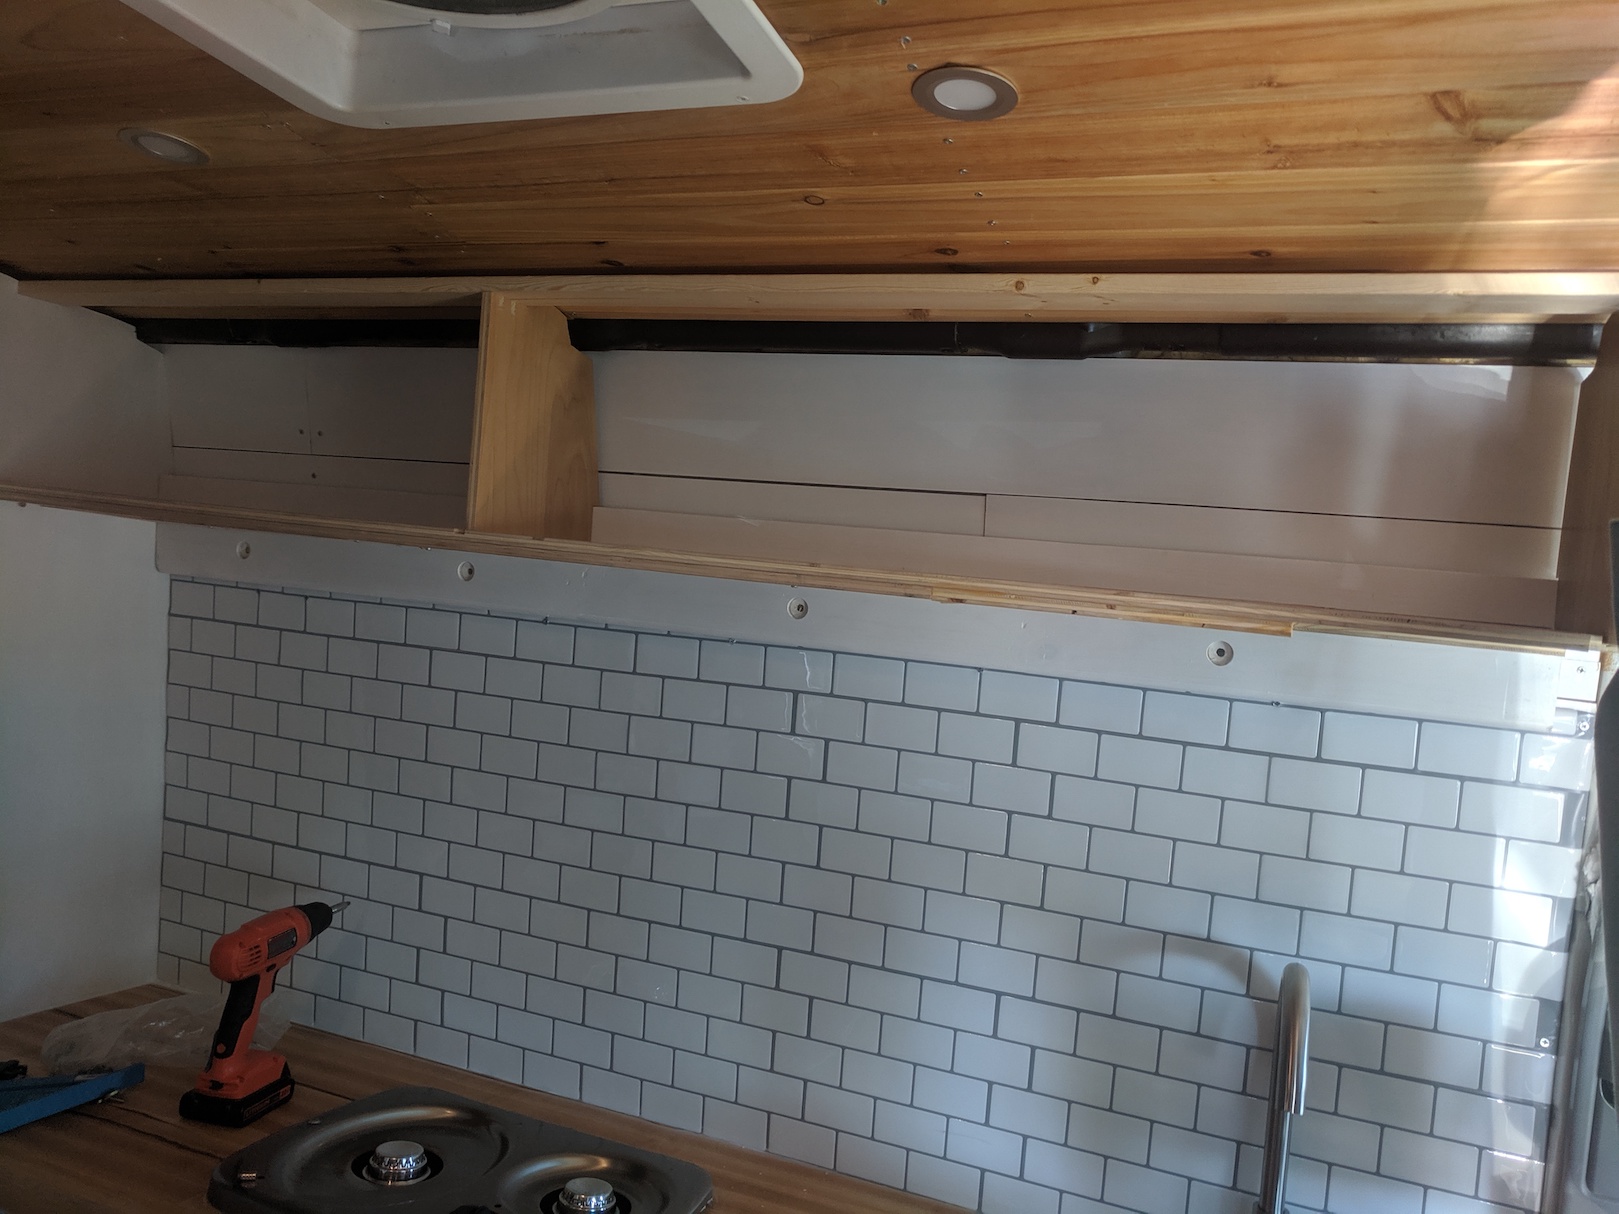 Sides and upper strut
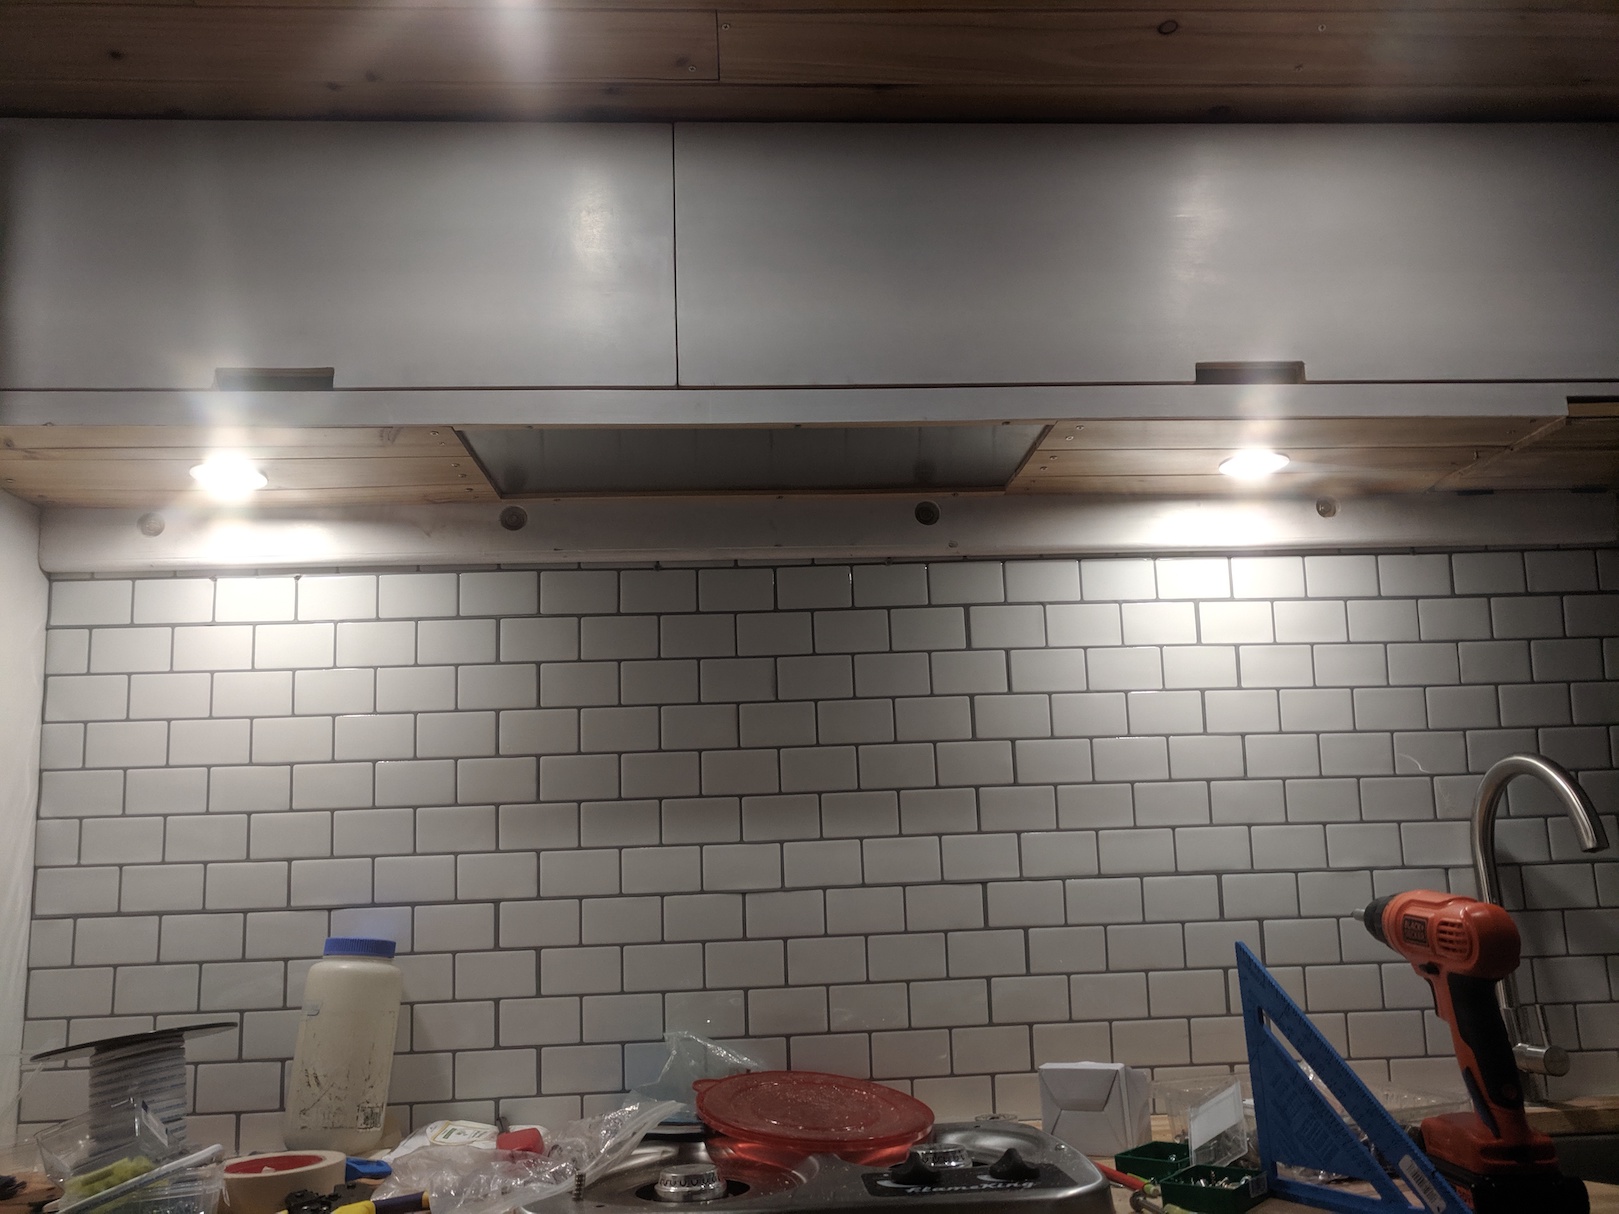 Finished!
 Gas struts hold up the cabinet doors
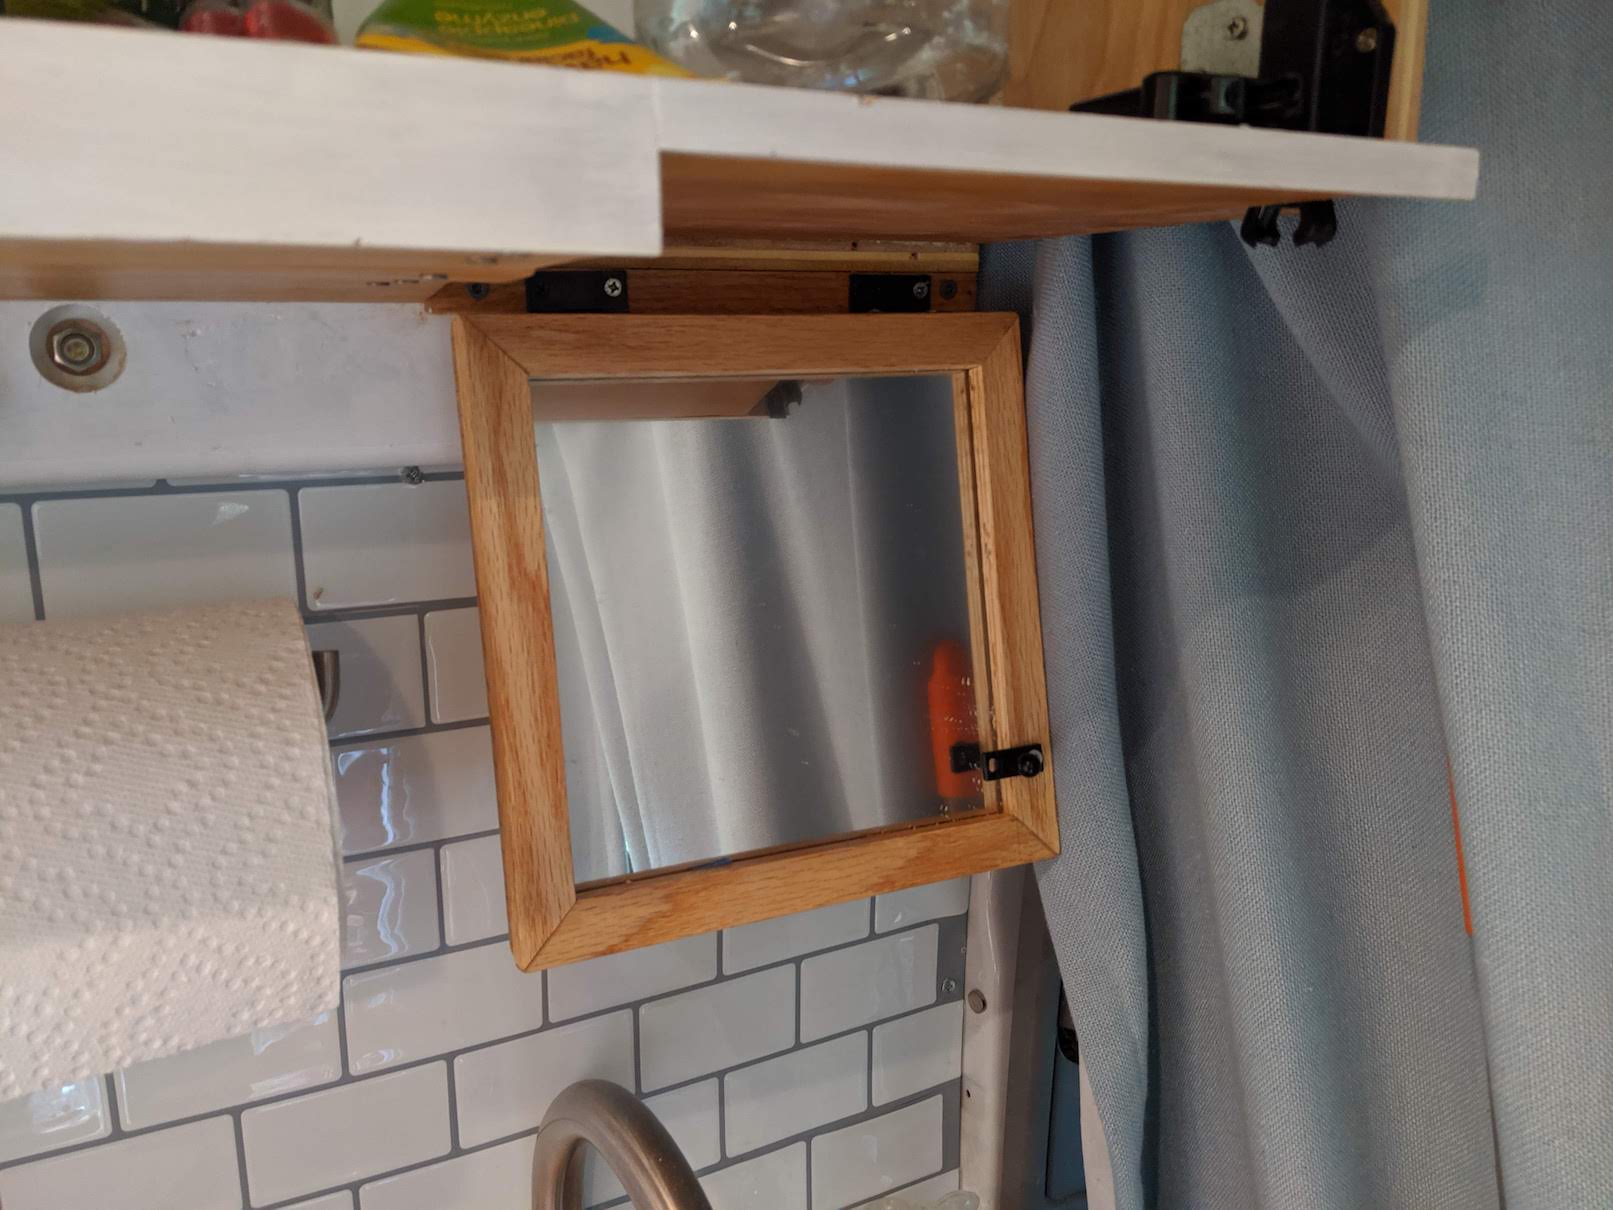
The final element of the overhead cabinet is a fold-in mirror held in with push latches above the sink.
Finishing Touches
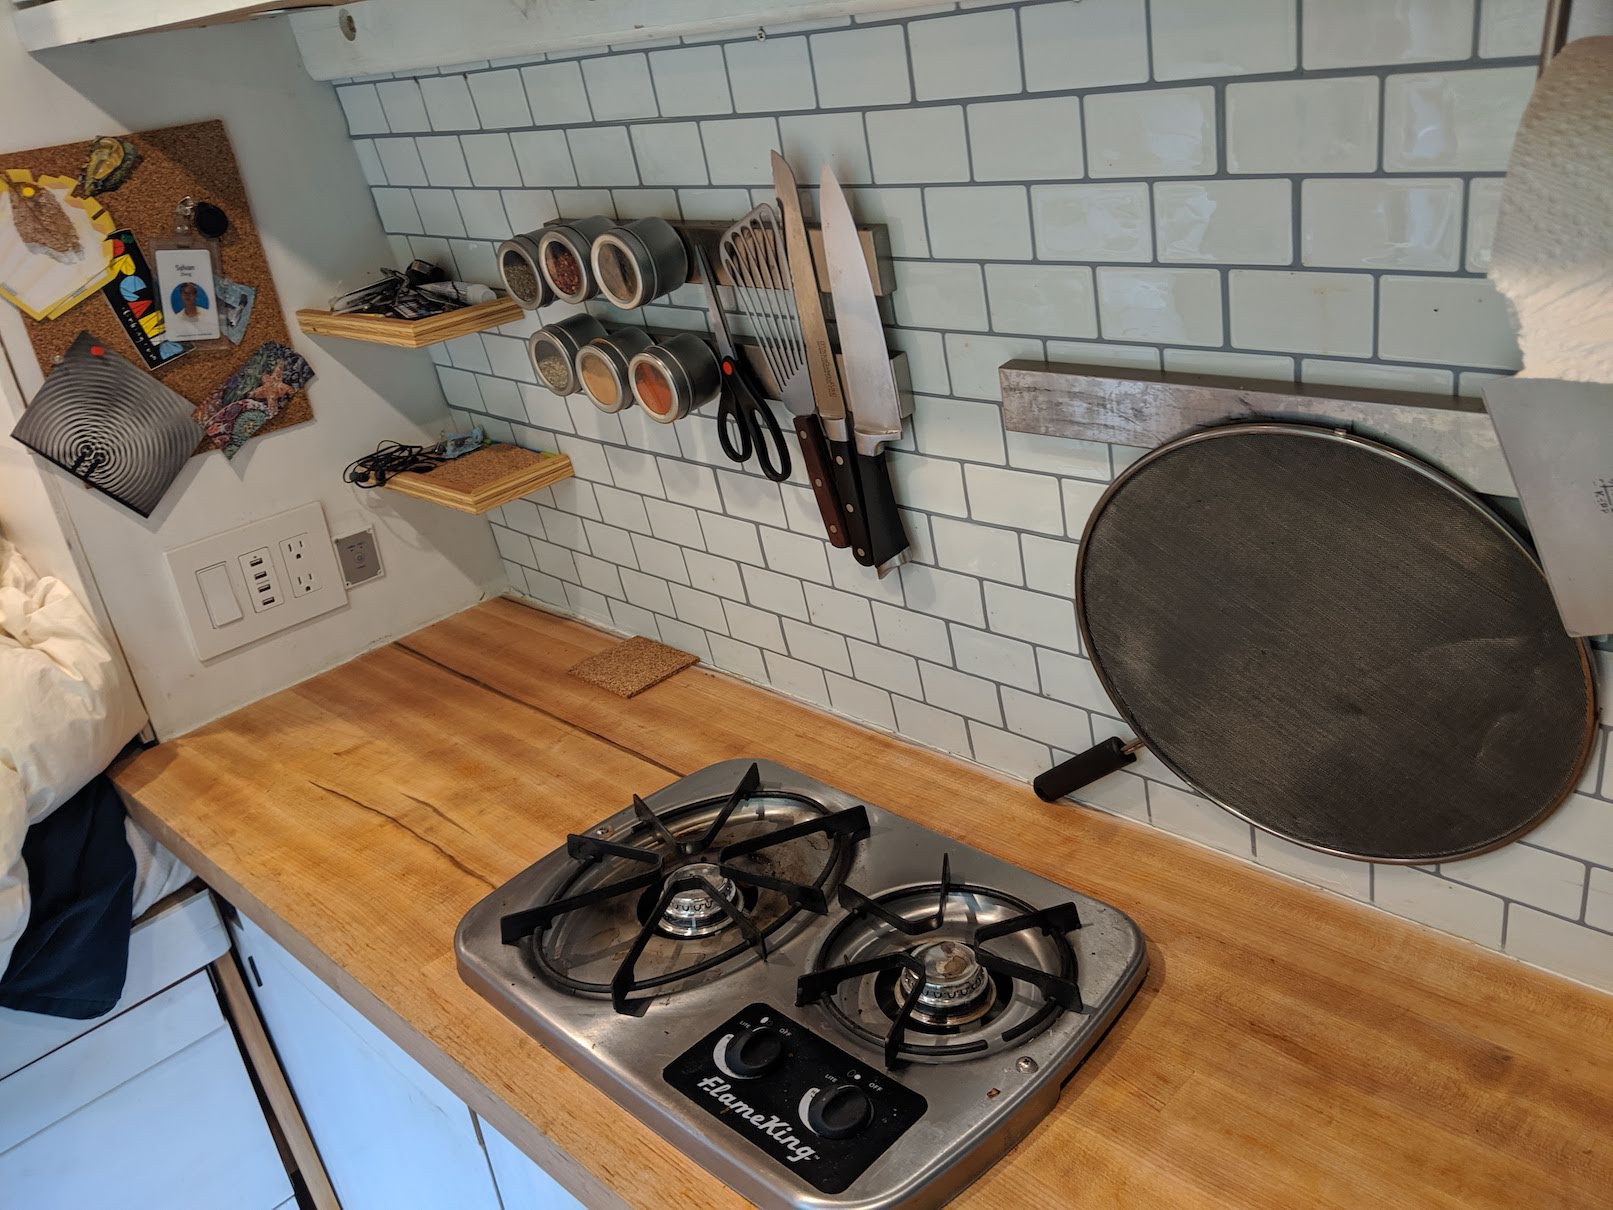
Magnetic spice/knife bars, mini corner mini-shelving, and some cork board add extra utility, storage, and personality to the kitchen area.
Sign up for the mailing list
Comments