THE VAN PROJECT - Power
This is the seventh post in a series that serves as the primary documentation of how I purchased and converted a 2008 Dodge Sprinter Van to a full-time living space.
 This was one of the most fun, satisfying, and expensive portions of the van build!
How Much Electricity?
I collected (roughly) the amount of electricity I planned to use in a day:
- 4x0.3A lights for a few hours = 4.8Ah
- 12 hours of 0.8A DC fridge = 10Ah
- A few hours of fan usage @ 1.2A = 5A
- Charging laptops and phones = 4A or so
I came out with roughly 25Ah per day of power usage. This meant that with 200W of solar running at 50% efficiency (shade from buildings, cloudy days, etc.) I could expect to get about 200W*(8 hours) * 0.5/12V = 66 per day, which should be more than enough to cover all my electrical needs. For battery, I decided on a 100Ah AGM battery to provide two full days of offgrid power supply in the rare case that there would be no sun at all coming through the solar system.
Wiring It Together
The van’s electrical system is much easier to manage since it doesn’t need to handle any super-high current loads coming from an alternator or wall charger (I’m powering off of solar only). This means that 8-10AWG wire in short lengths is totally sufficient to handle the max of 20A coming from the solar charge controller.
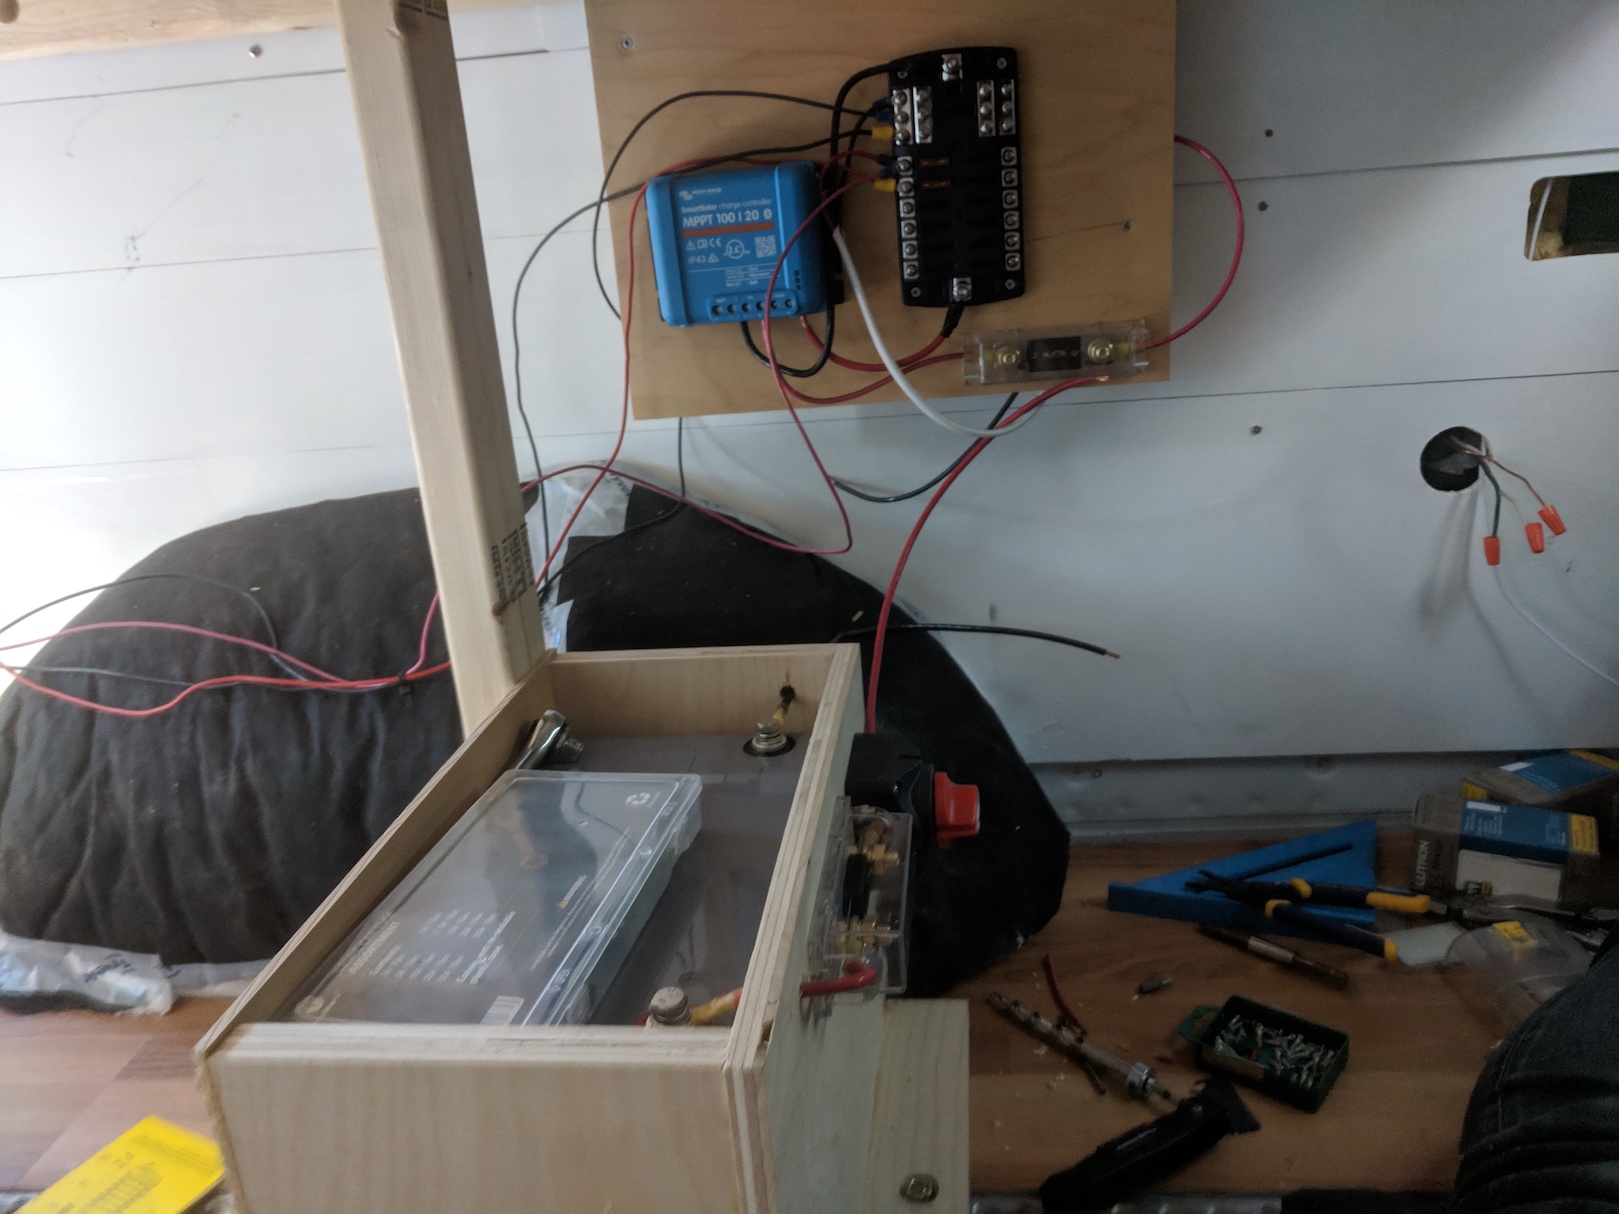
From the battery’s positive terminal I place a 20A fuse and battery switch inline before connecting it to the battery input of the solar charge controller. Load goes to the fusebox and PV goes to the solar panels all using 10AWG wire and mounted underneath the bed by the passenger side wheel well. The battery goes into a box made of 3/4” plywood bolted to the van floor L track. All high current wire connections are connected using heatshrink crimp terminals
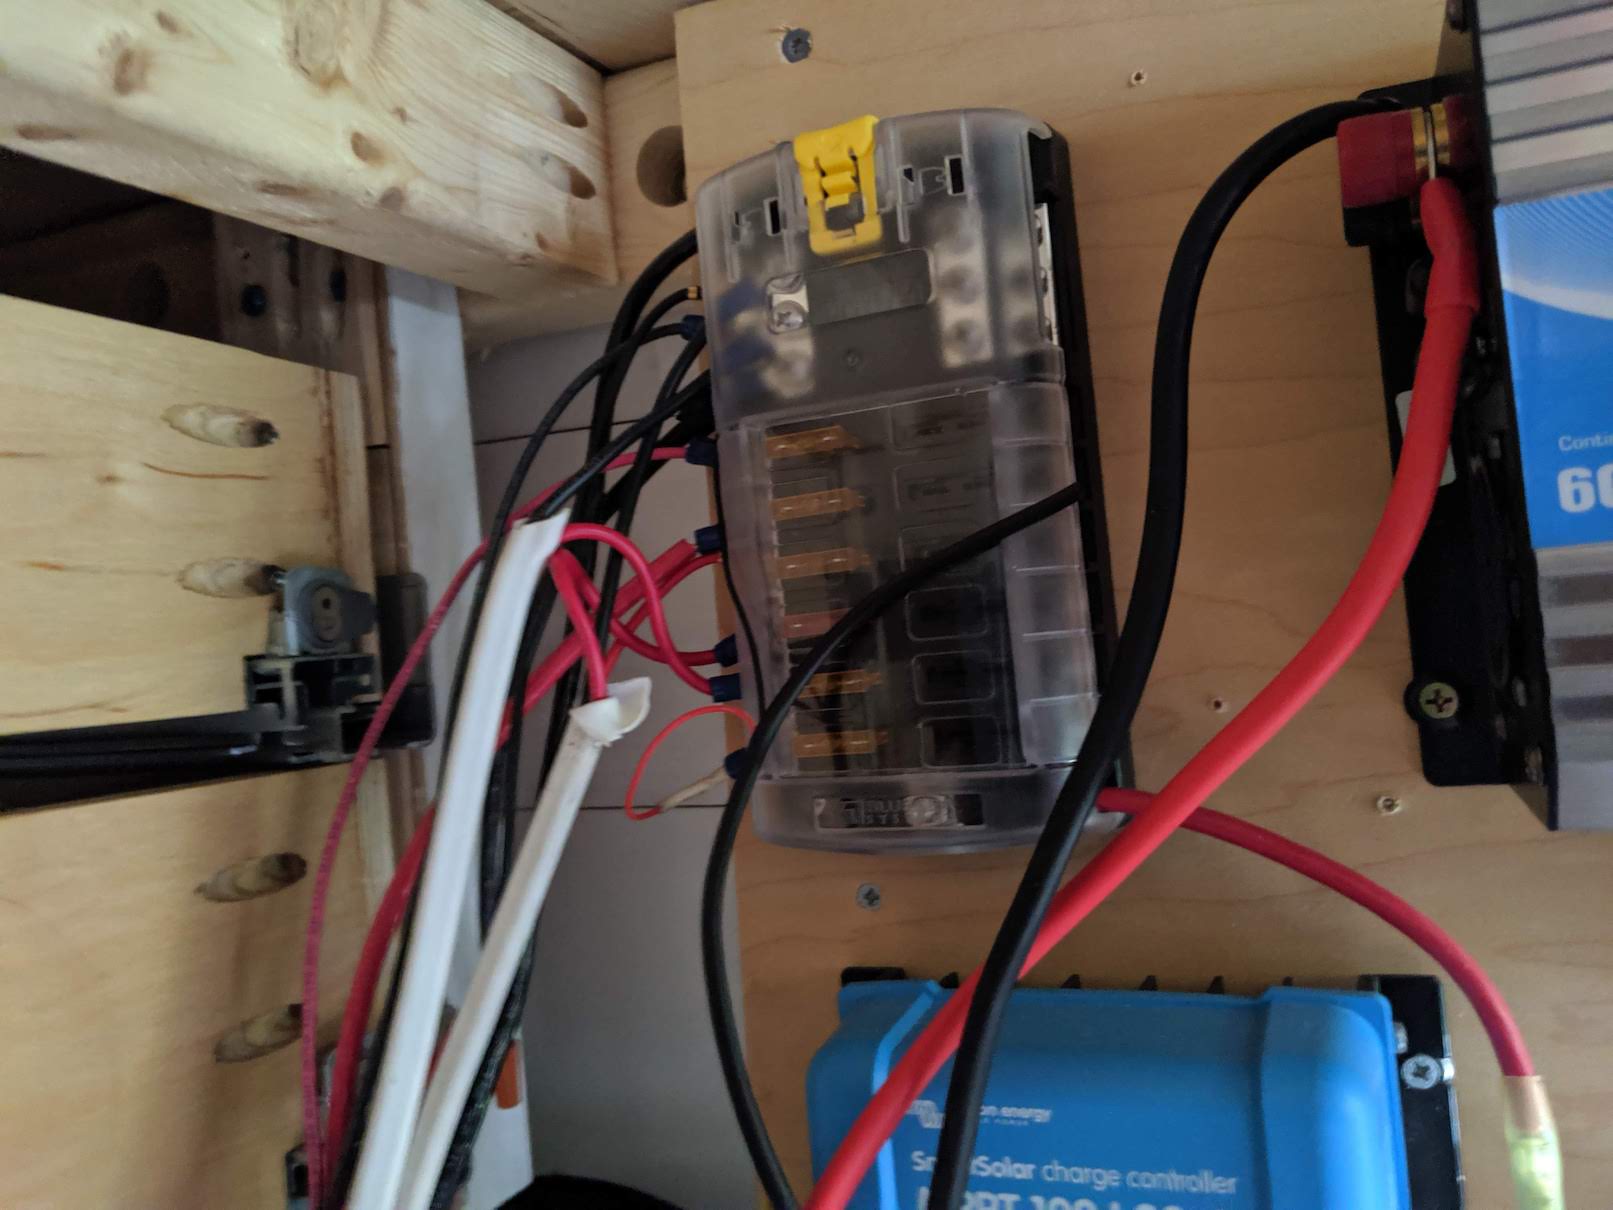 The van fusebox
Mounting the Solar Panels
I had to get creative to mount the solar panels on the roof of the van without paying an obscene amount of money for a custom roof rack solution. The primary challenge is that there needs to be a significant air gap beneath the solar panels, otherwise they can overheat and/or underperform.
I decided to use a length of L shaped 1/8” thick aluminum rod to mount the panels themselves to, and then mount these rails to a set of spacers I would fashion out of 1” square aluminum tubing using stainless steel quarter inch bolts. This worked beautifully but required a royal pain amount of drilling and hacksawing through aluminum. I overpaid for a set of mounting bolts, which were essentially pieces of steel that slid into the roof rack rails along with a set of flathead stainless carriage bolts.
![]() The aluminum spacers
The aluminum spacers
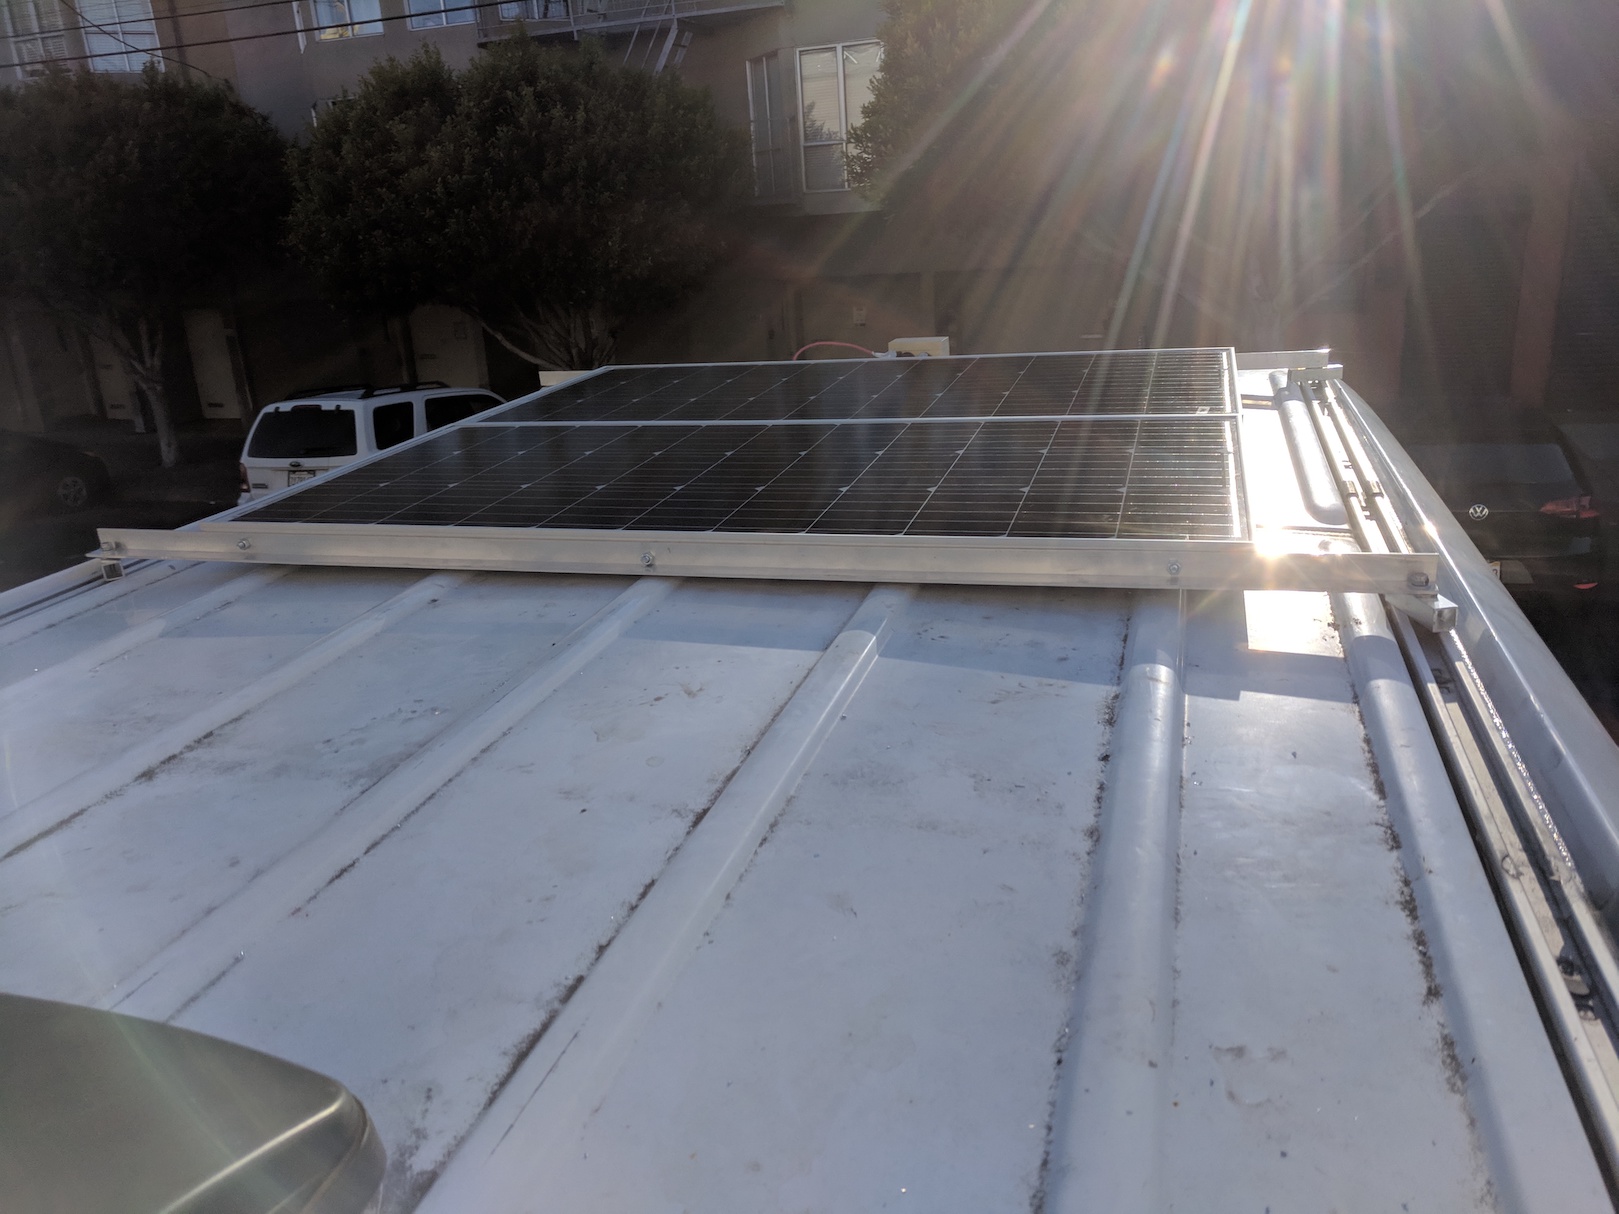 Panels installed, mounted over the spacers
Dimmer Lightswitch
It turns out that dimmers for DC light systems are very hard to come by. I went to an electronics and lighting supply store and explain my situation several times to the staff there before they understood what I was looking for. Now that I understand a little bit more about DC electricity it does kind of make sense - the naive implementation of using a variable resistor is really inefficient since the excess power is just getting dissipated as heat. A more sophisticated method uses PWM - something that AC circuits have available to play with. But not DC.
Once I had my overpriced DC dimmer switch in hand, I punched out an ugly hole in the wall by drillling several small holes (I had no hand jigsaw). Thankfully it would be covered up by the lightswitch wallplate.
And voila! The van has electricity!
Inverter
I later added a 600W pure sine wave inverter to the van’s power system. It’s powerful enough to run the corded jigsaw I bought off the van battery, but not so powerful that I’m at risk of damaging the electrical system or overloading the wiring. I wired it to a normal house outlet I bought at Home Depot by simply stripping the ends off an extension cord and attaching those leads to the house outlet leads. The inverter also comes with a remote switch control, which I mounted directly next to the AC outlet in the bedside cabinet.
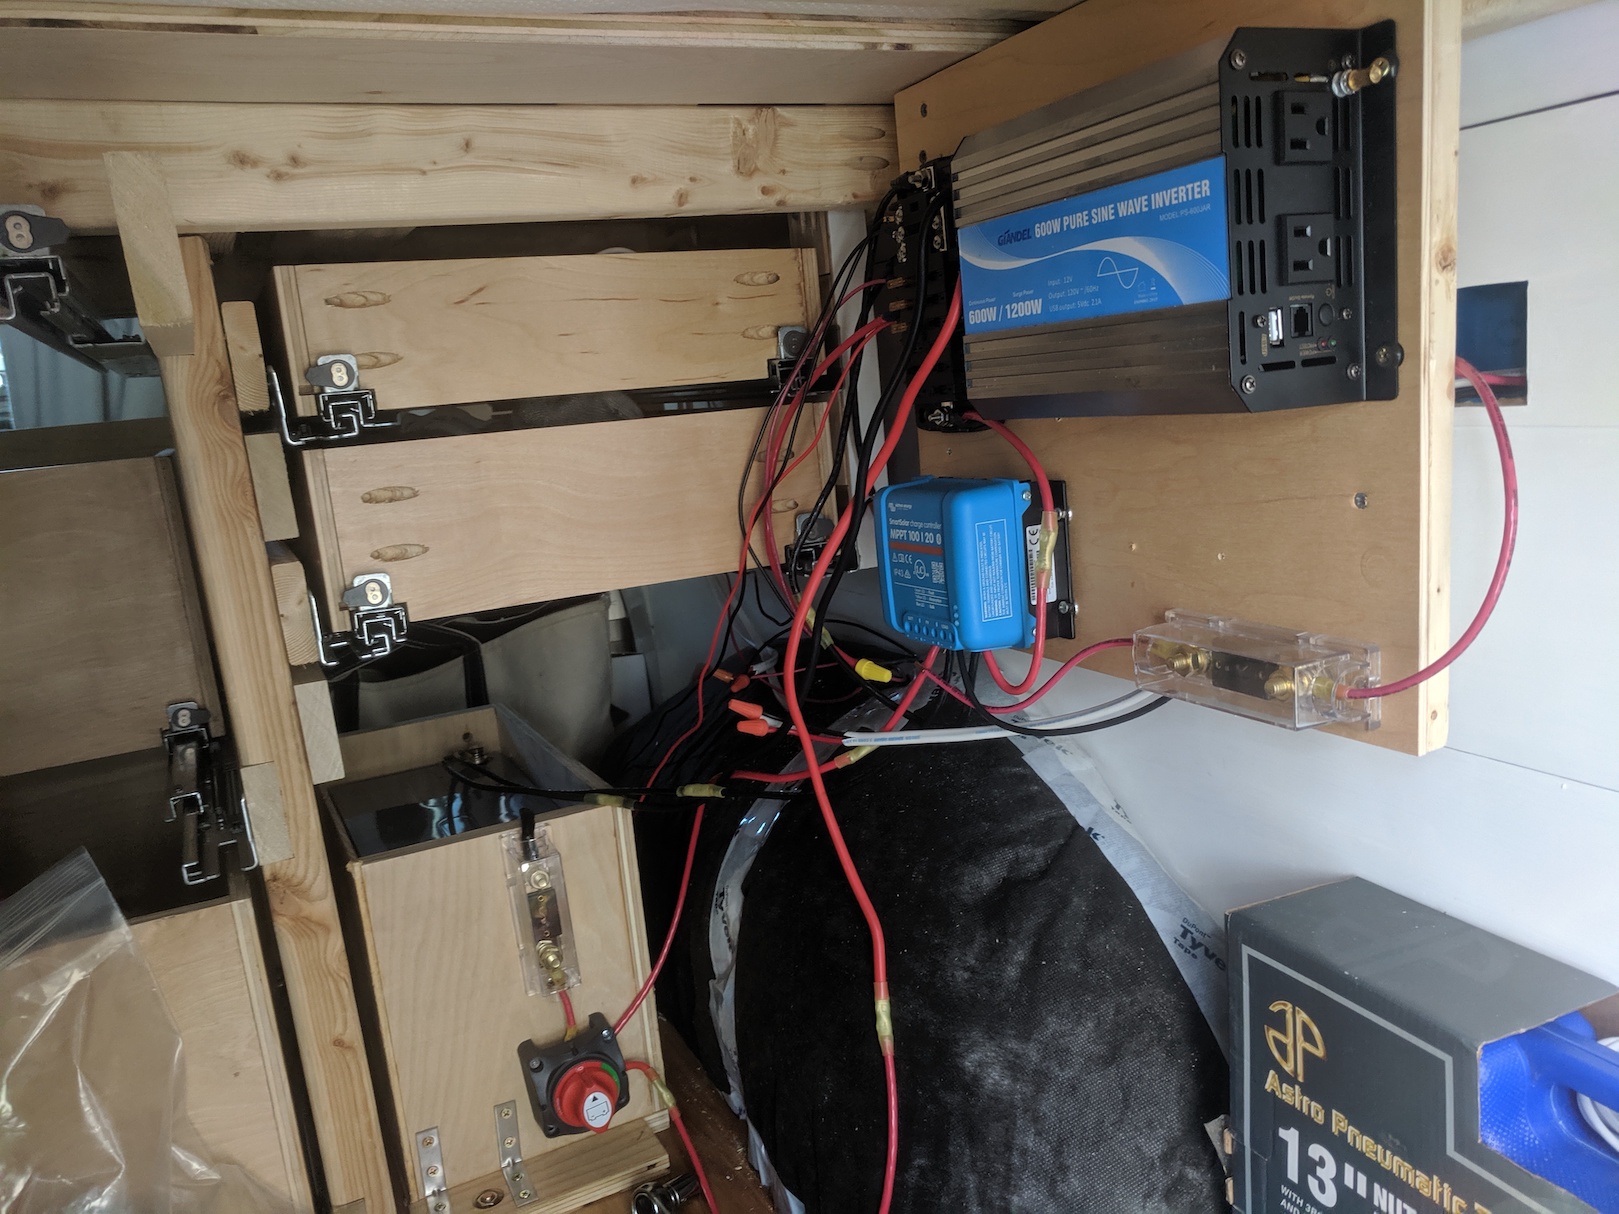 The electrical panel, rearranged to fit the inverter
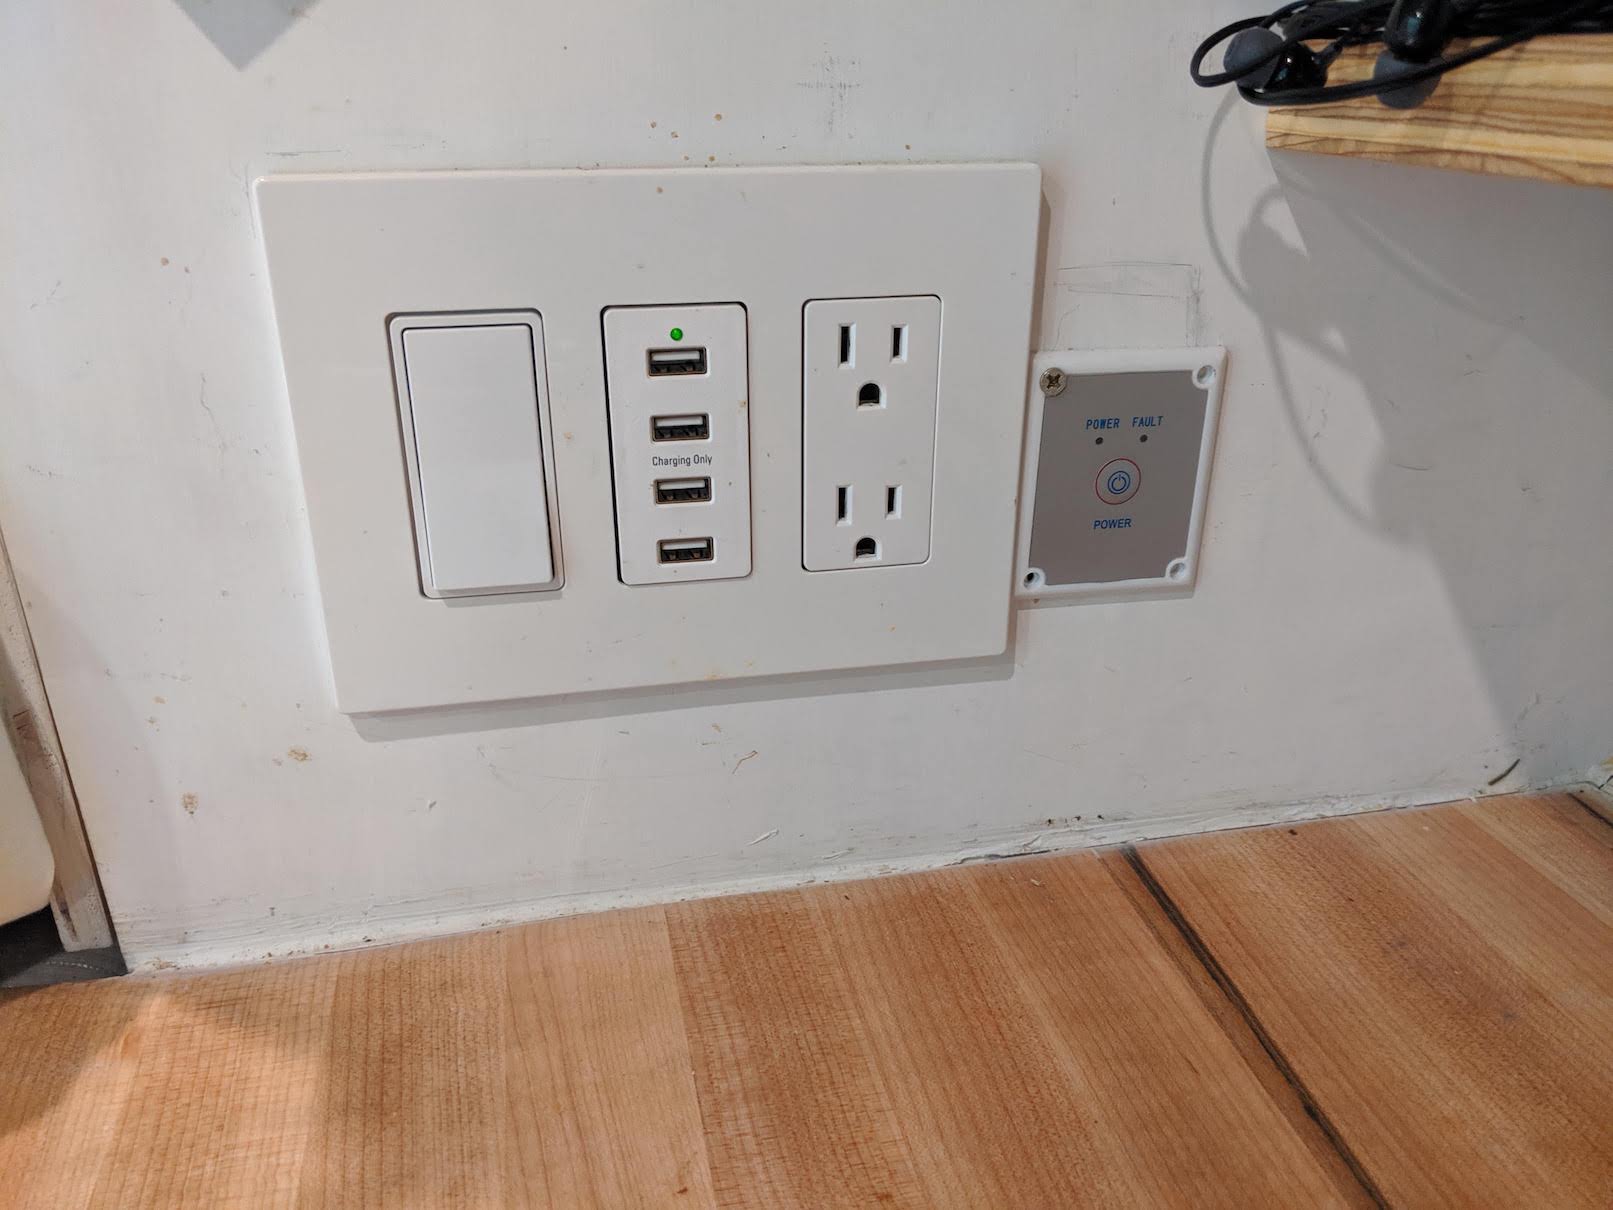 Closeup of the AC outlet and inverter control panel, along with some extra electronics
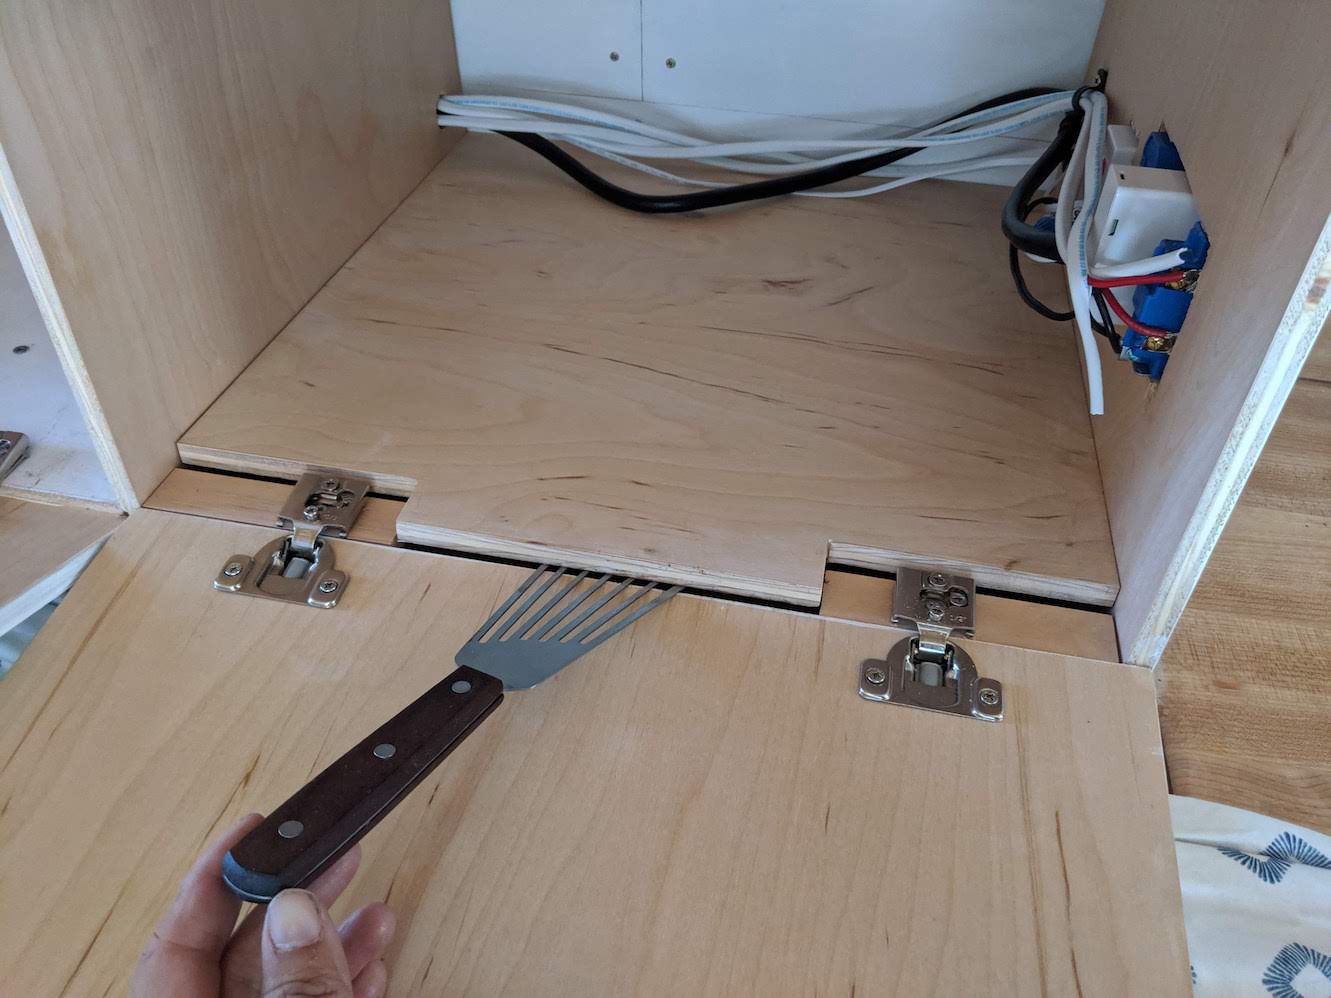 Inside the cabinet
Sign up for the mailing list
Comments