THE VAN PROJECT - Prep, Insulation & Rust Abatement
This is the second post in a series that serves as the primary documentation of how I purchased and converted a 2008 Dodge Sprinter Van to a full-time living space.
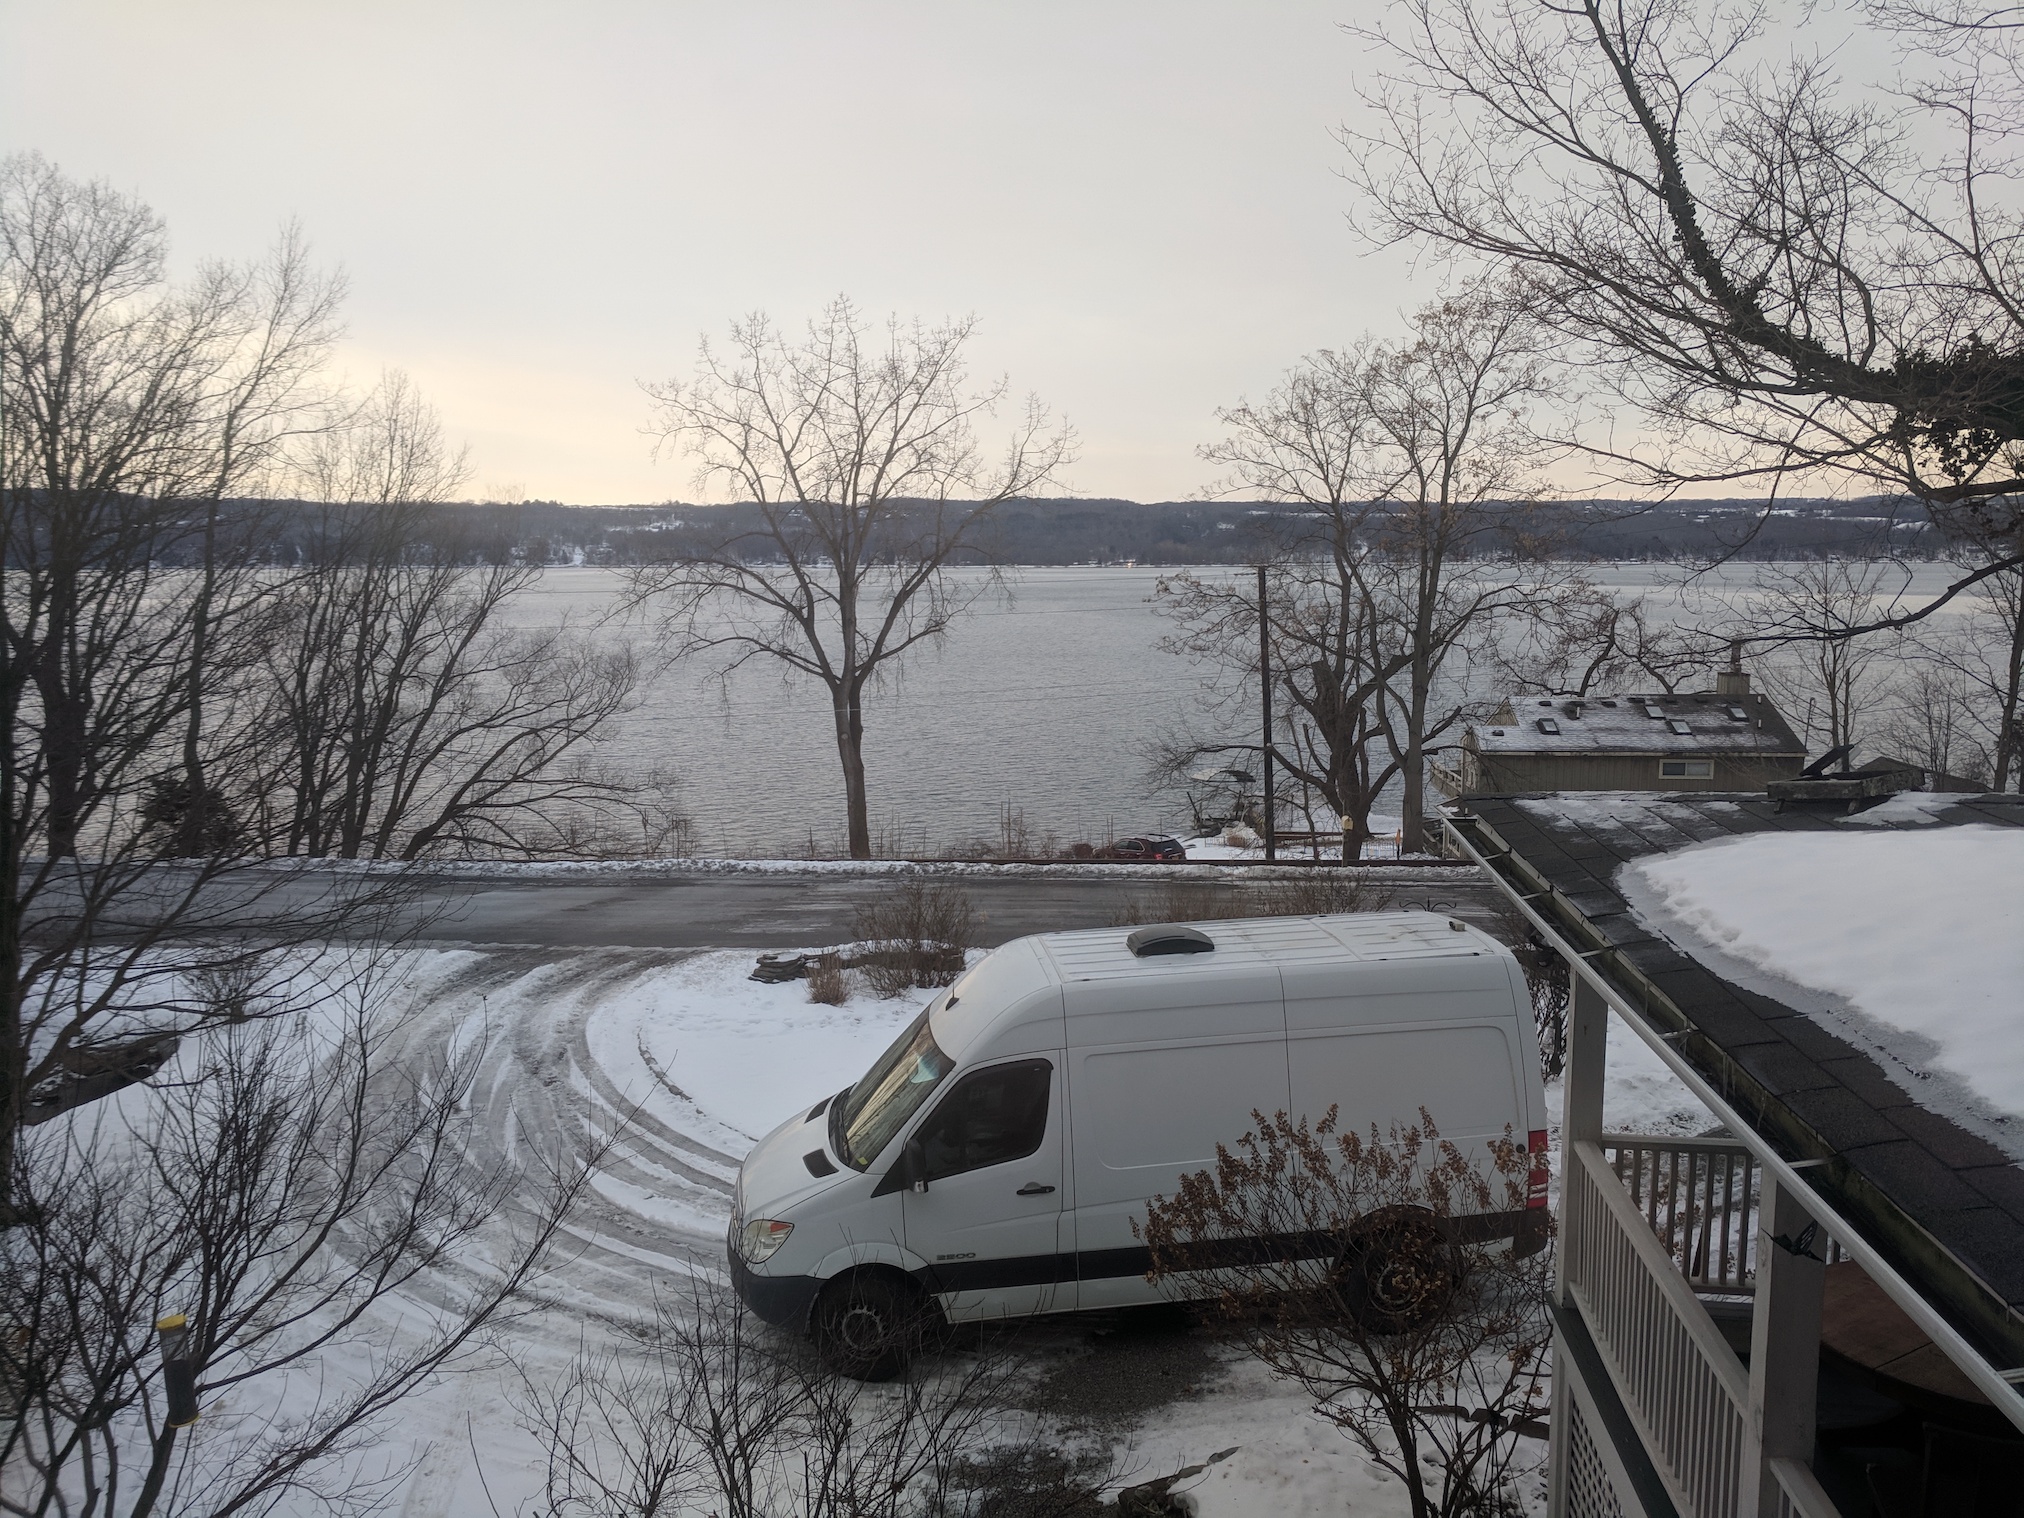 Ithaca, NY
Insulation 1
One of the first decisions a prospective van-converter has to make is whether or not, and what kind of insulation to use. Many hold the opinion that body heat alone isn’t enough to meaningfully warm the van since it’s so large, and opt to skip out on insulation. I have not lived in a comparable insulation-free environment, so I can’t comment necessarily on whether this is a wise decision.
The van I bought came with an open-cell spray foam treatment already done. Spray foam is one of the most intense insulation options - it’s messy, expensive, often requires professional help, but supposedly offers numerous benefits. Closed cell spray foam in particular is quite nice since it is waterproof and bonds seamlessly to the van walls, making it impossible for water to collect behind it and cause rust damage. Open cell spray foam on the other hand, is water permeable, and when I went to investigate I found a moderate amount of rust buildup along the bottom of the van chassis, where water presumably was able to collect in the sponge-like insulation.
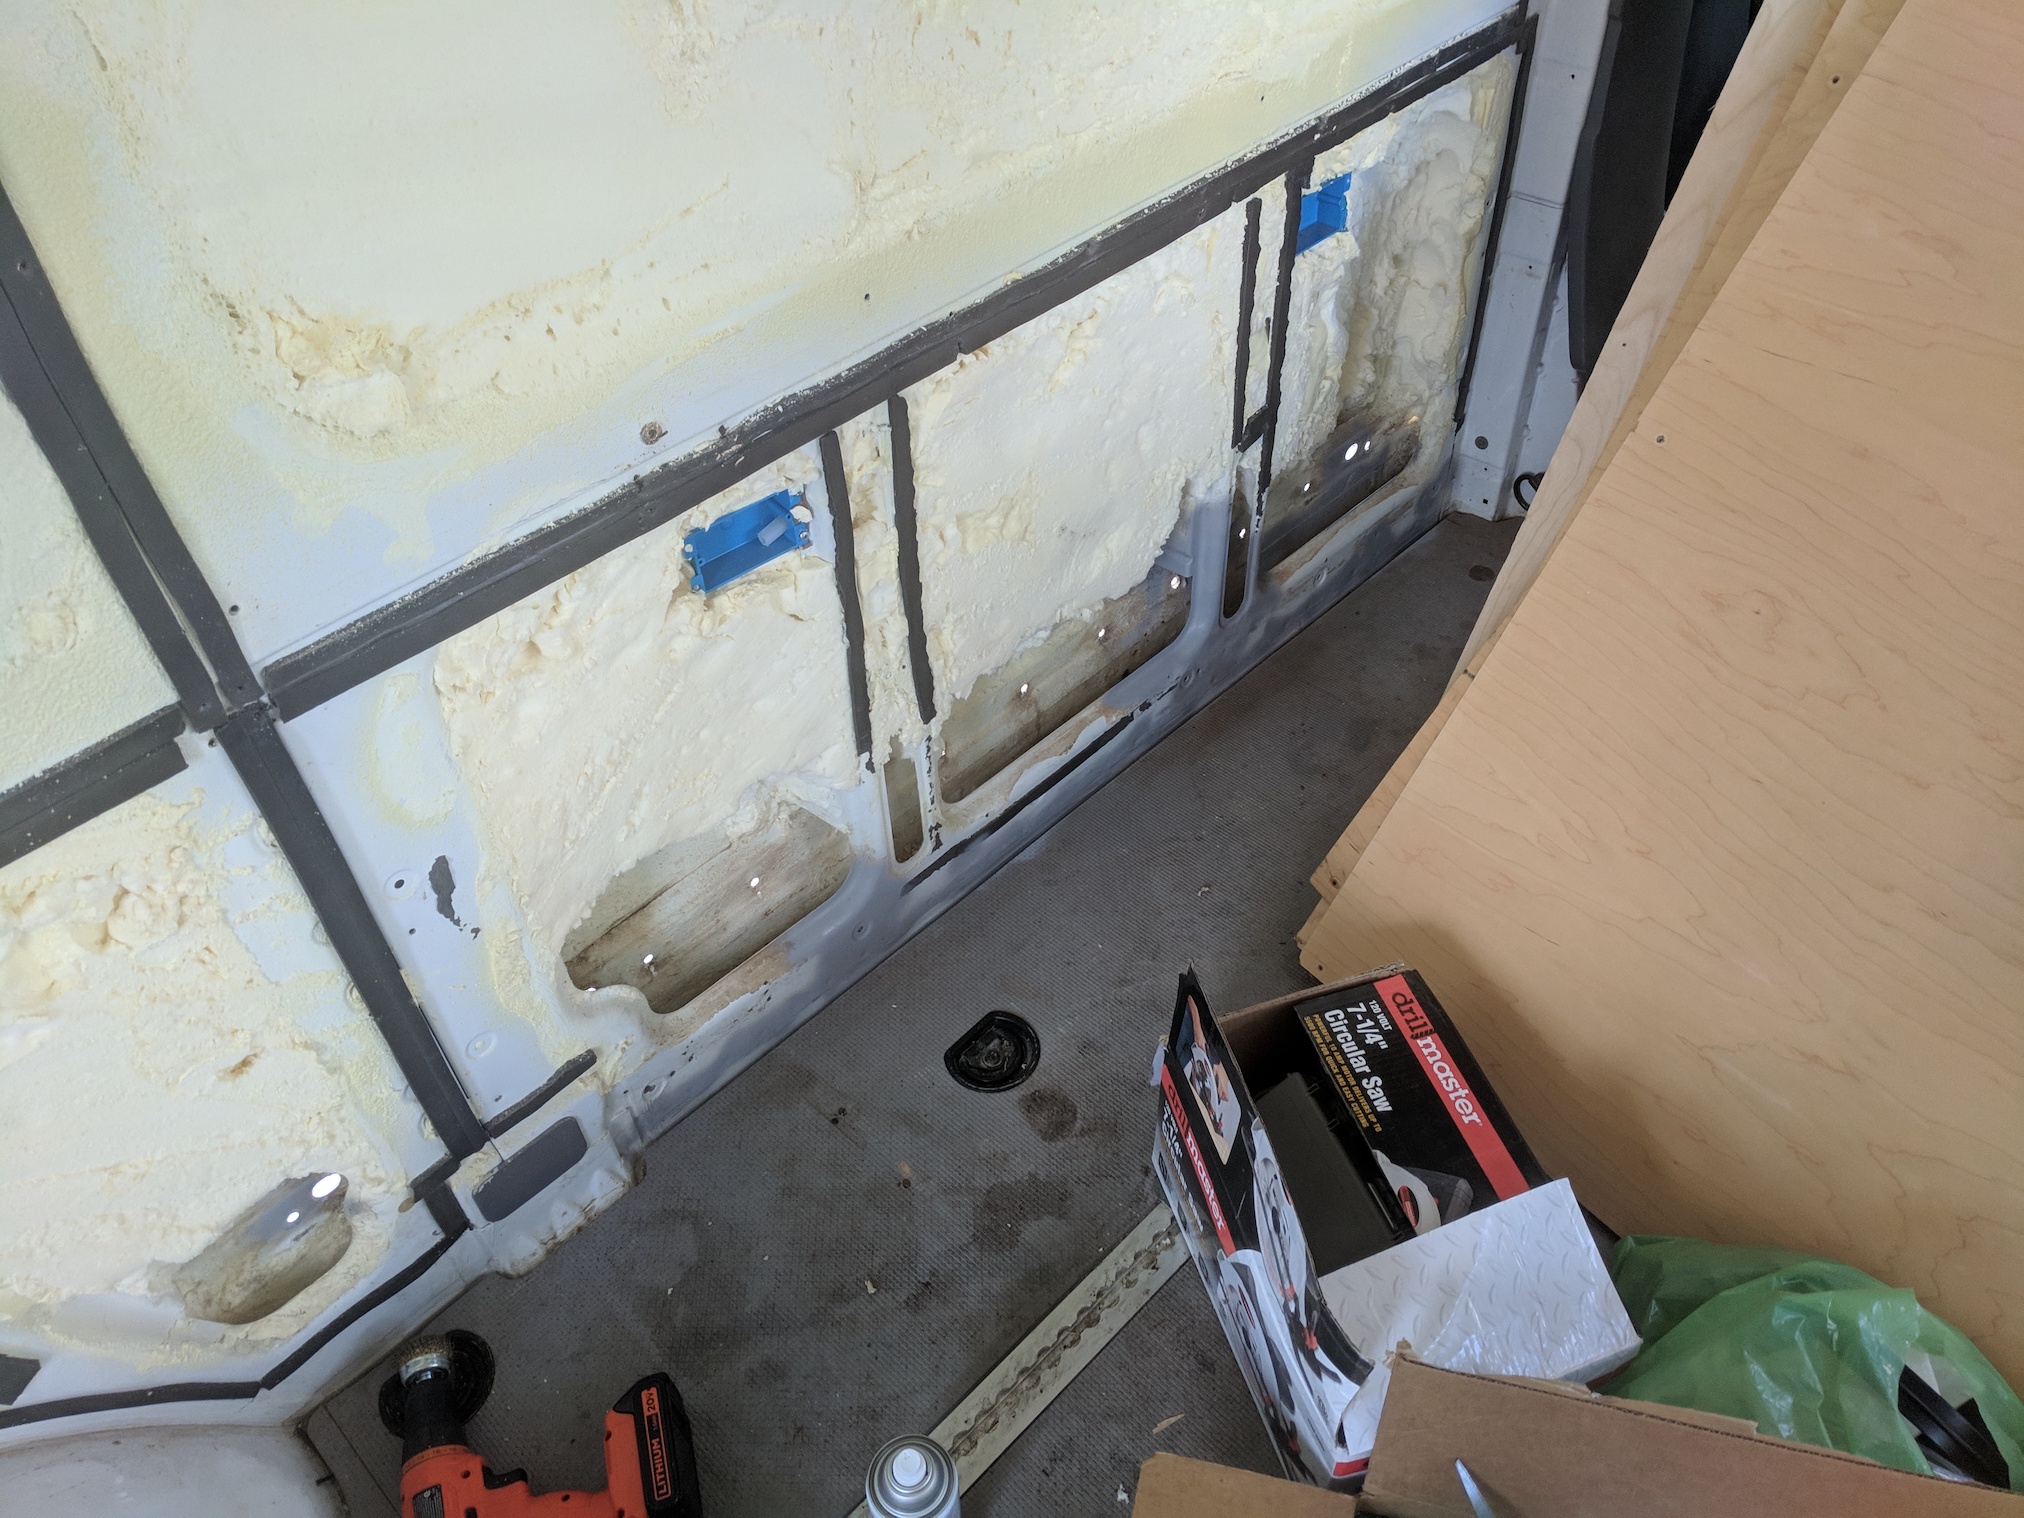
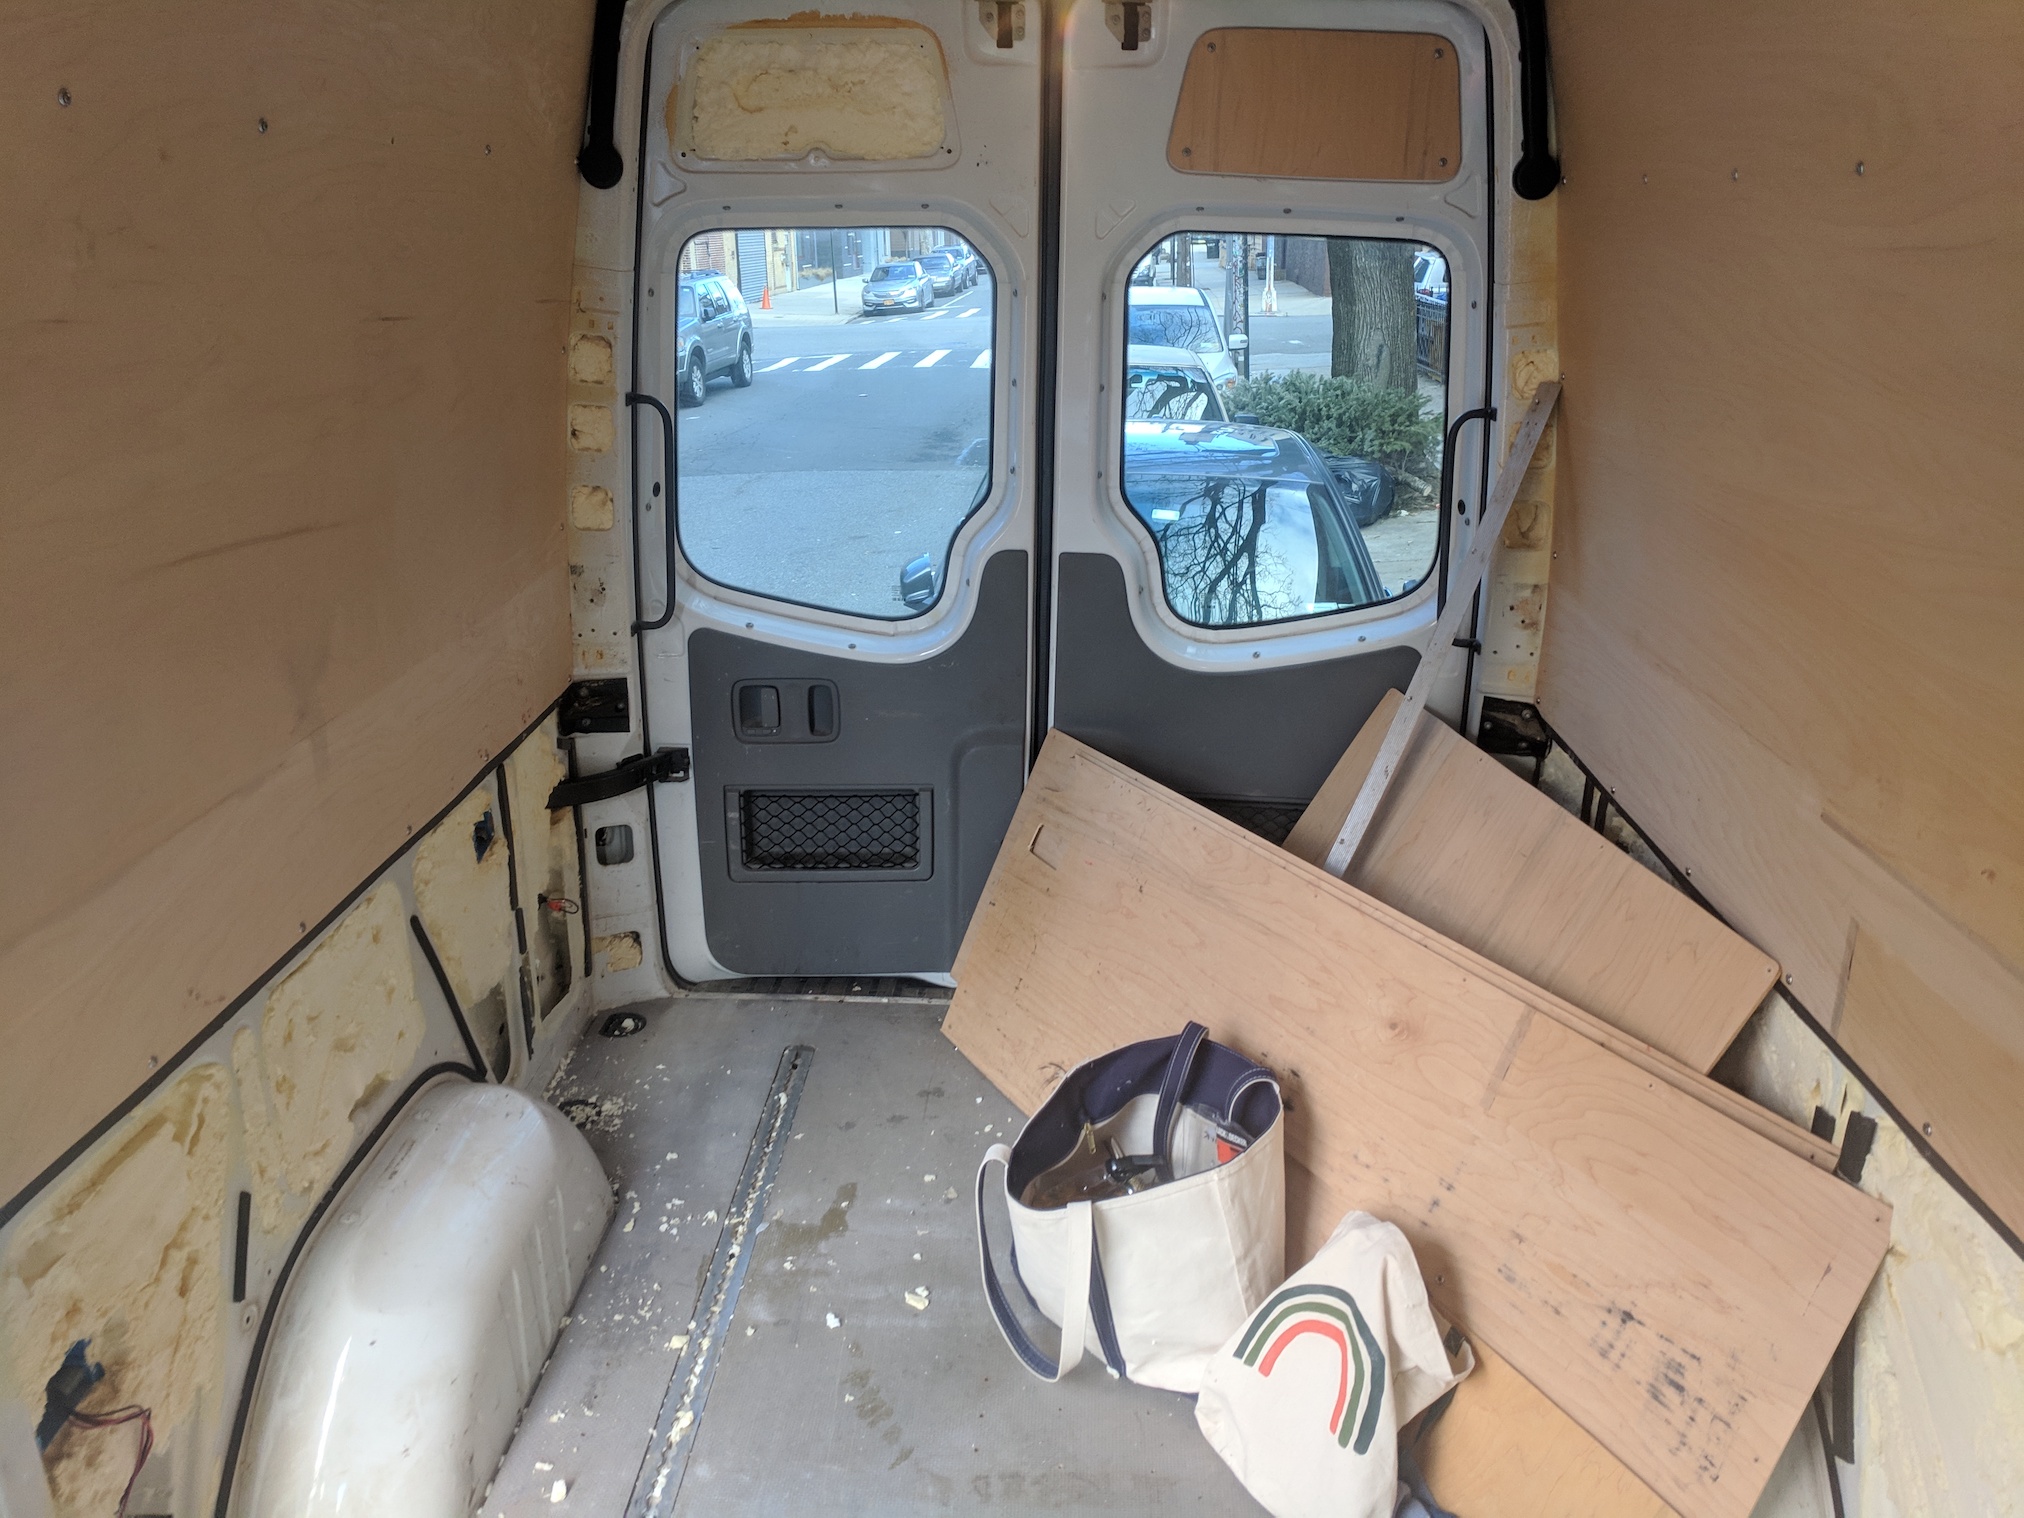 Removing the wall panels to reveal the spray foam insulation
Elena and I tore out the spray foam insulation all along the bottom of the van walls. Some of it was damp even though it had been quite dry over the past several days (gross!)
Rust Abatement
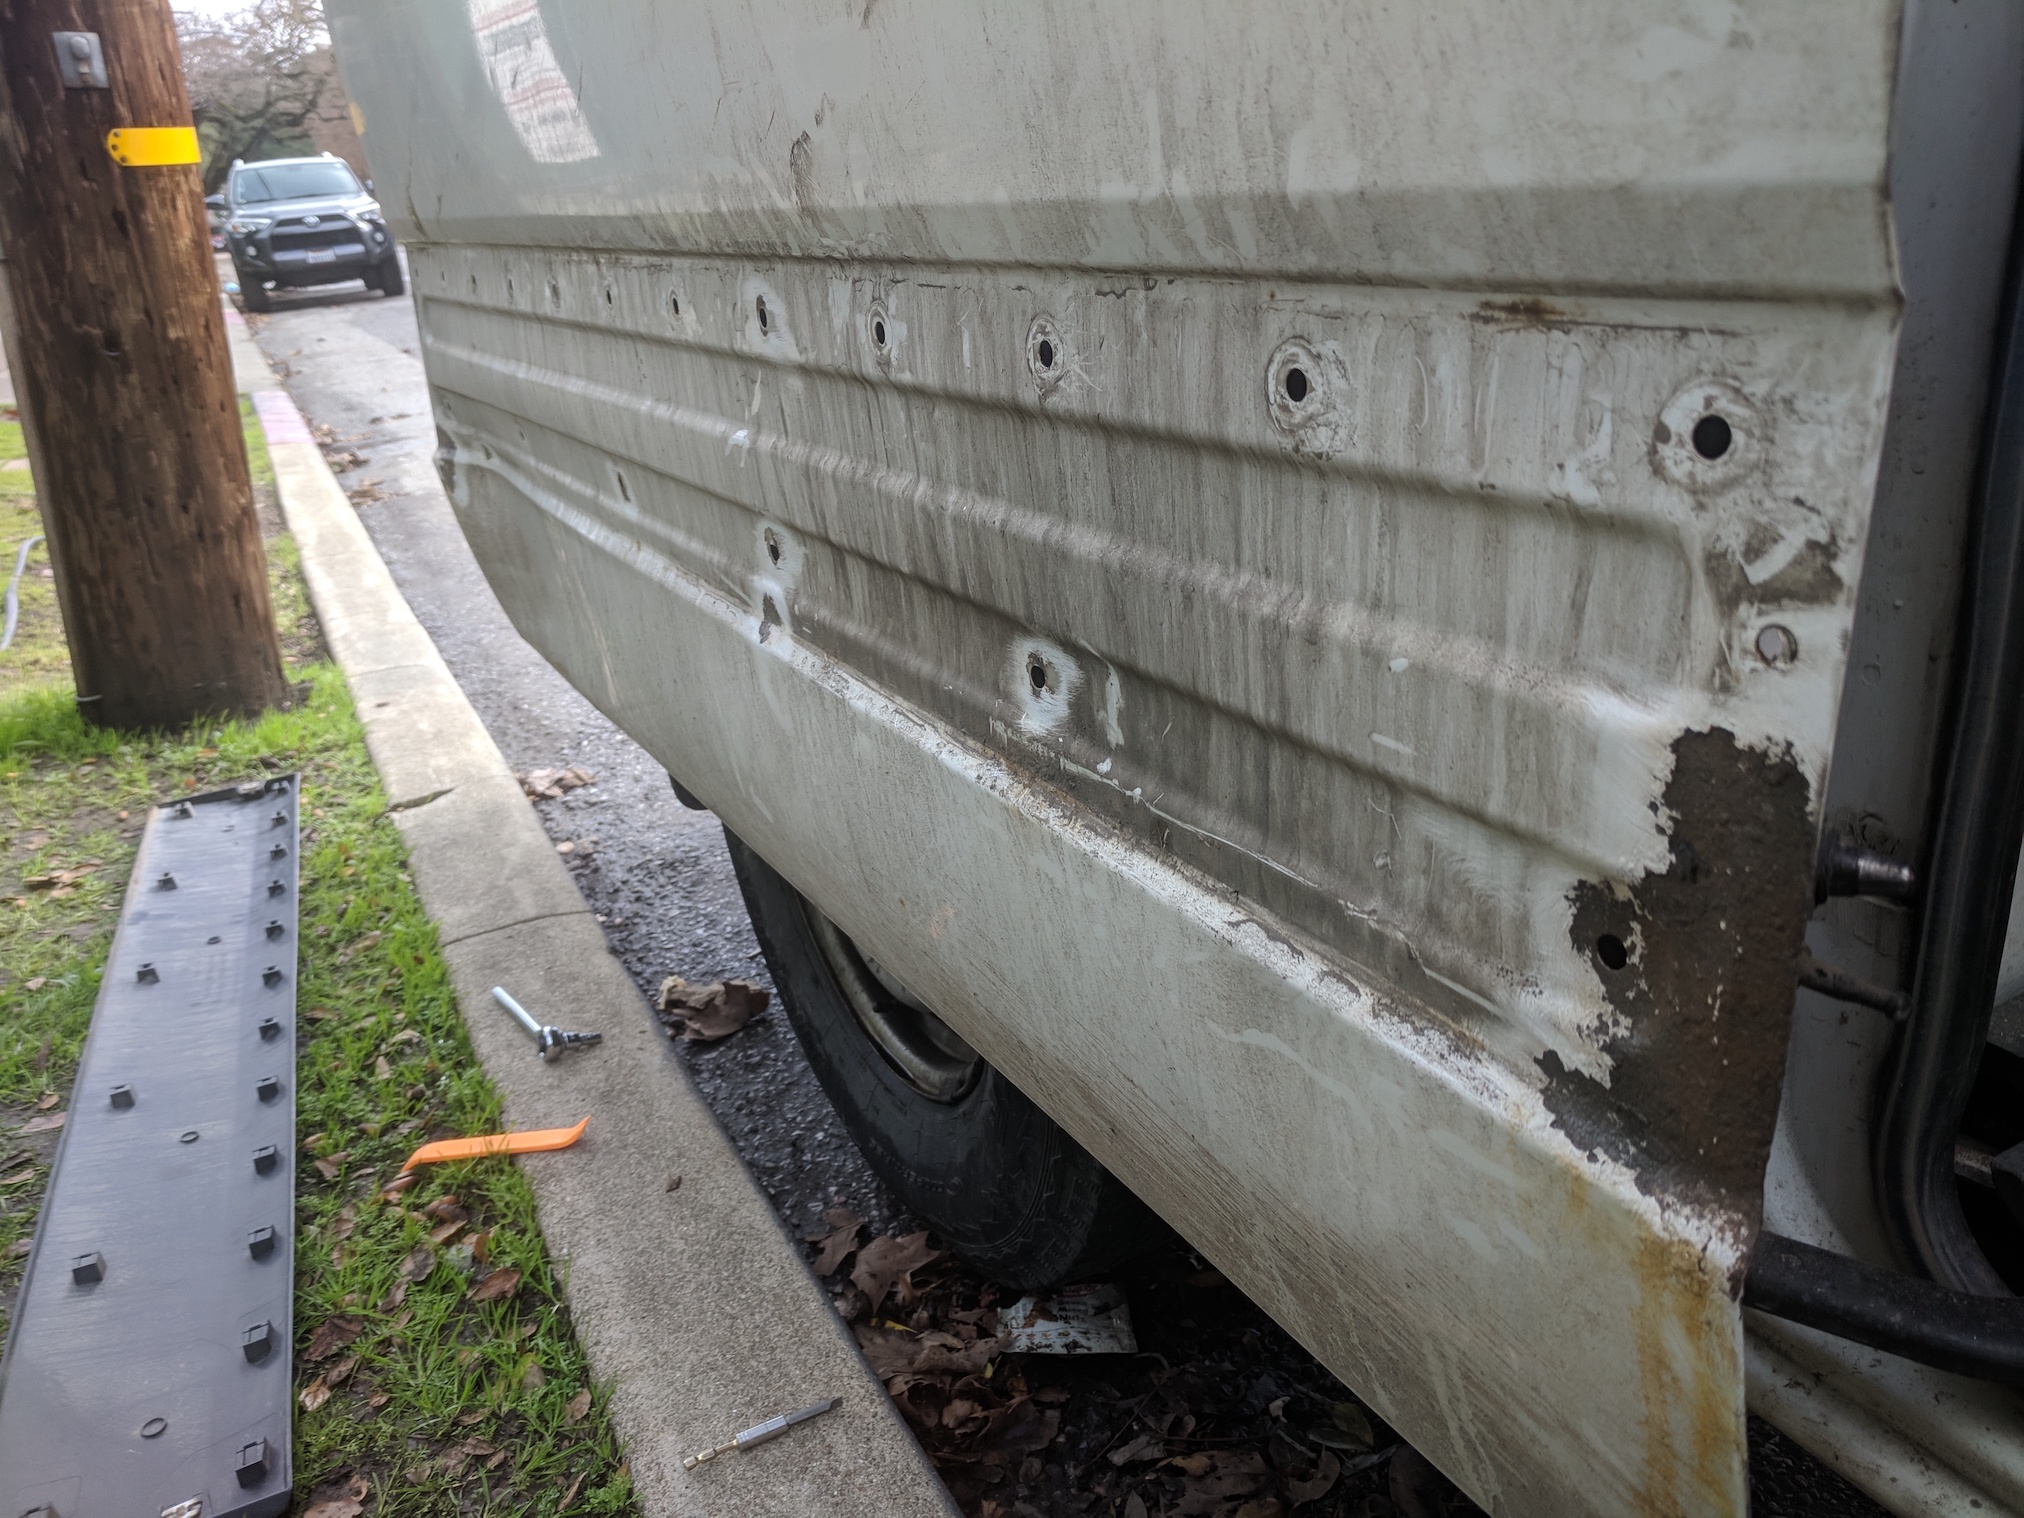
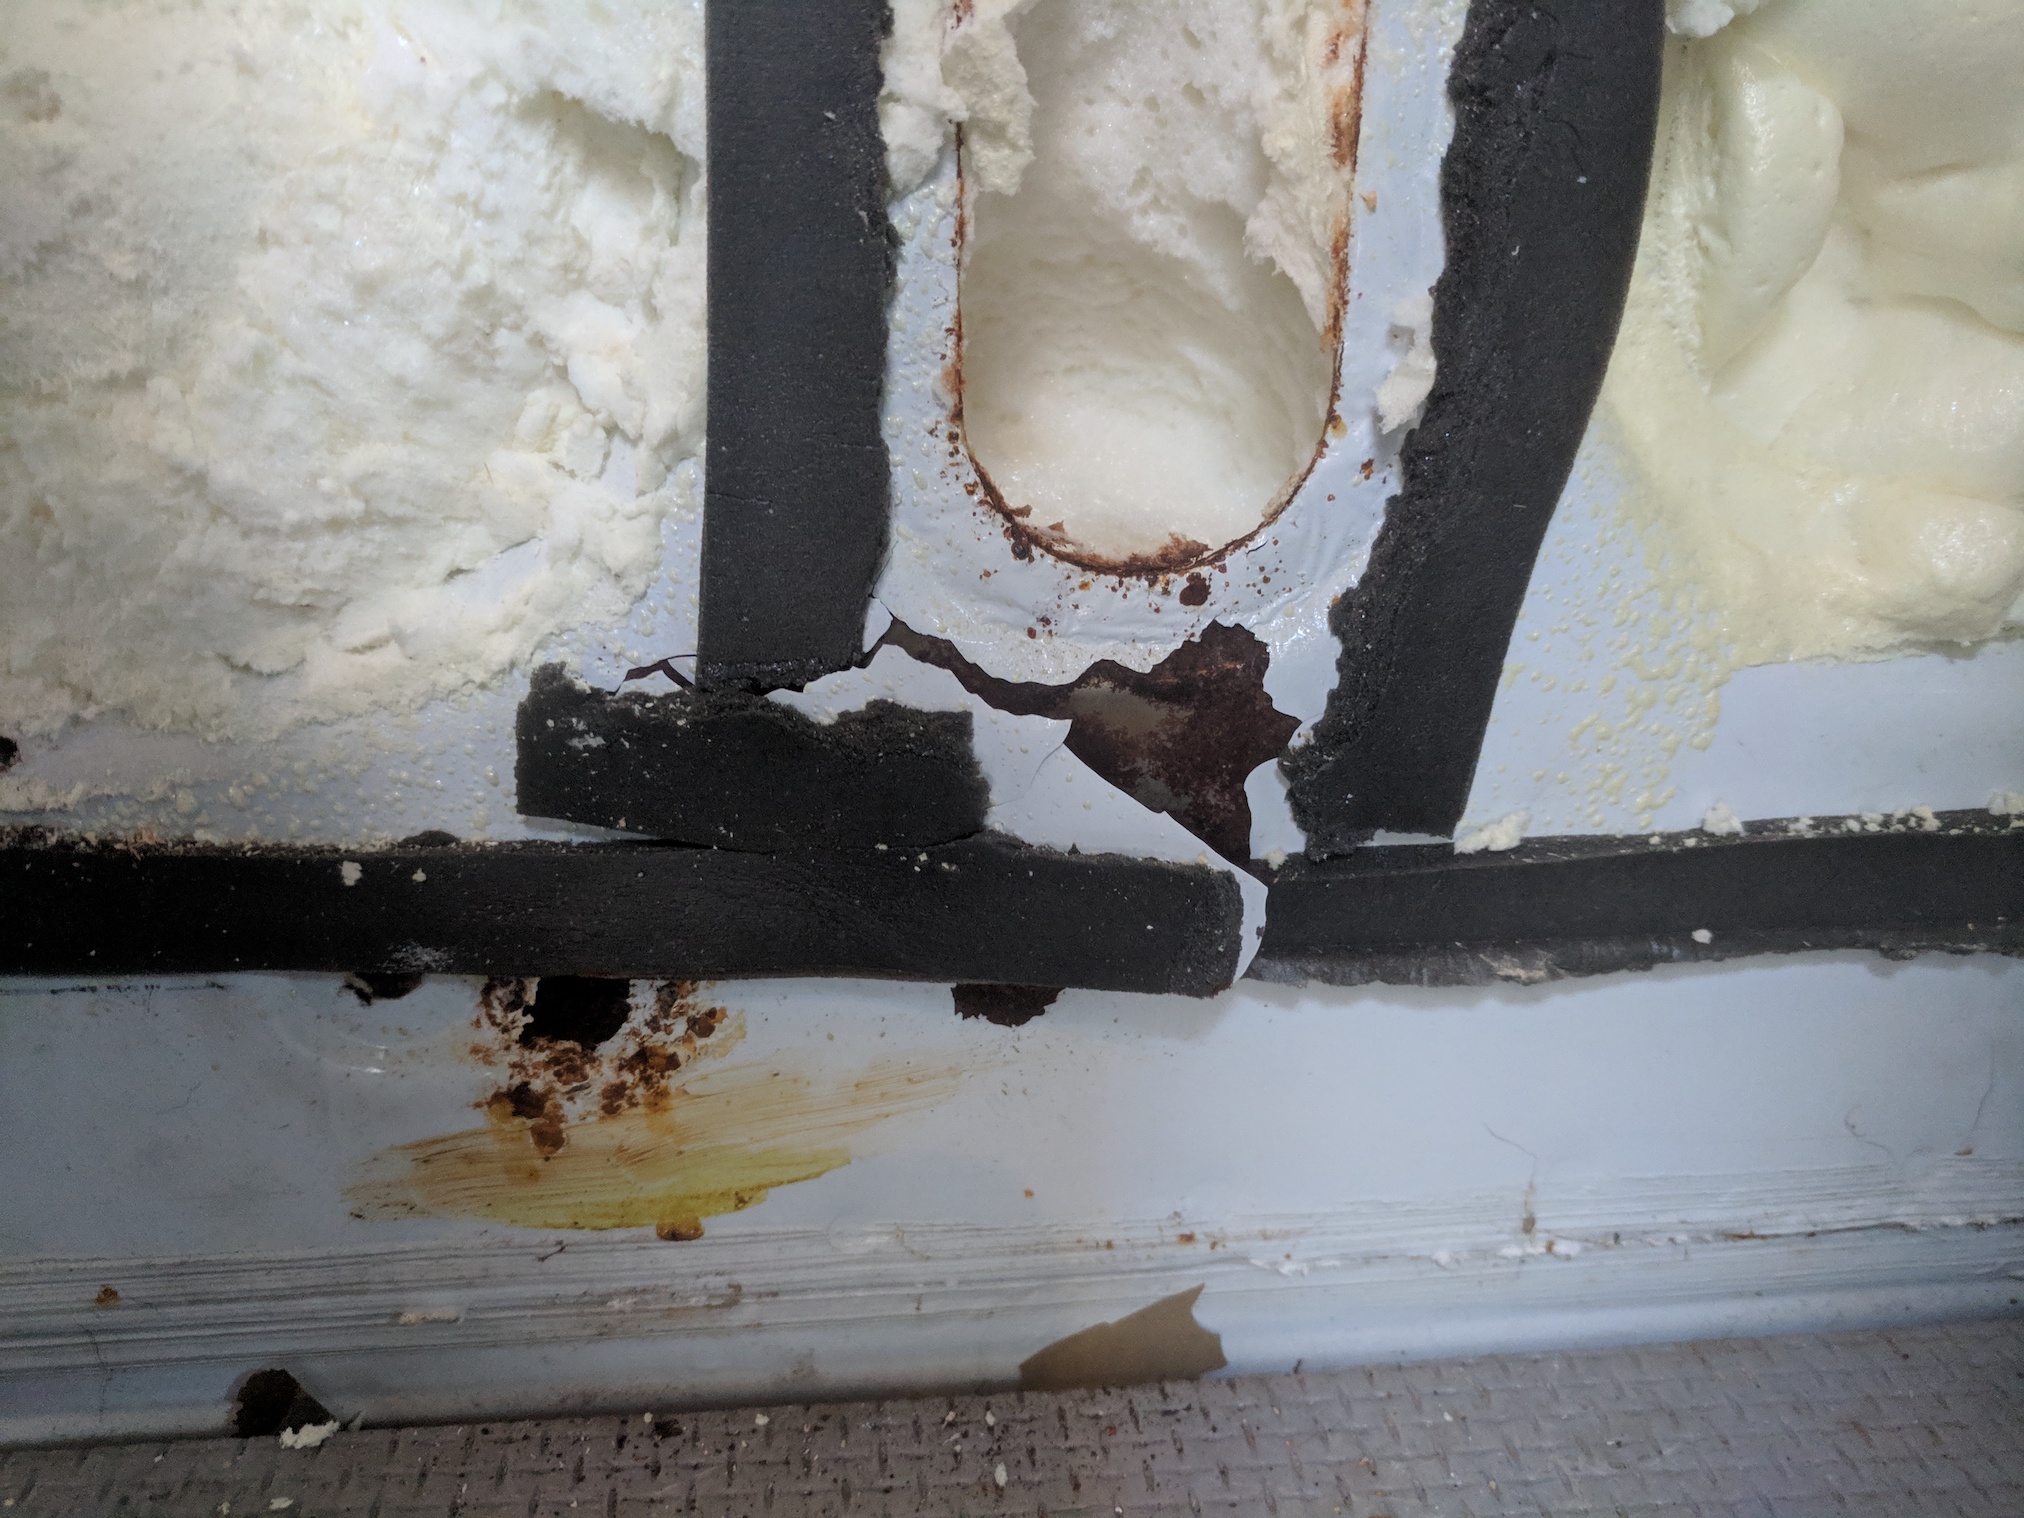 Closeup shot of the rust near the floor
Before I could replace the insulation with something better, I had to deal with the rust buildup that had taken place over the last years of the van’s previous life. I used a steel brush drill attachment, varying grades of sandpaper, and lots of elbow grease to break down all the rust spots I could find. The next phase was to clean and etch the bare steel with POR-15 cleaner and metal prep solution. Finally, I repainted using several coats of Rustoleum primer and gloss white paint. It’s not an exact match, but it’s very close and many of these areas will be covered in the future anyway.
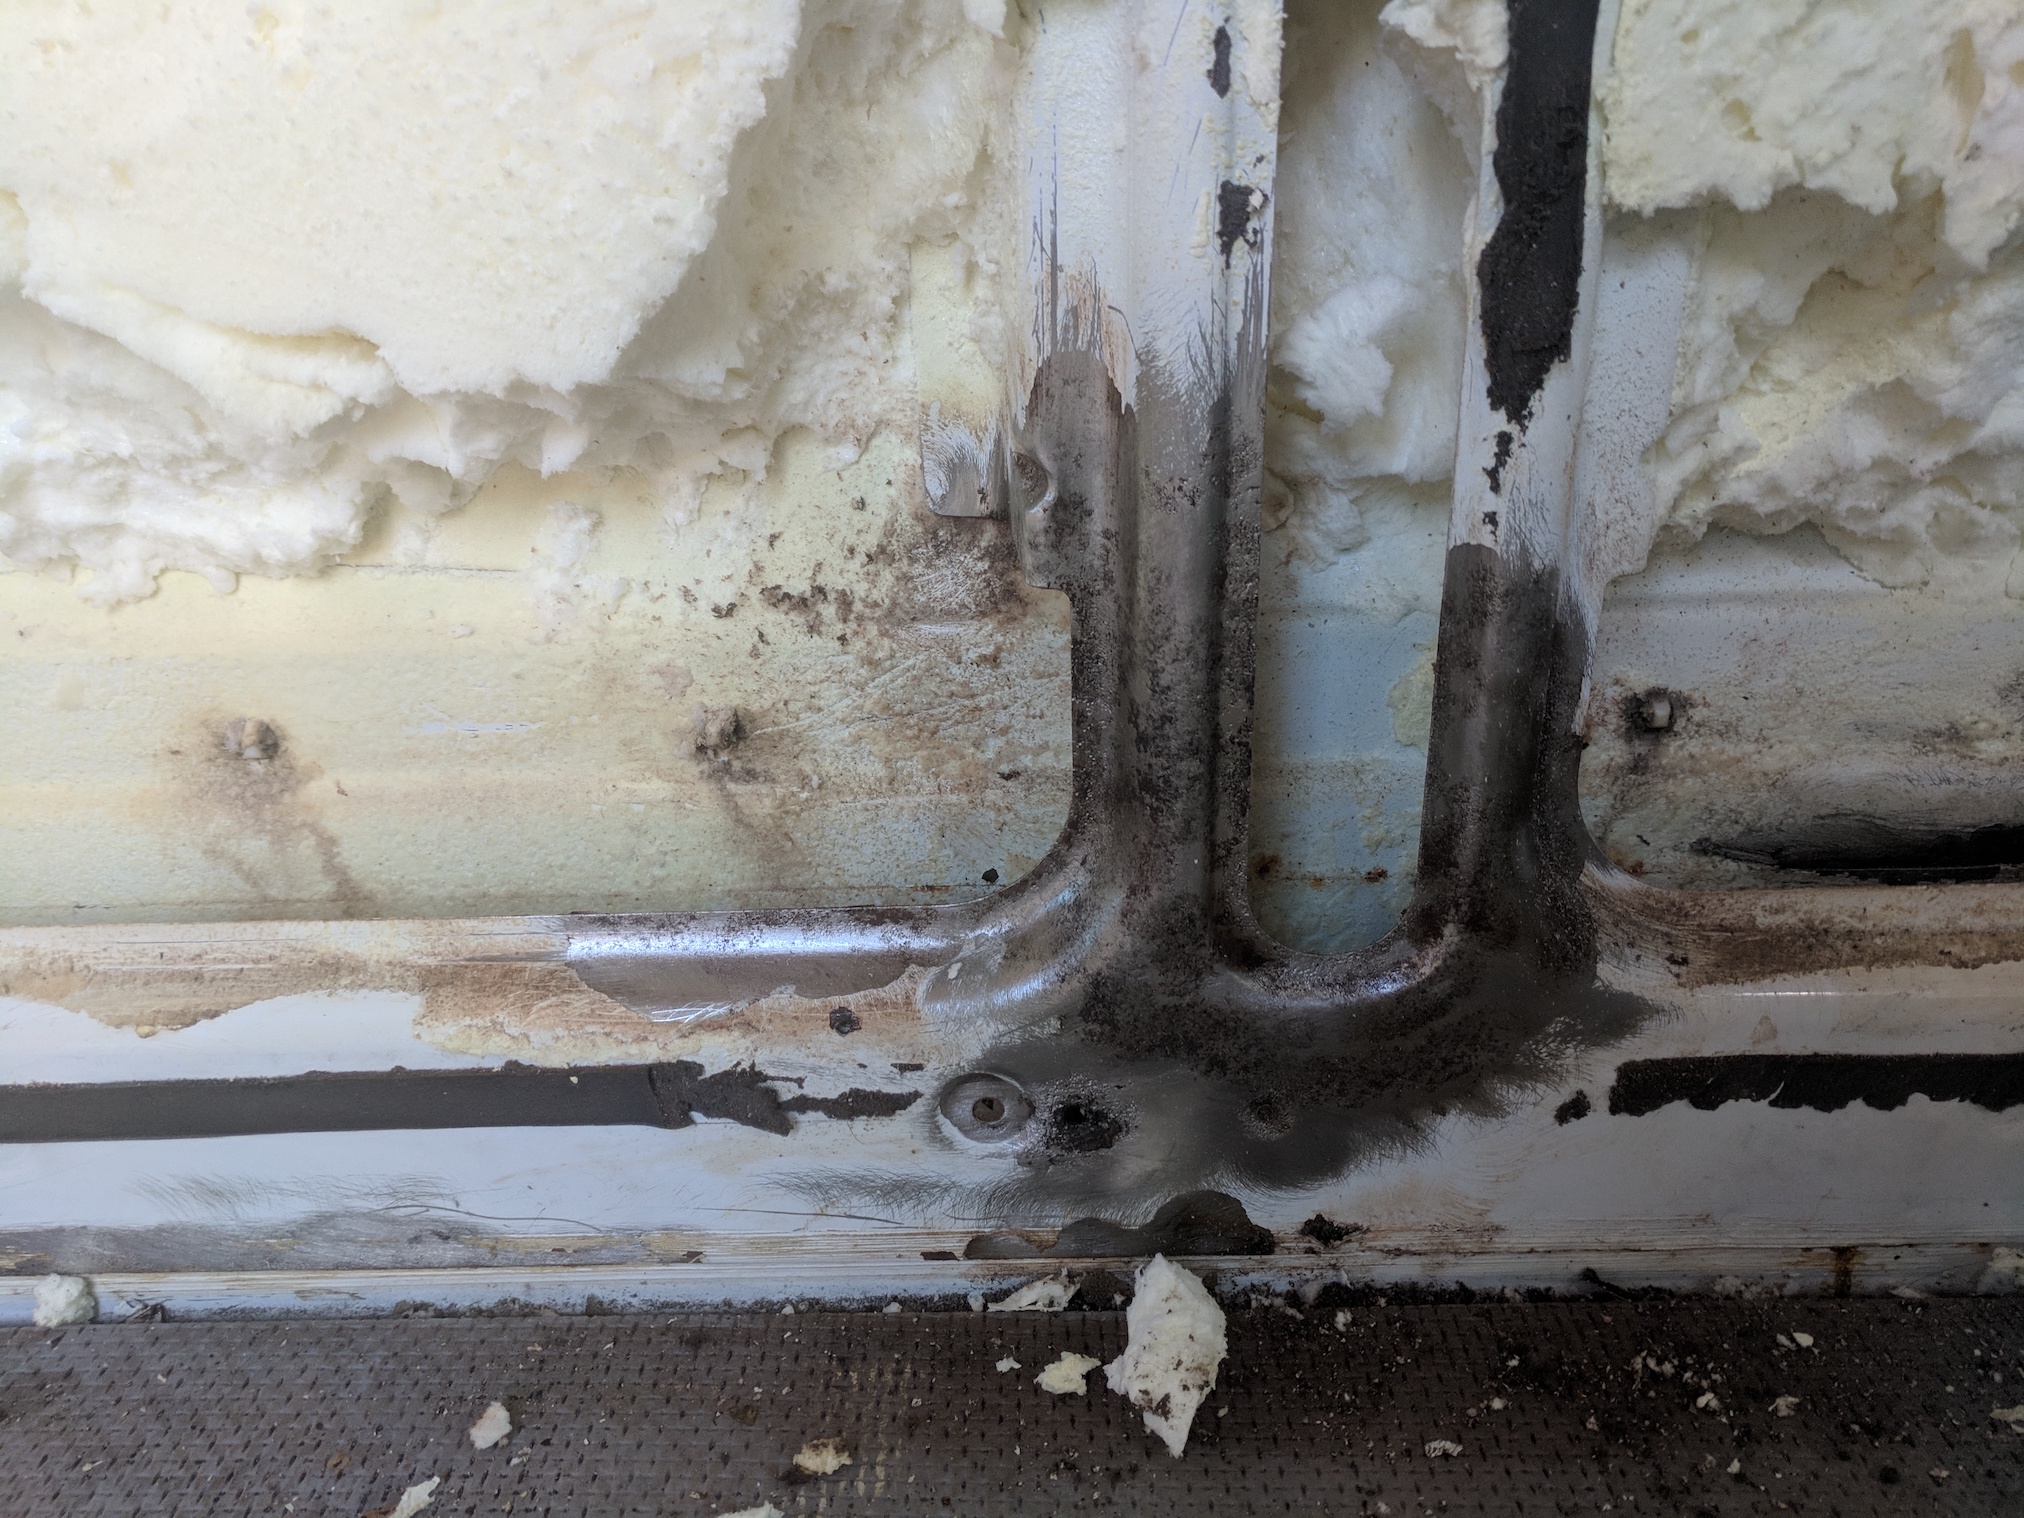 Grinding down to rust-free steel
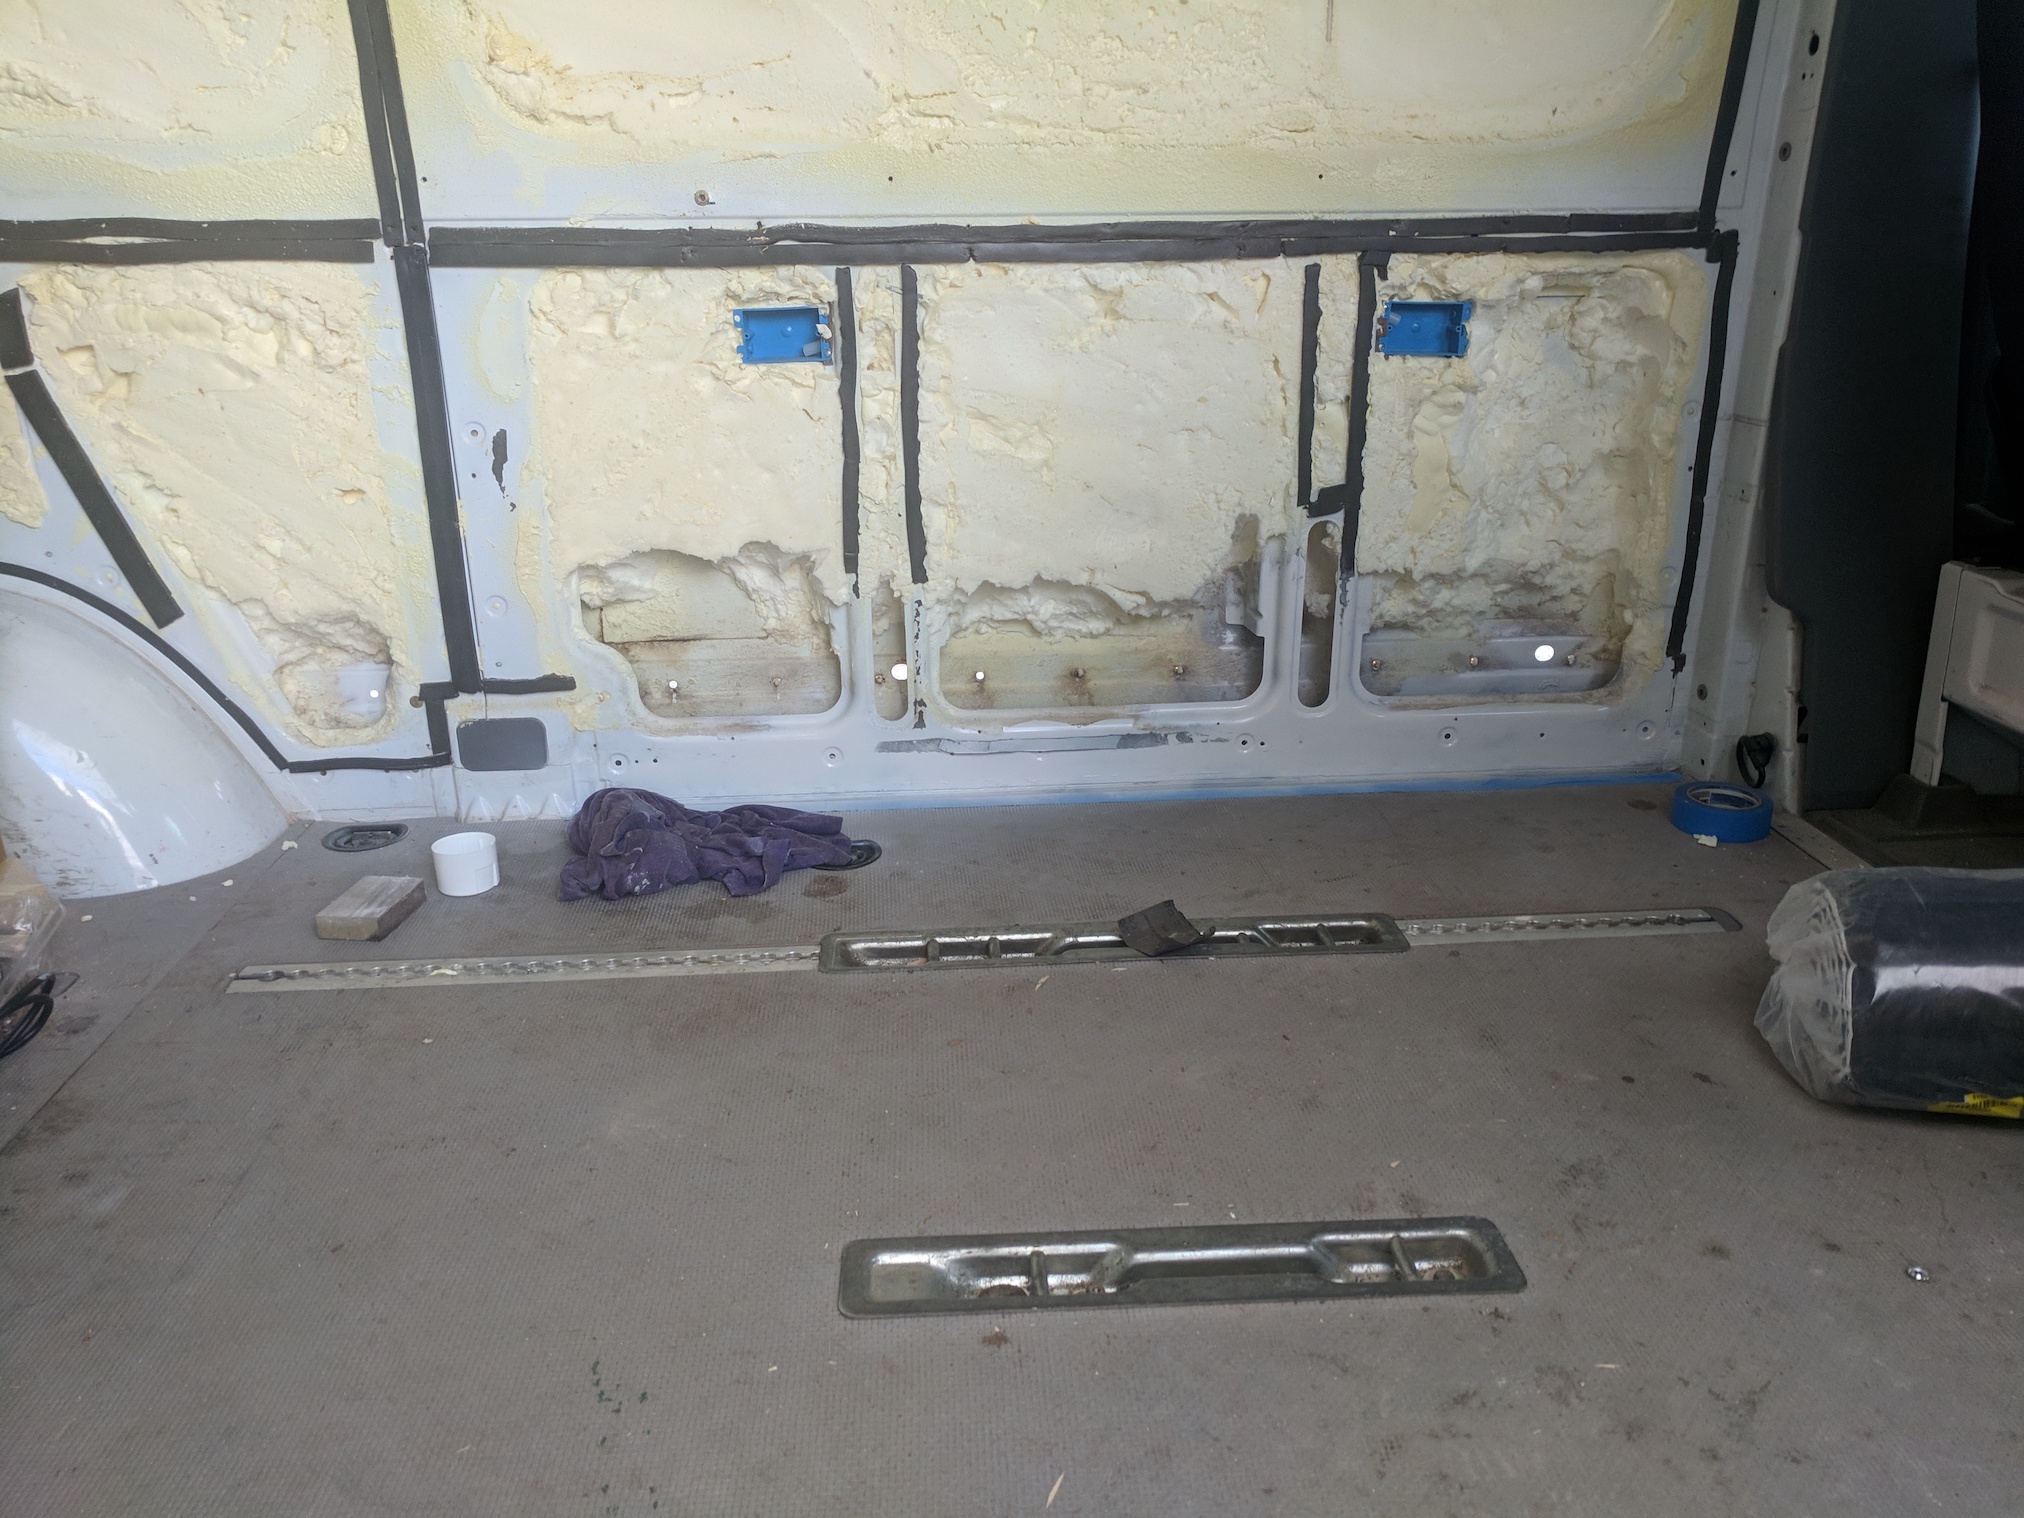
 Lower foam torn out and rust spots primed
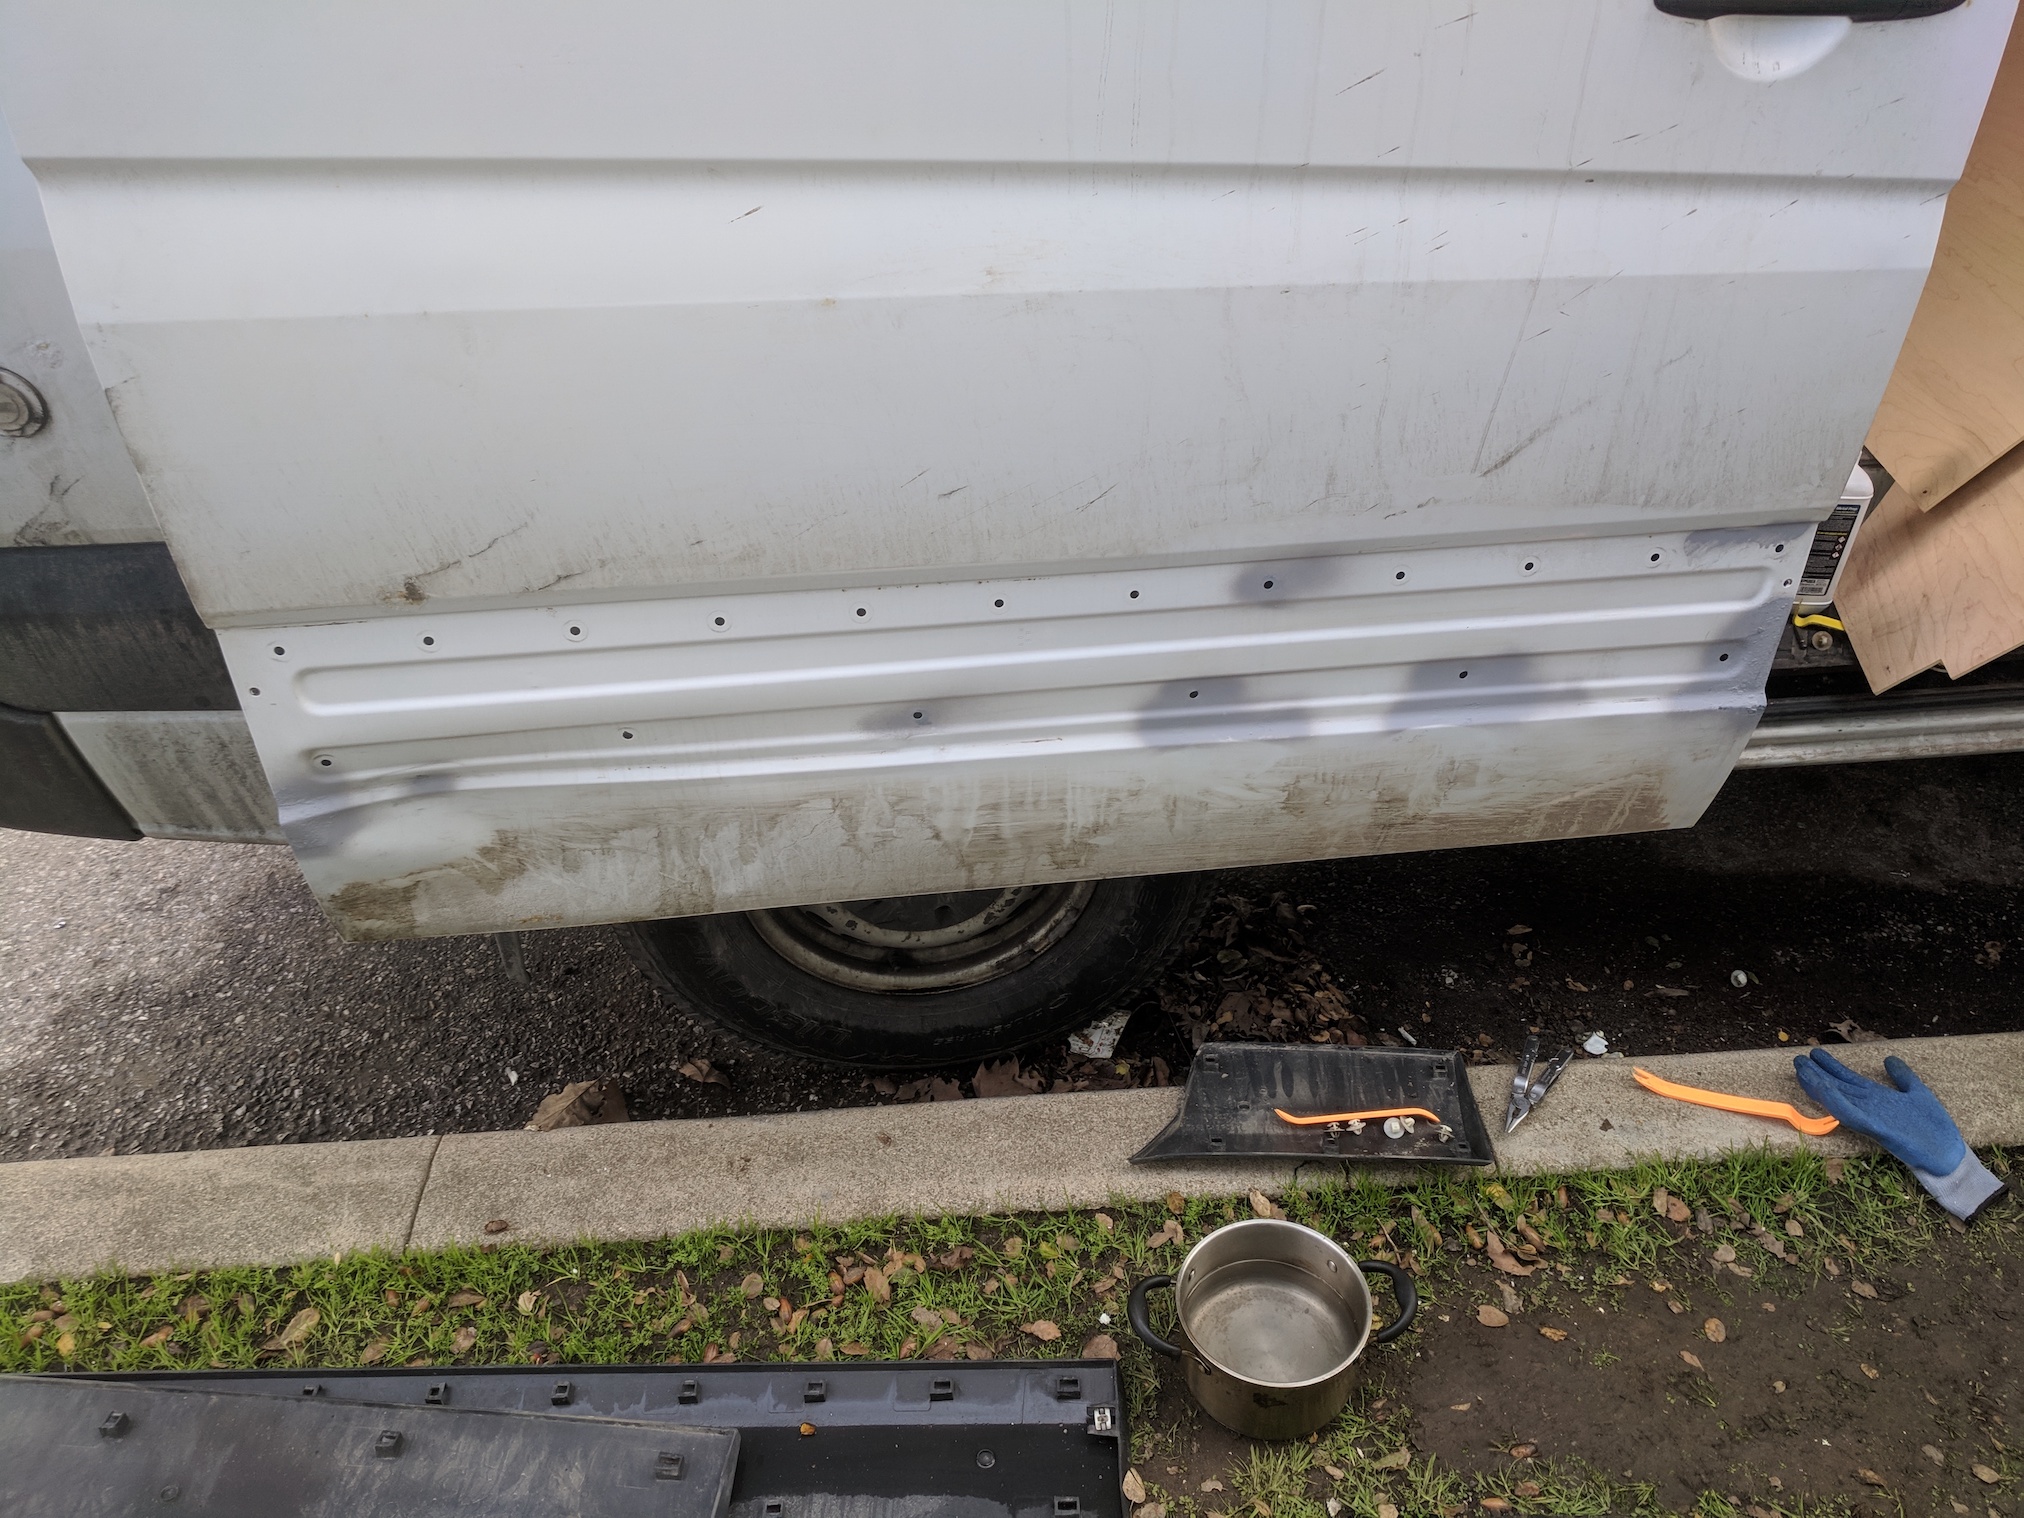
 Good as new!
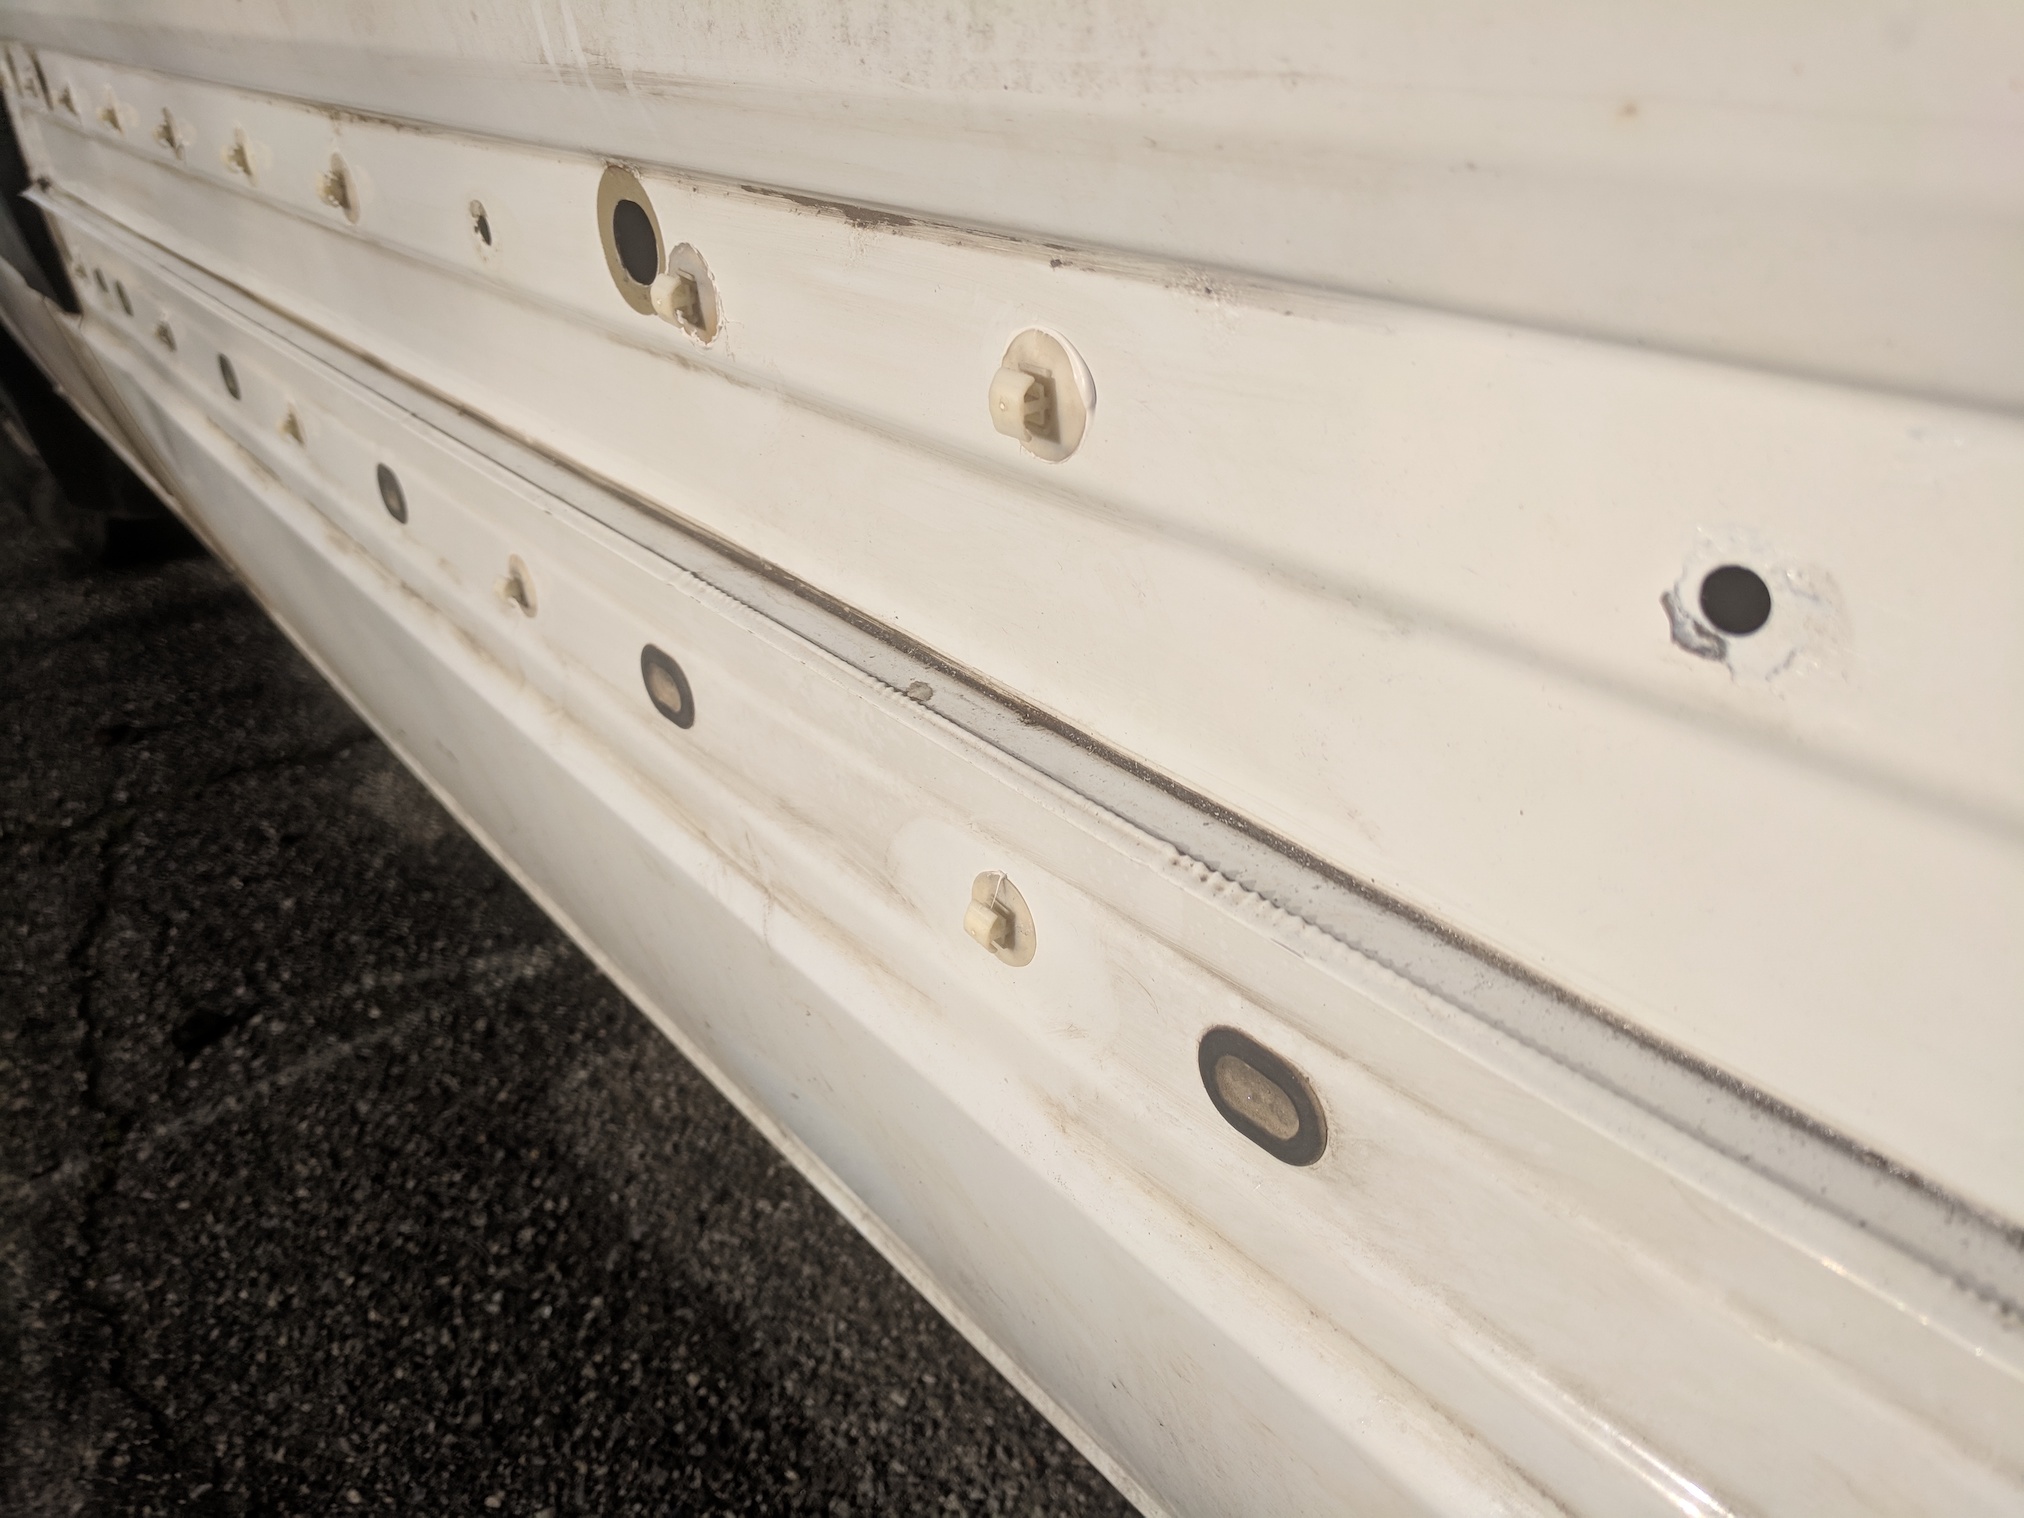
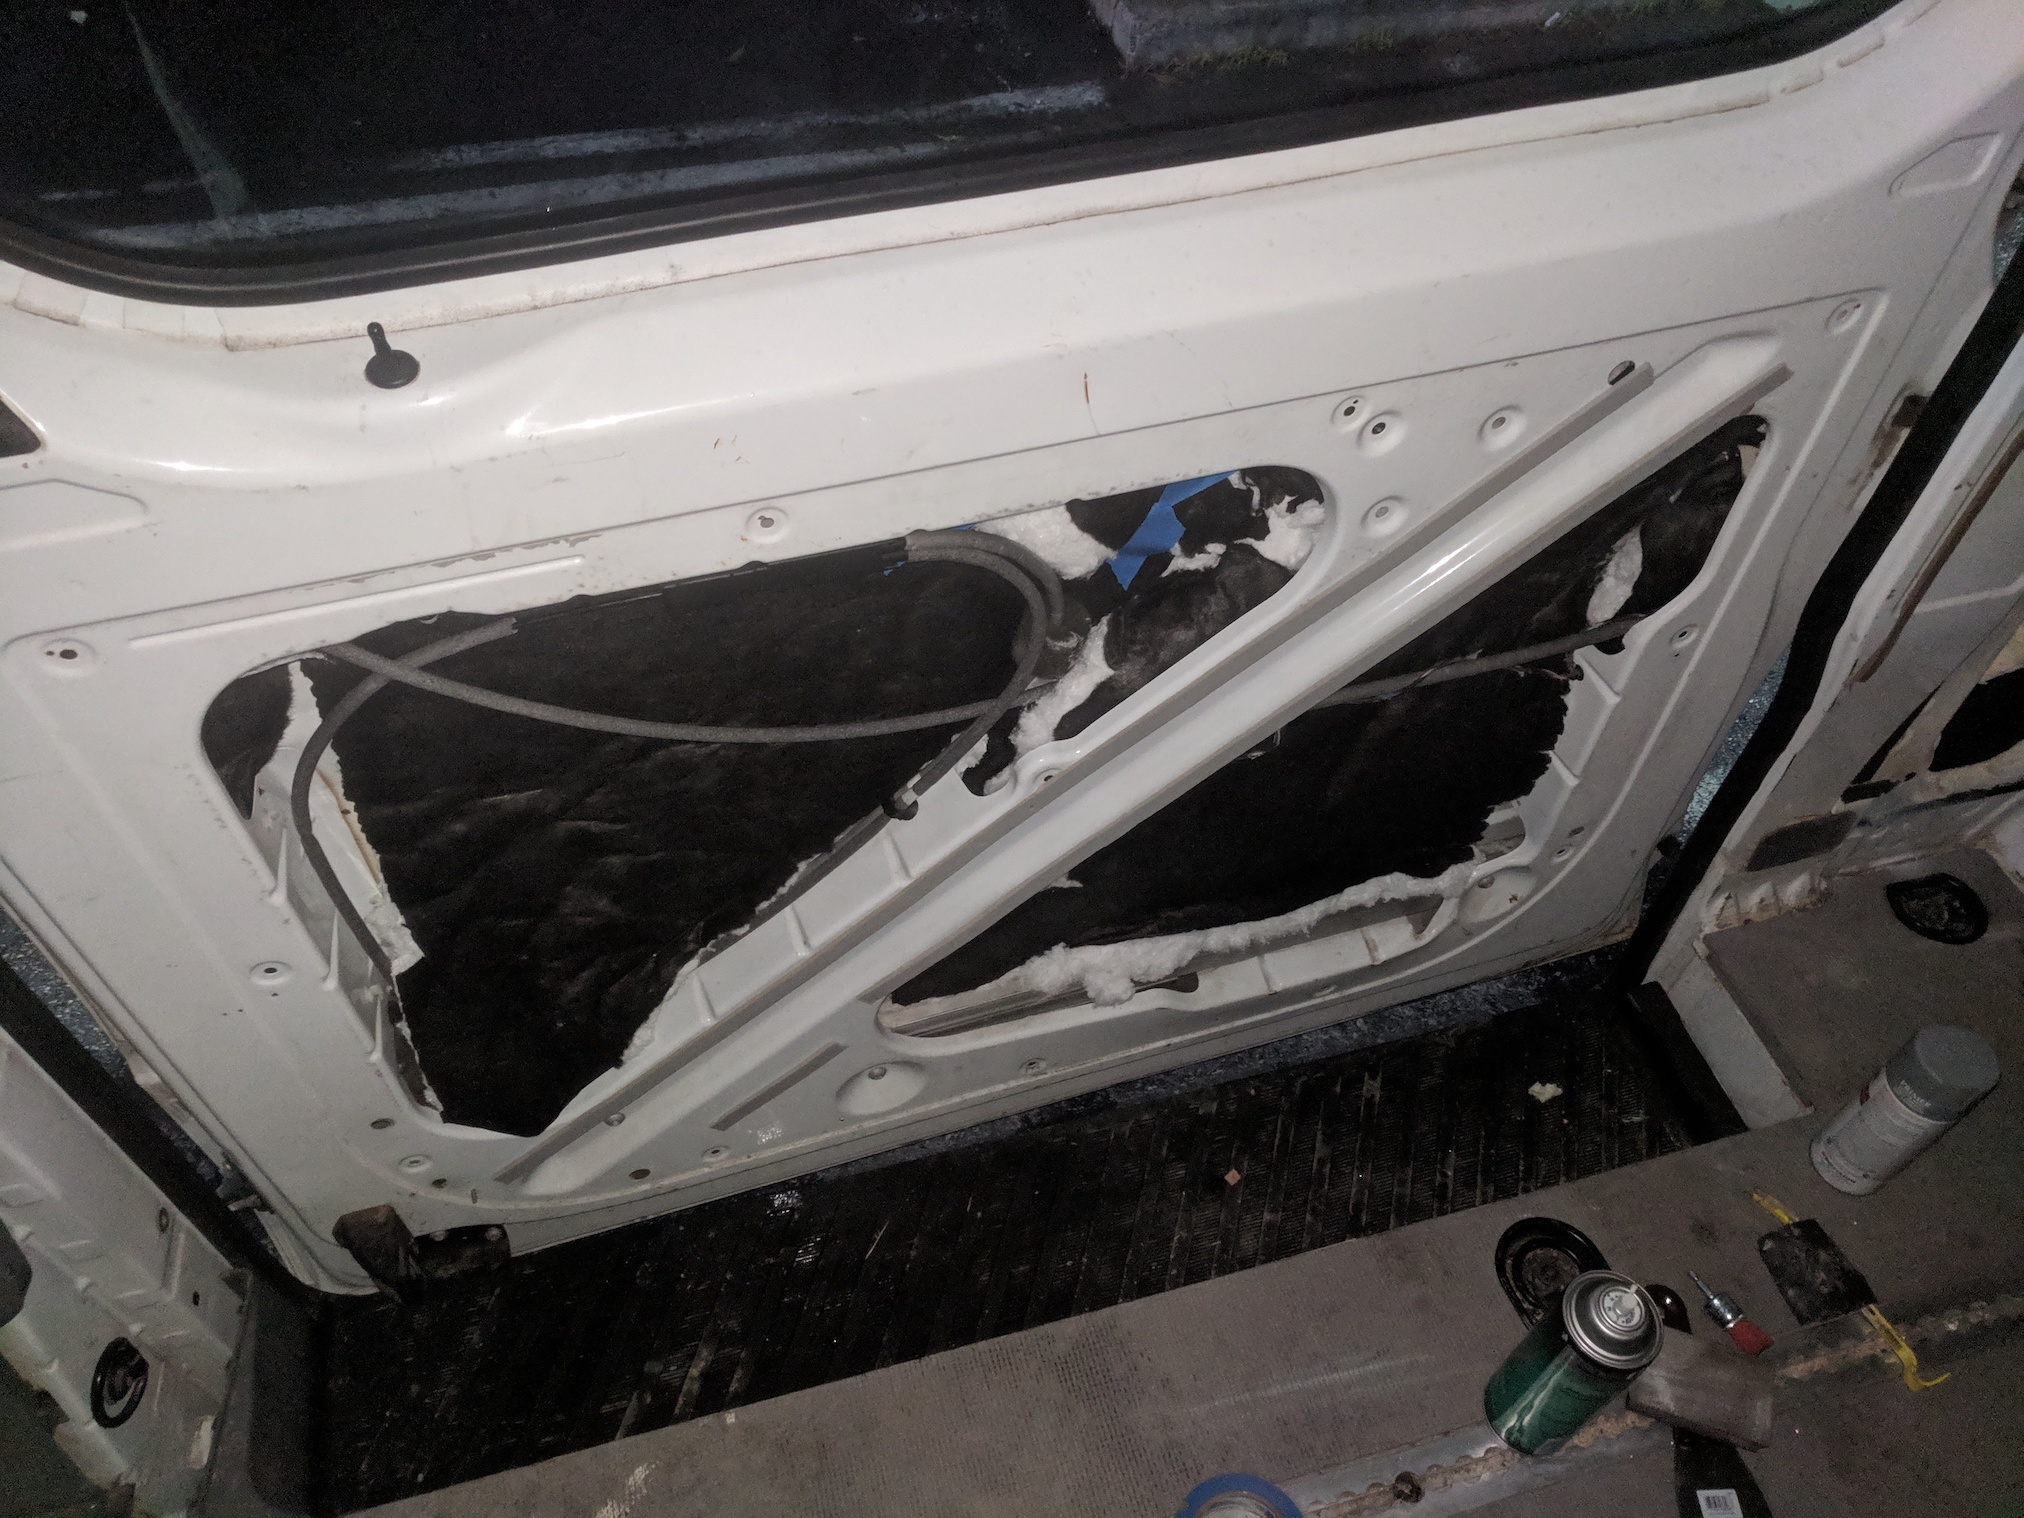
Sliding Door Treatment
One extreme peculiarity of the Sprinter vans is that the sliding door trim (the black plastic on the outside) is attached to the door with a set of simple plastic clips that do not form any kind of seal between the inside and outside of the van. Water leaks in through these clips and rusts out the door.
 The door panel with the trim removed, mid-rust-grinding
Another round of grinding, sanding, cleaning, and painting dealt with the small amount of rust that had begin so far. A butyl-rubber based sealant (silicone degrades steel over time), Tyvek tape, and a set of trim tools sealed up the clips and holes in the sliding door.
 Priming the rust spots
 Painted and sealed!
Insulation 2
Now that the van body was fully rust-abated and sealed it was time to consider my insulation options. I could either attempt to remove all of the remaining open cell foam and redo the insulation from scratch, or I could settle for removing the open cell foam in the most water-prone areas (the lower parts of the walls, where water is able to collect). I went for the latter option, as the open cell foam did do a decent job of insulating the van already and it would have been an insane amount of work to remove it. The water collection hazard should be mitigated well enough with a proper treatment of the now-uninsulated lower walls.
Many words have been spilled on other van build sites on the most appropriate insulation material. I wanted something that would not hold water and that had good heat retaining quality. Price was not as large a concern since I only had a small area that needed treatment. I went for 3M Thinsulate, which was (apart from needing a pair of very sharp scissors) quite easy to work with and install in all the remaining exposed areas of the van.
 Thinsulate in the sliding door
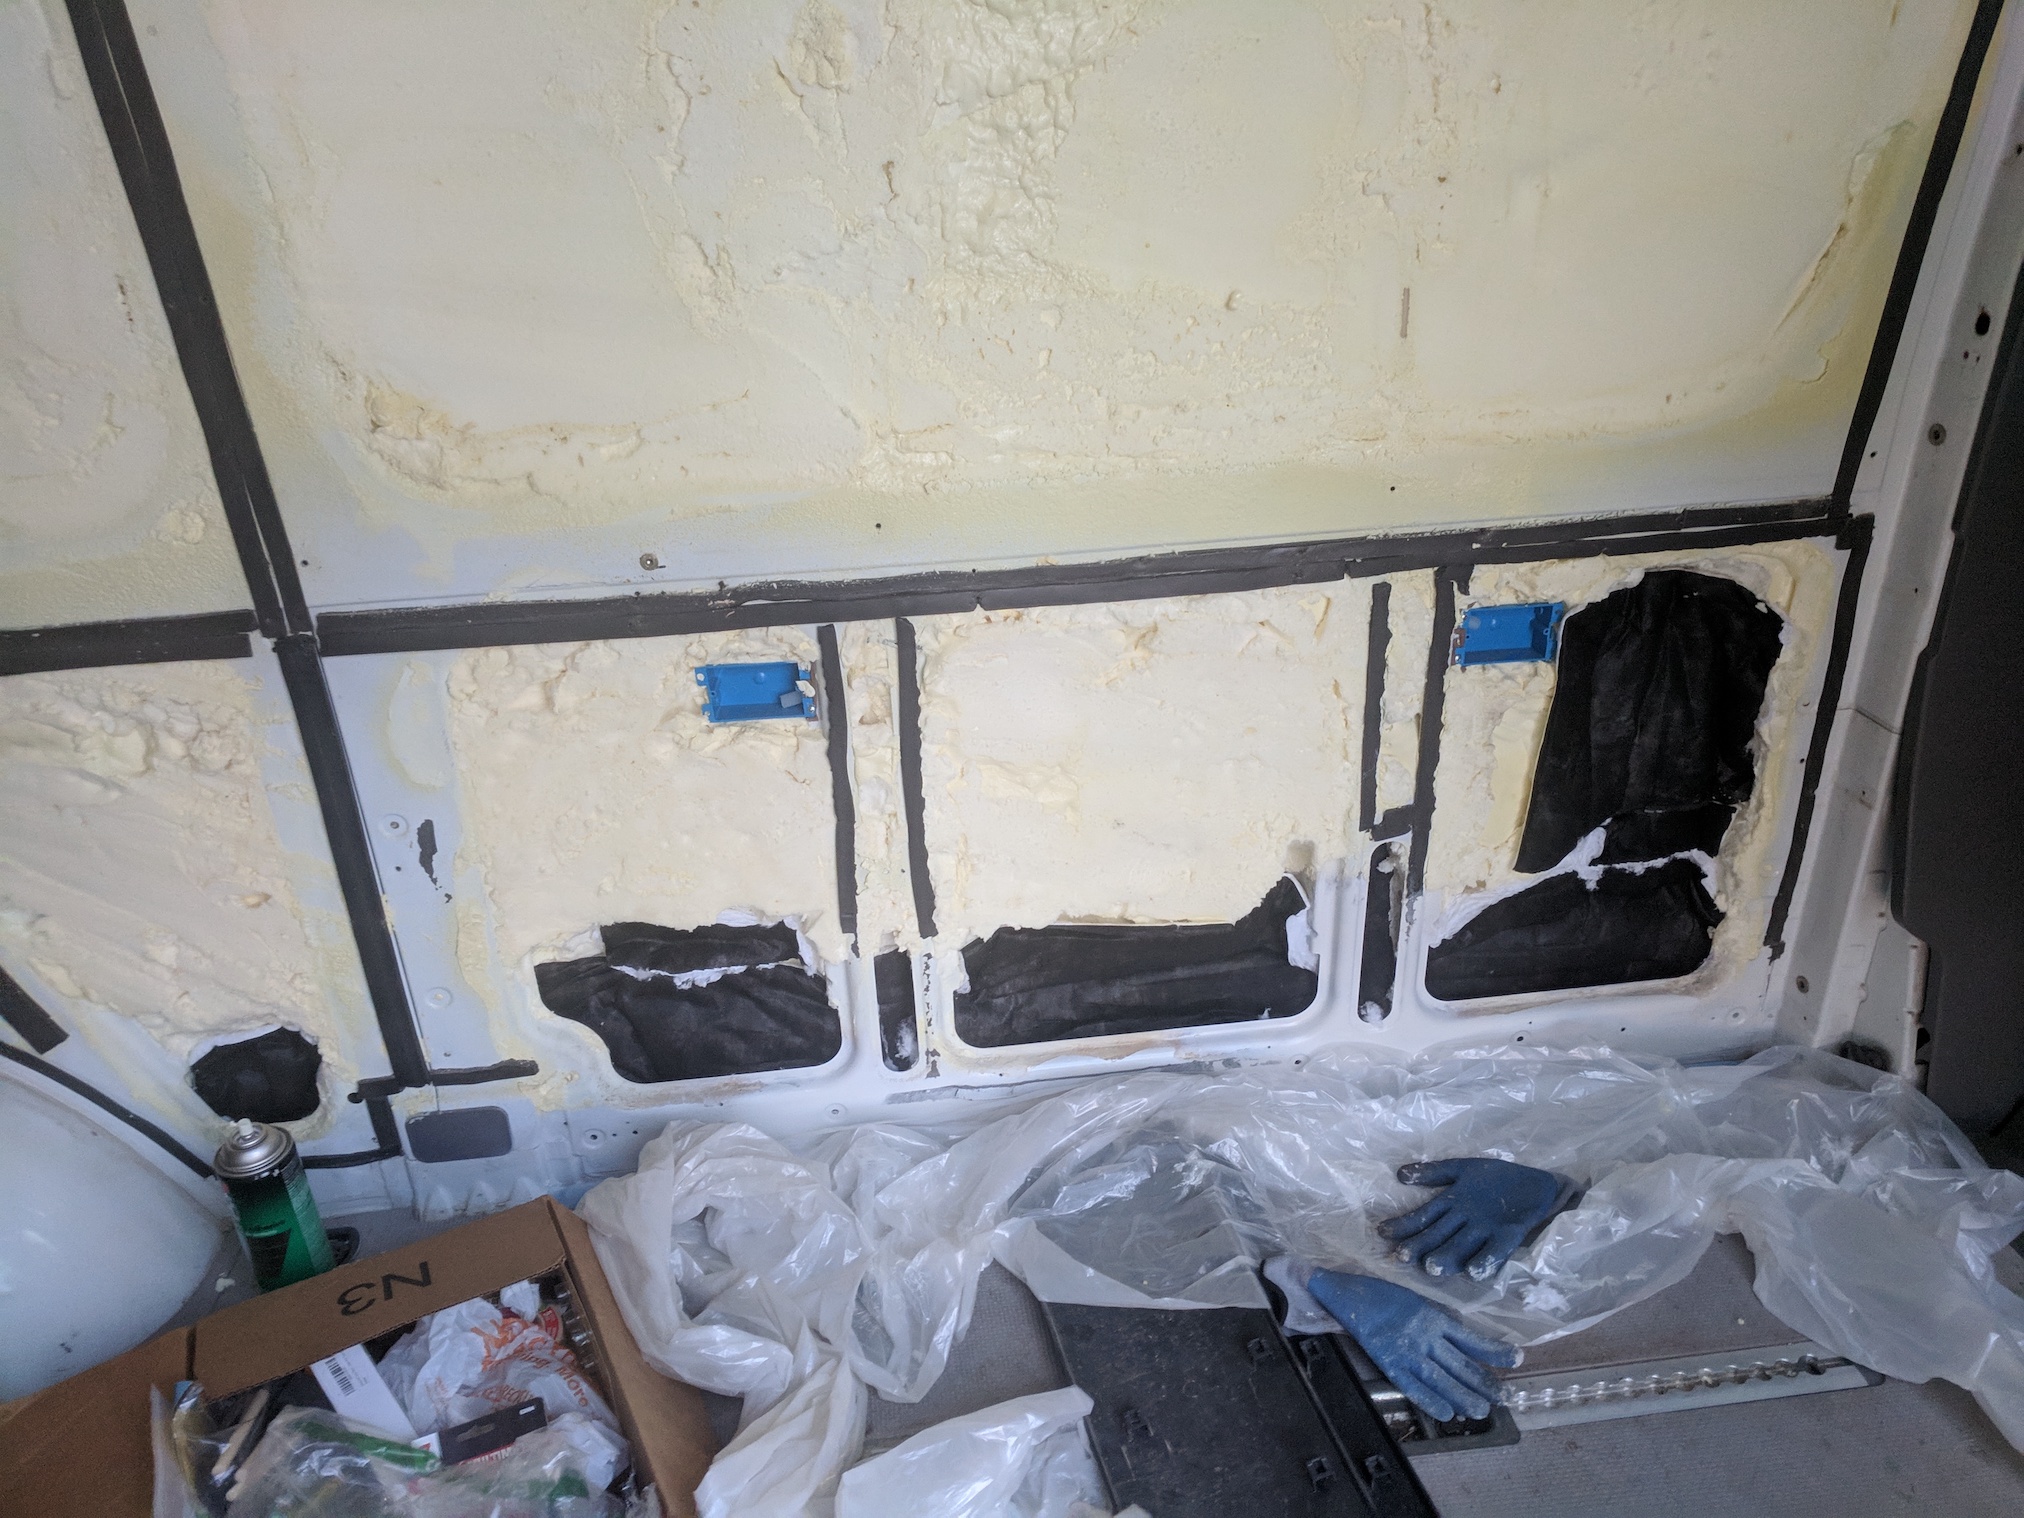 Thinsulate in the lower wall cavities
Sign up for the mailing list
Comments